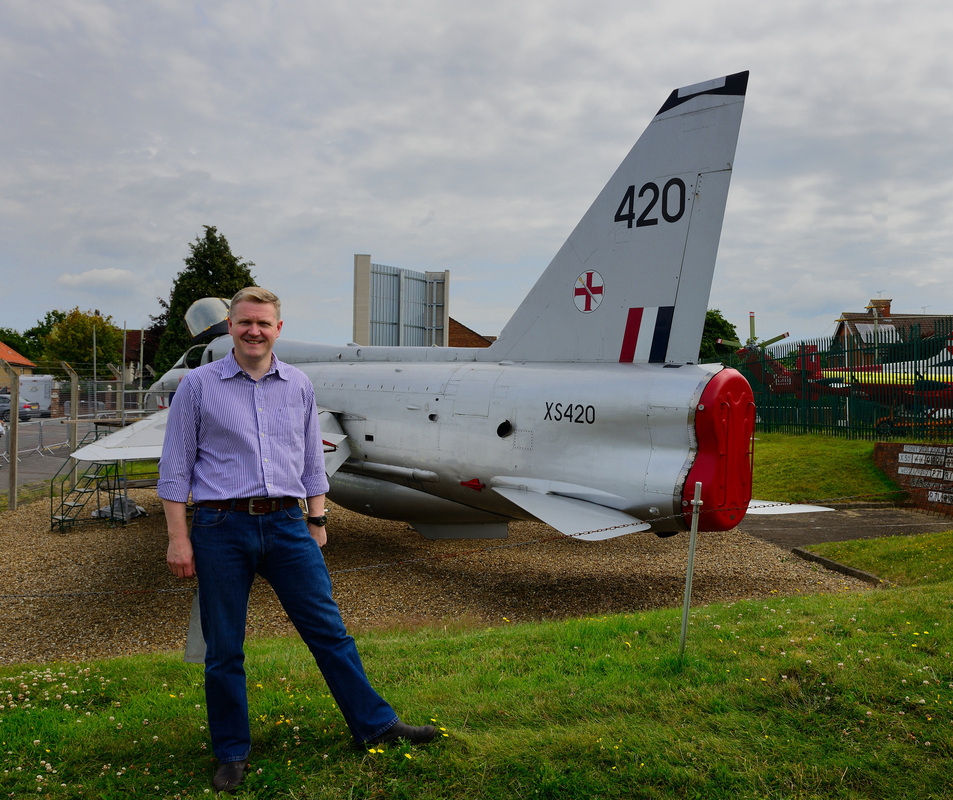
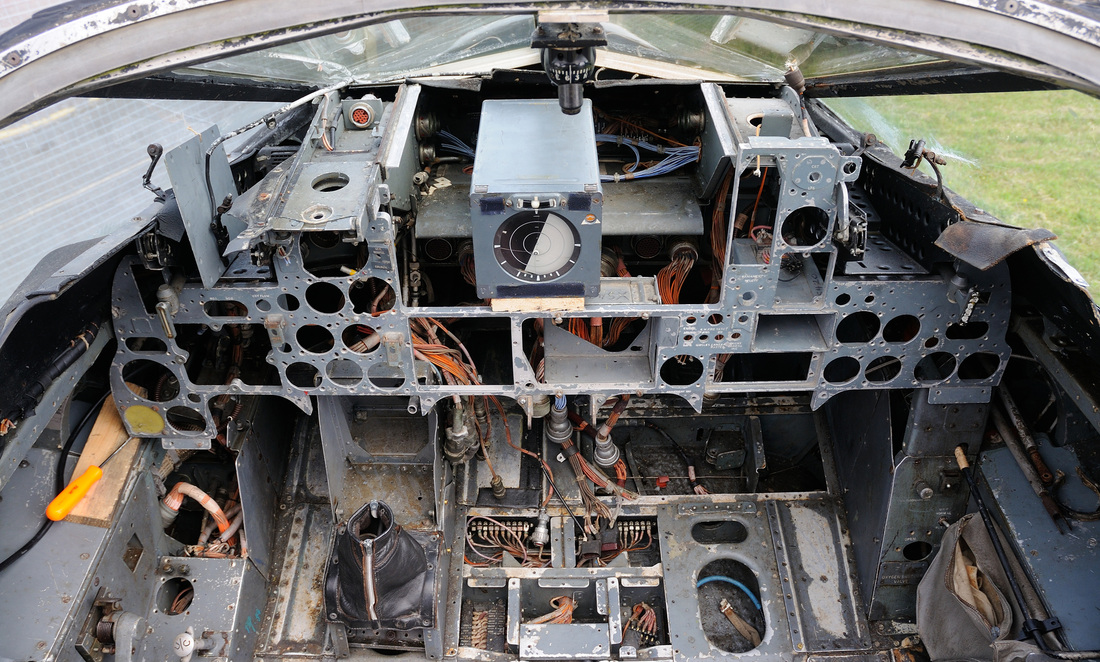
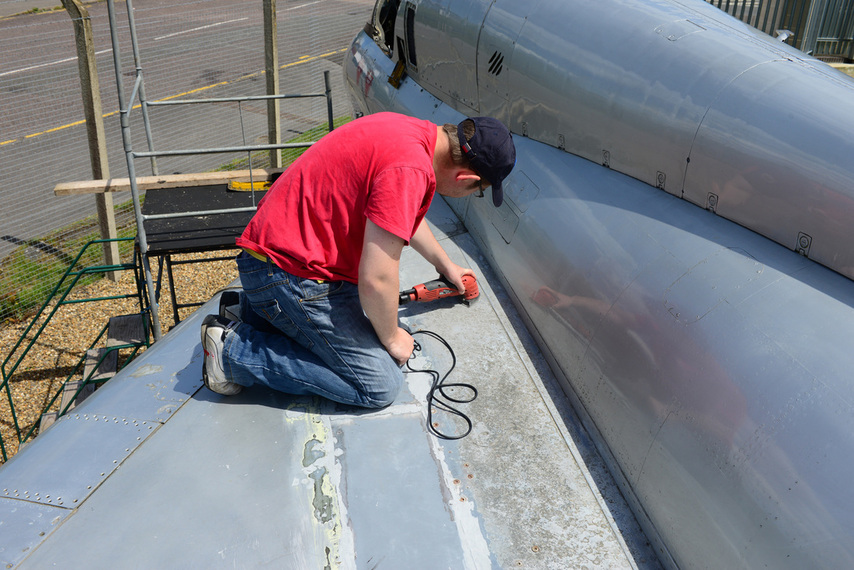
Diary
July 2024
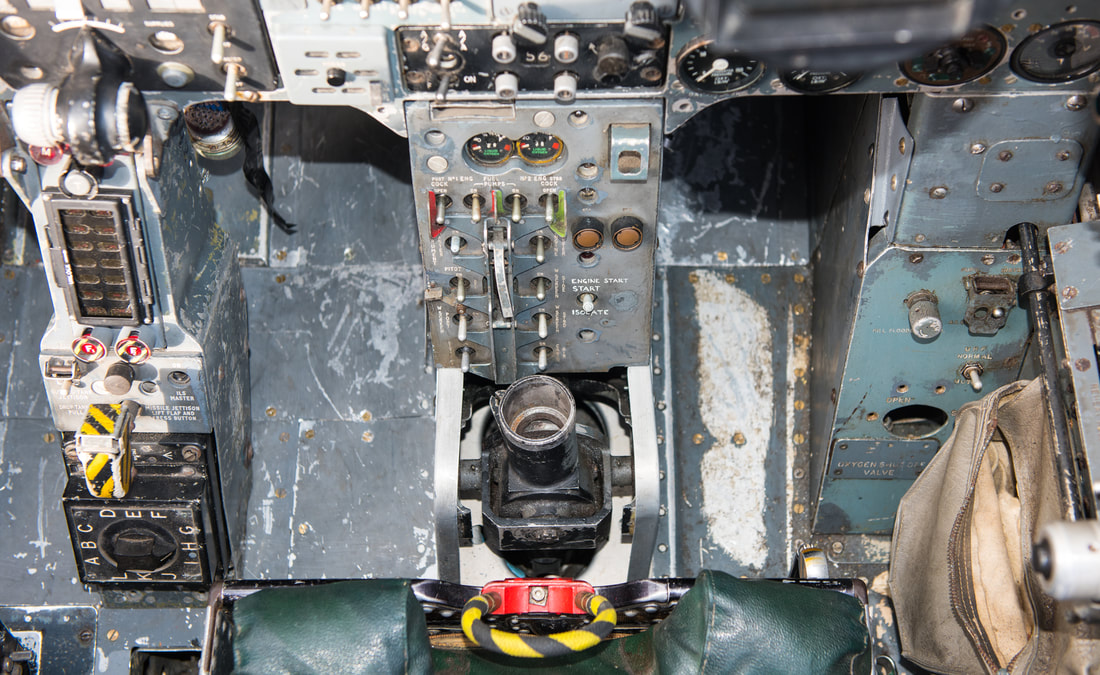
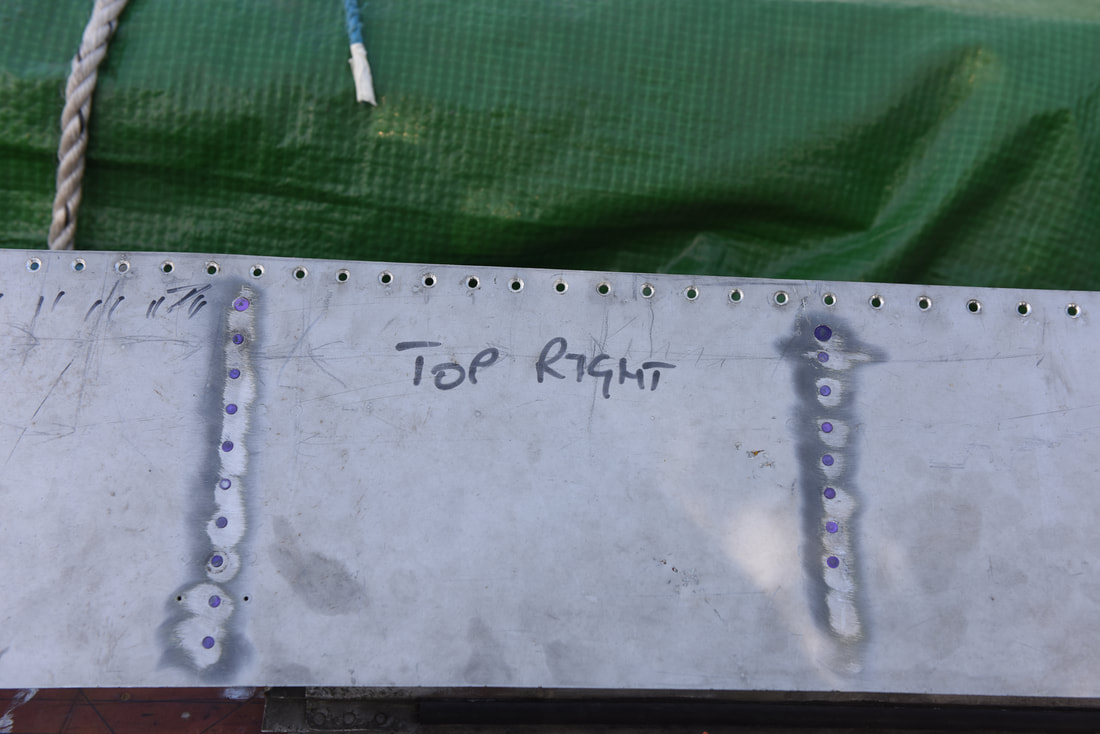
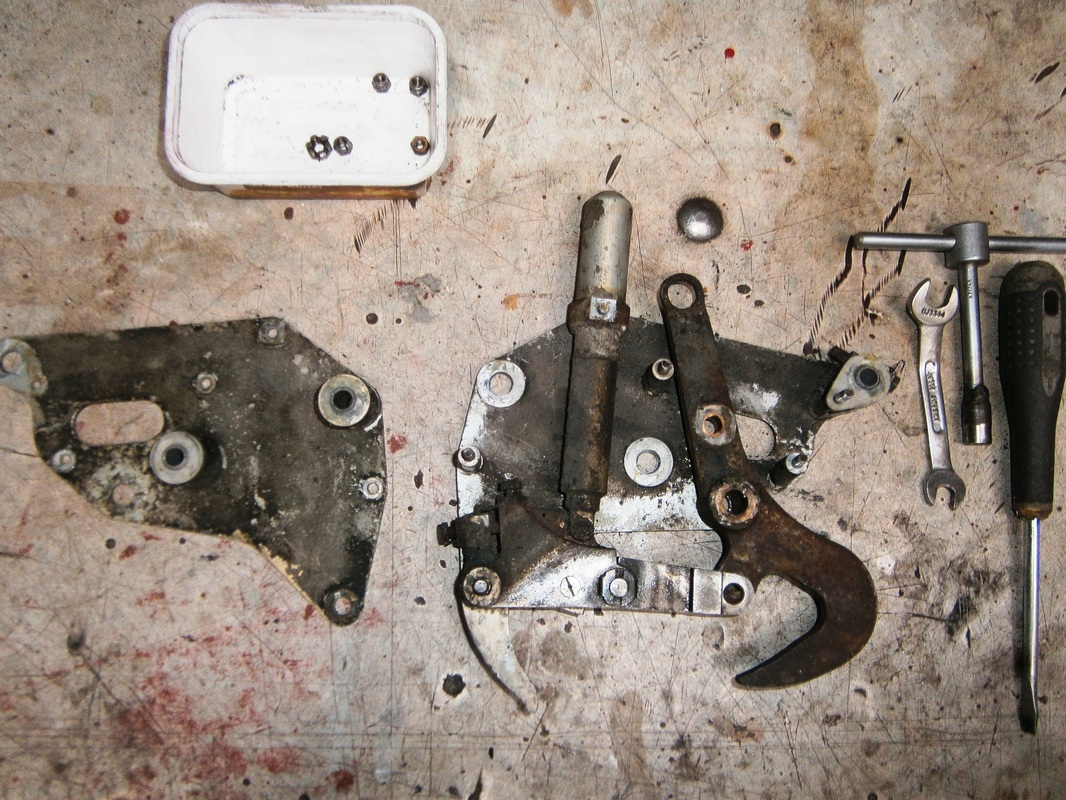
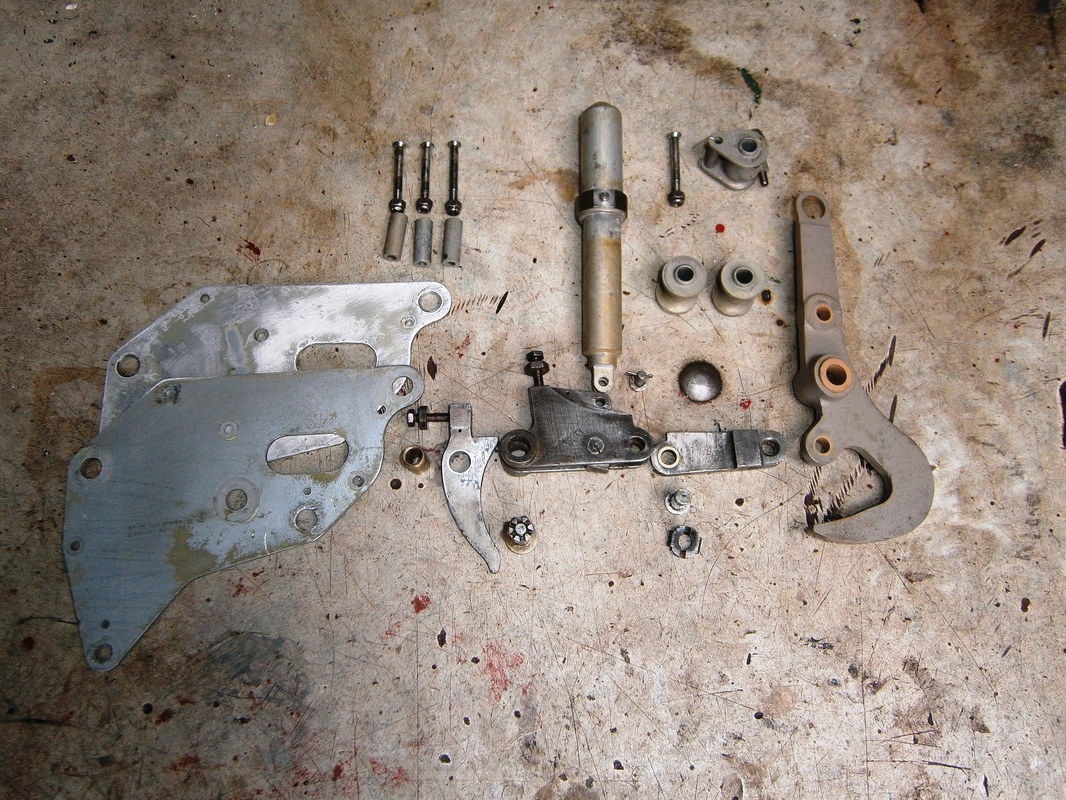
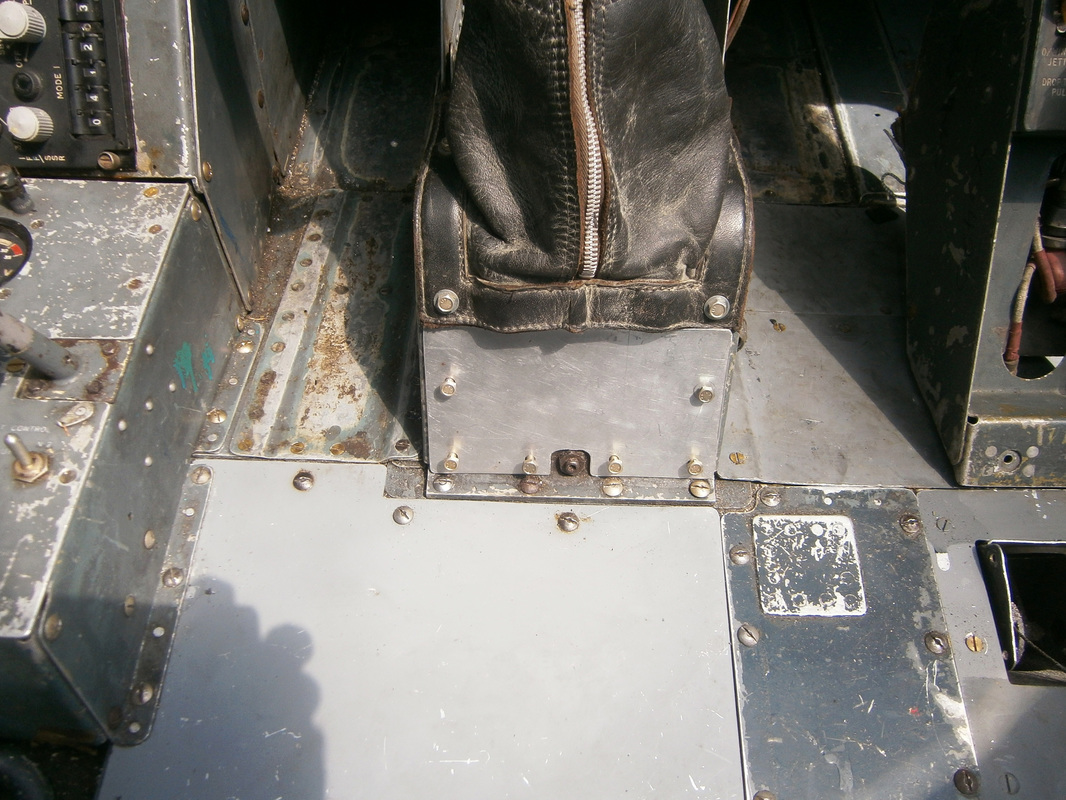
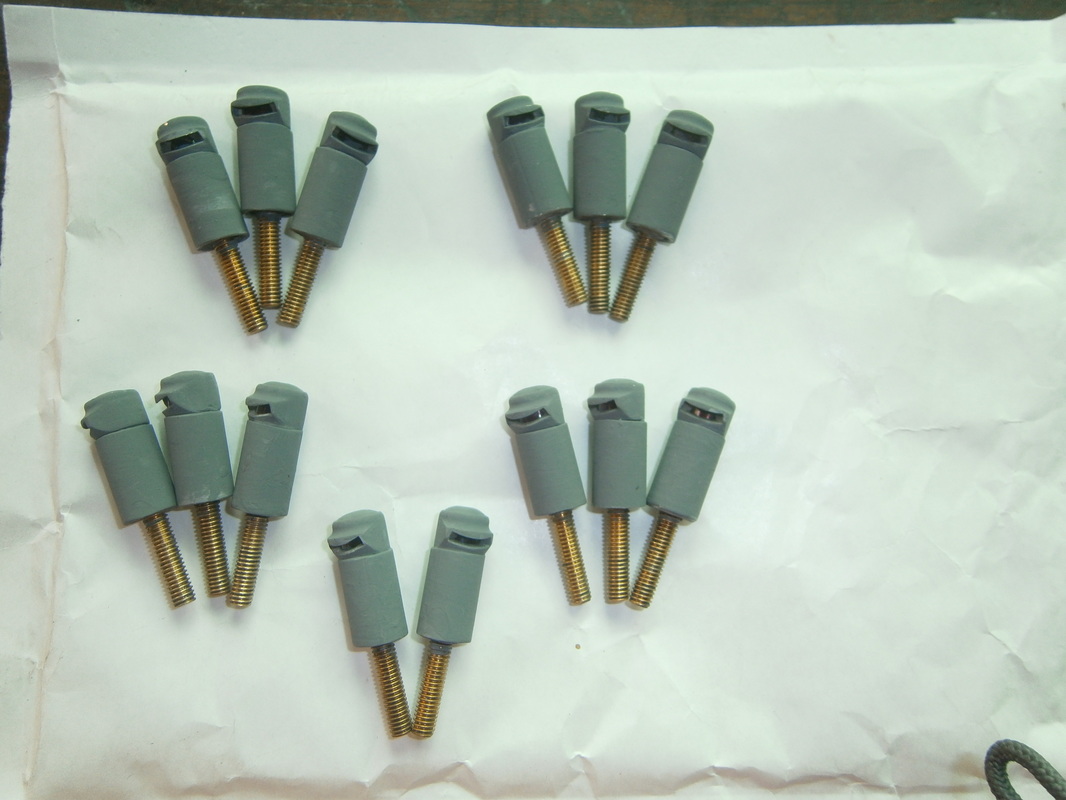
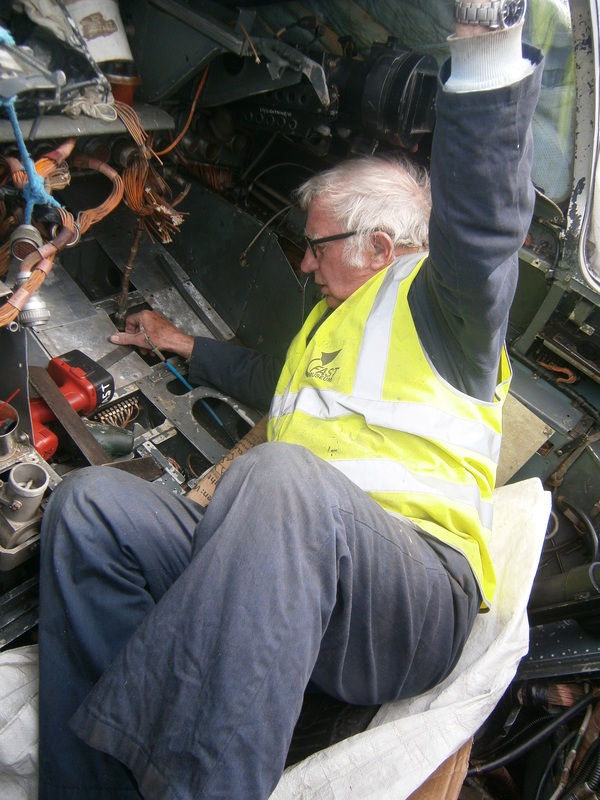
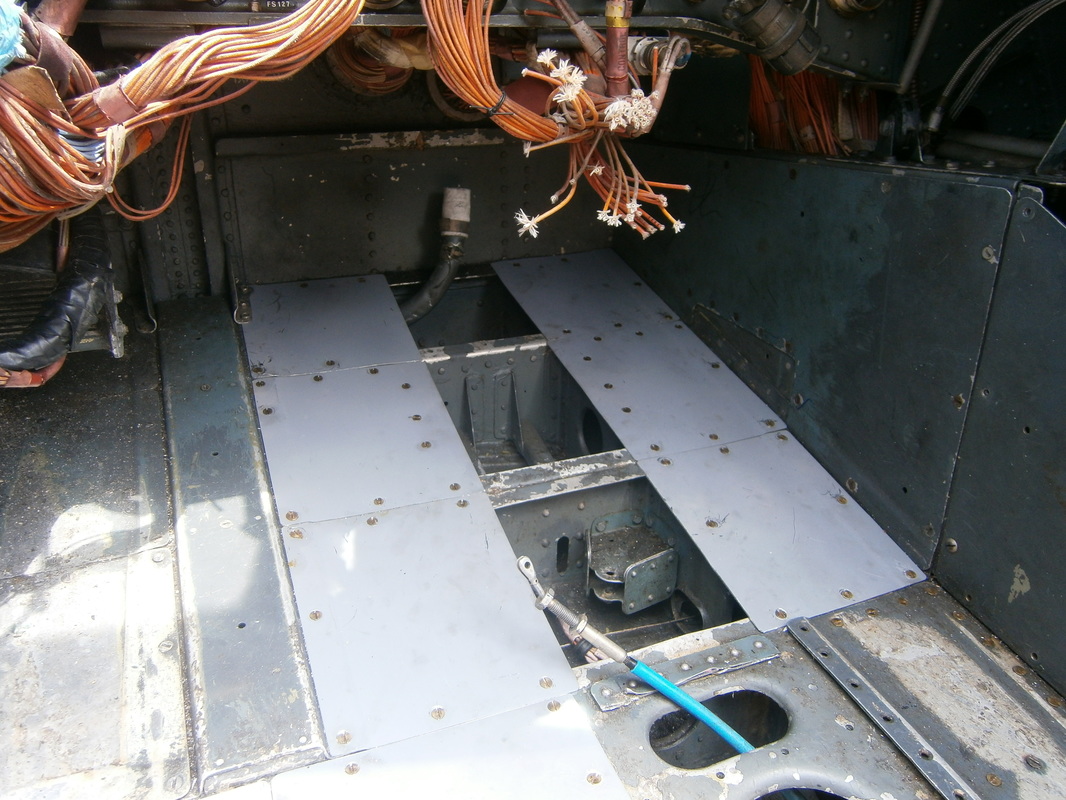
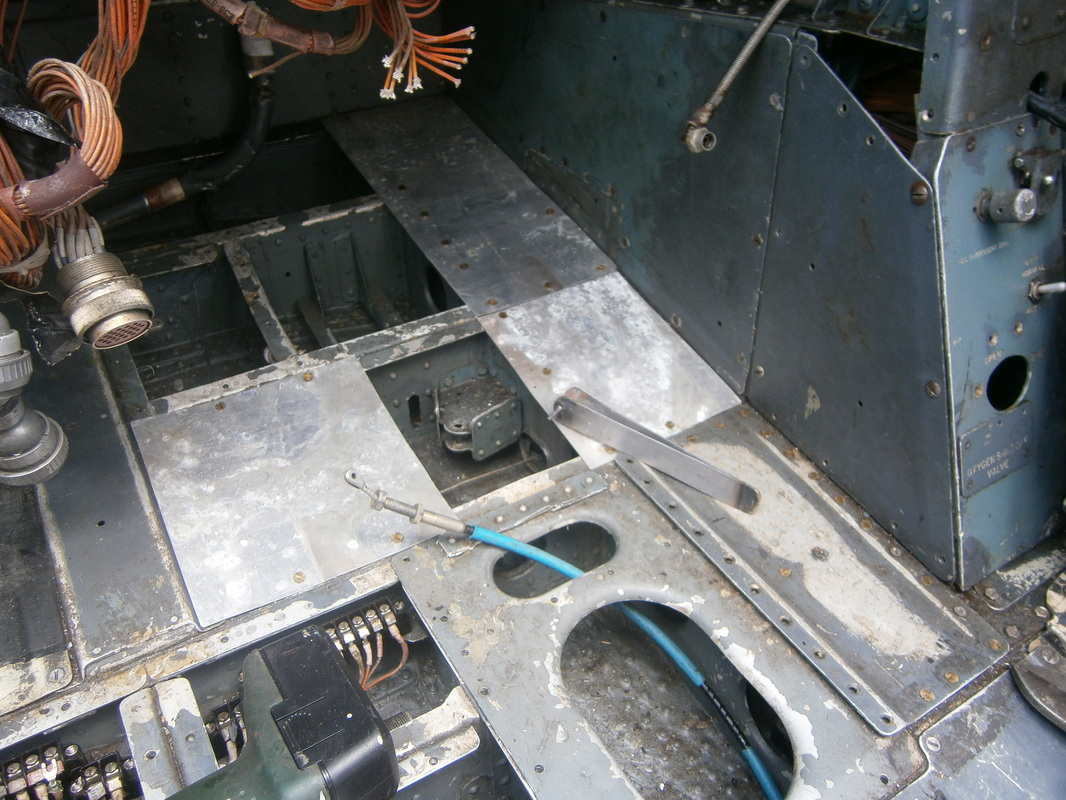
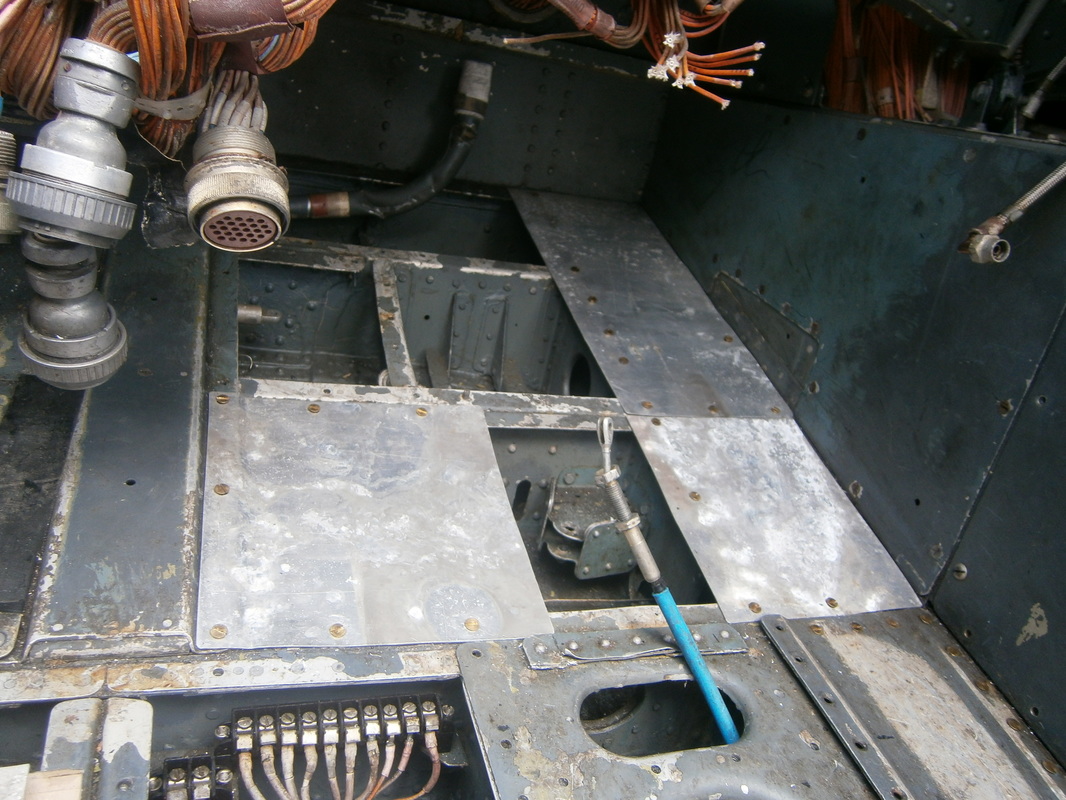
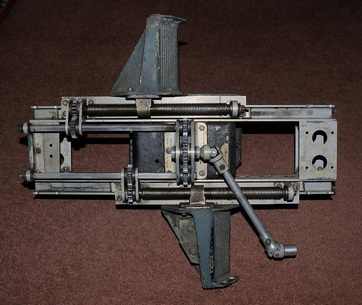
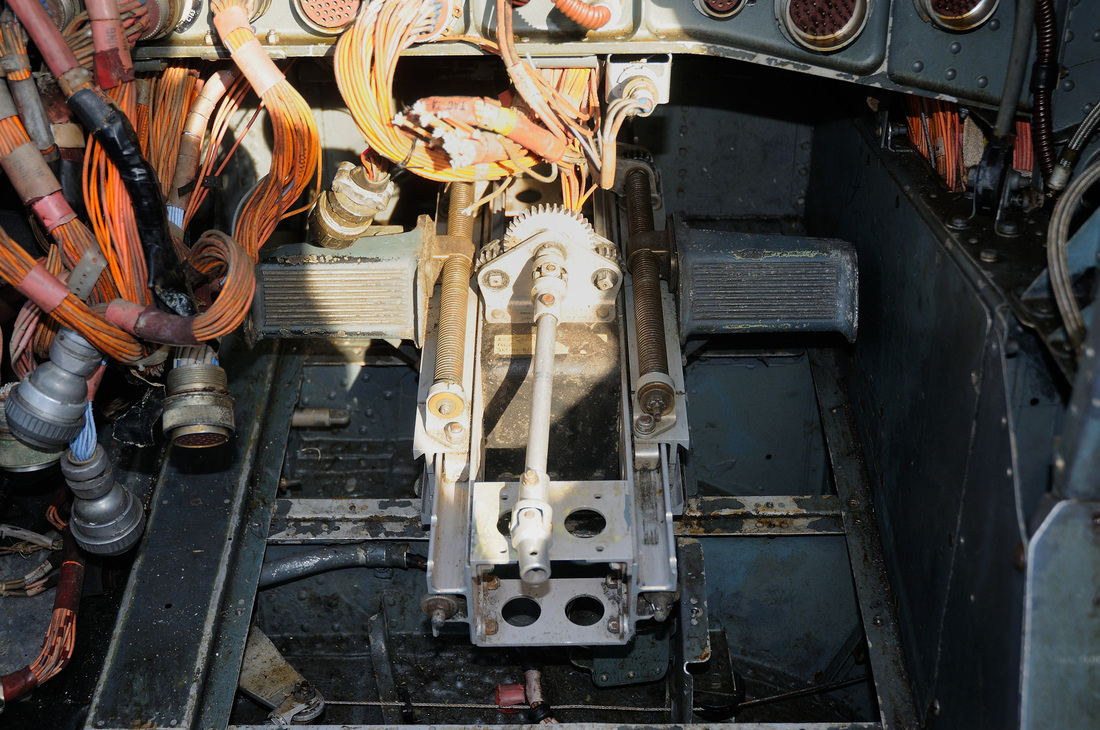
Another small piece acquired and fitted. This time it was a rudder bar adjuster handle. Finding one is difficult enough, but two is far more tricky. However, Martin Blades has been able to produce another one using his 3D printer. Thanks Martin.
June 2024
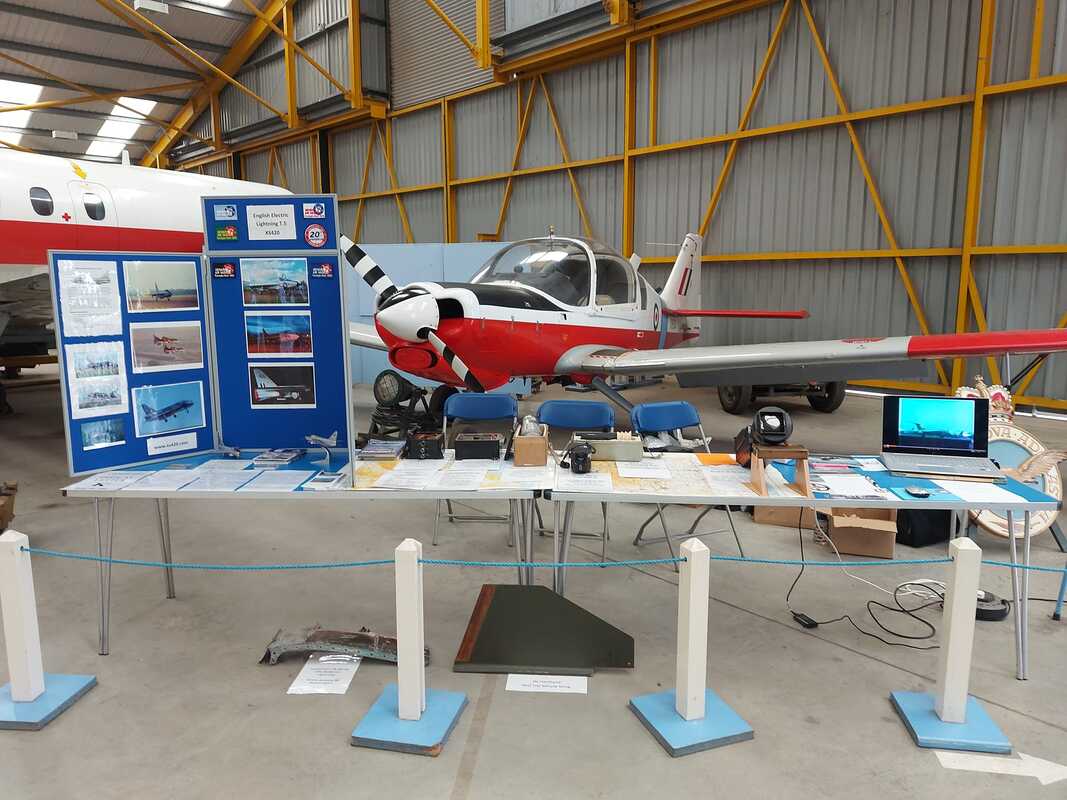
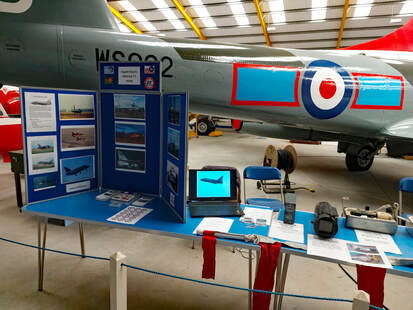
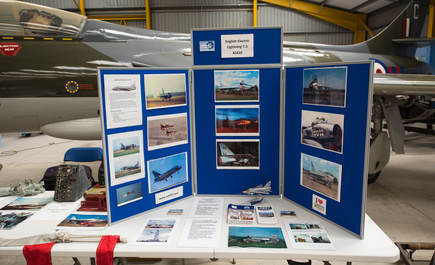
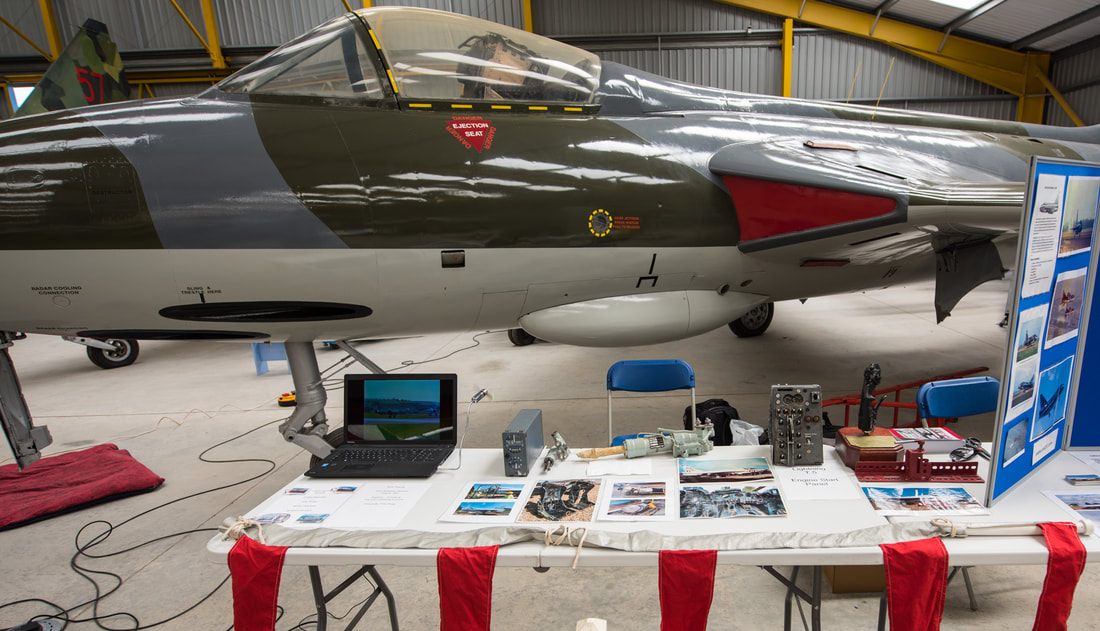
The annual visit to Cockpit Fest Newark in June with the info stand.
May 2024
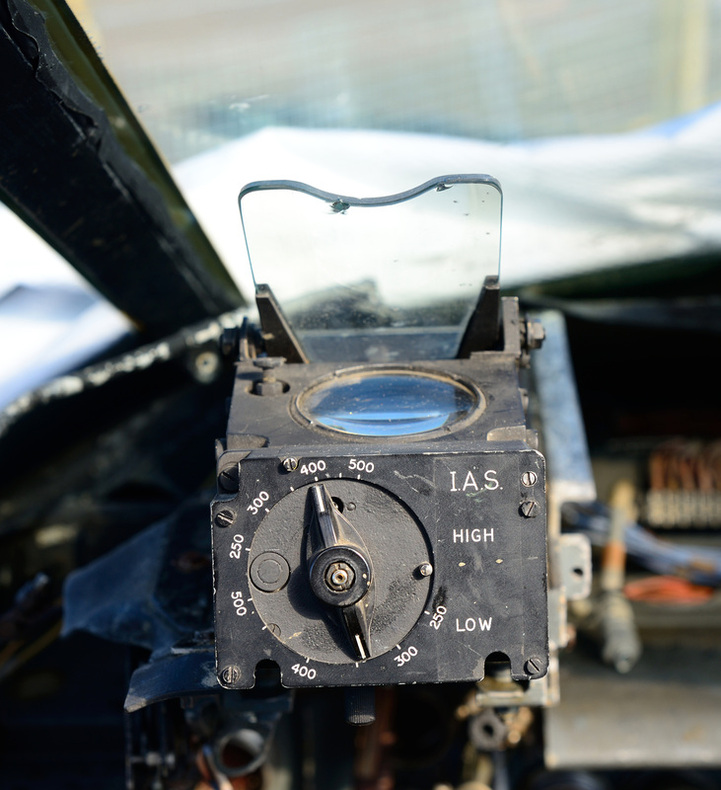
With thanks to Martin Blades, XS420's Light Fighter Sight can be powered up.
With thanks to Darren Swinn for the Attention Light bracket. The previous one in XS420 had snapped so yesterday I replaced the existing with the newly acquired. Thanks D.
April 2024
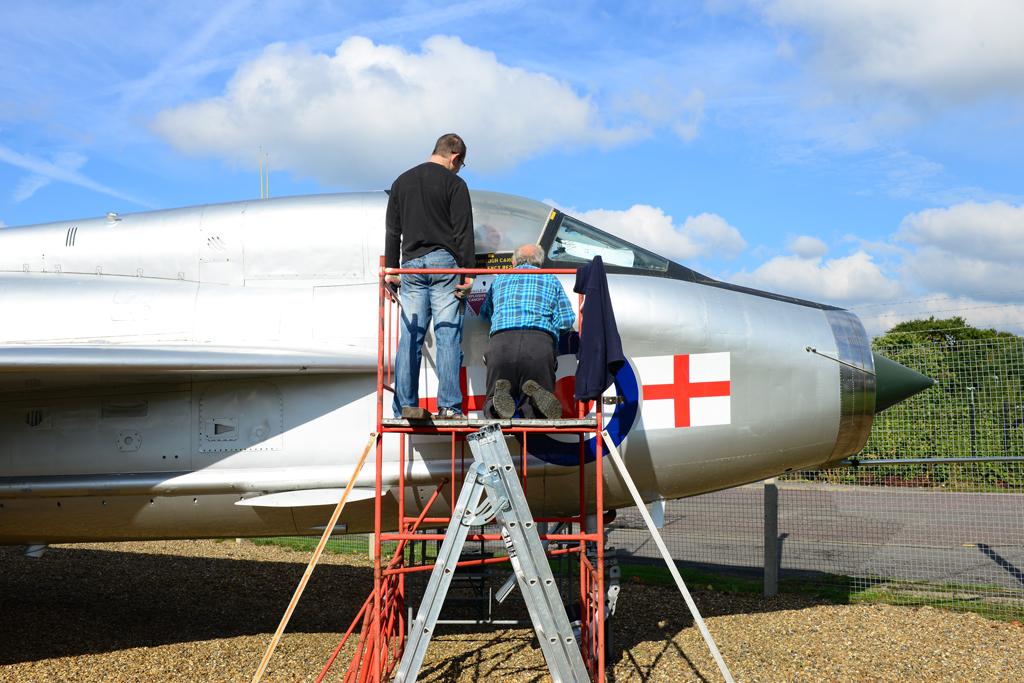
On 20 April 2024 I made a visit to the hallowed ground with a visit to Crash Gate 3 at Binbrook. Many of the images of XS420 I have were taken from here.
December 2023
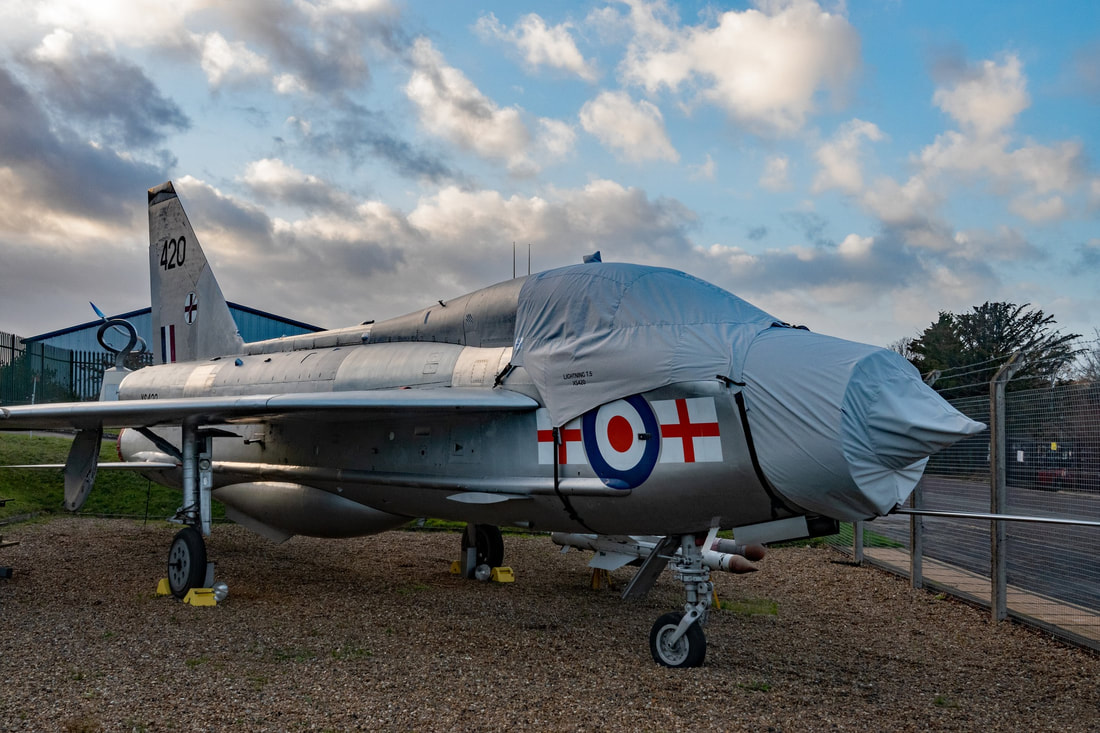
A new canopy cover for XS420.
July 2023
For some years I've had a Red Top seeker head stored at FAST. With thanks to Martin Blades, he has taken this into his care and managed to get to breathe some life back into it. What a superb sight to see this moving in the way it was designed to do.
June 2023
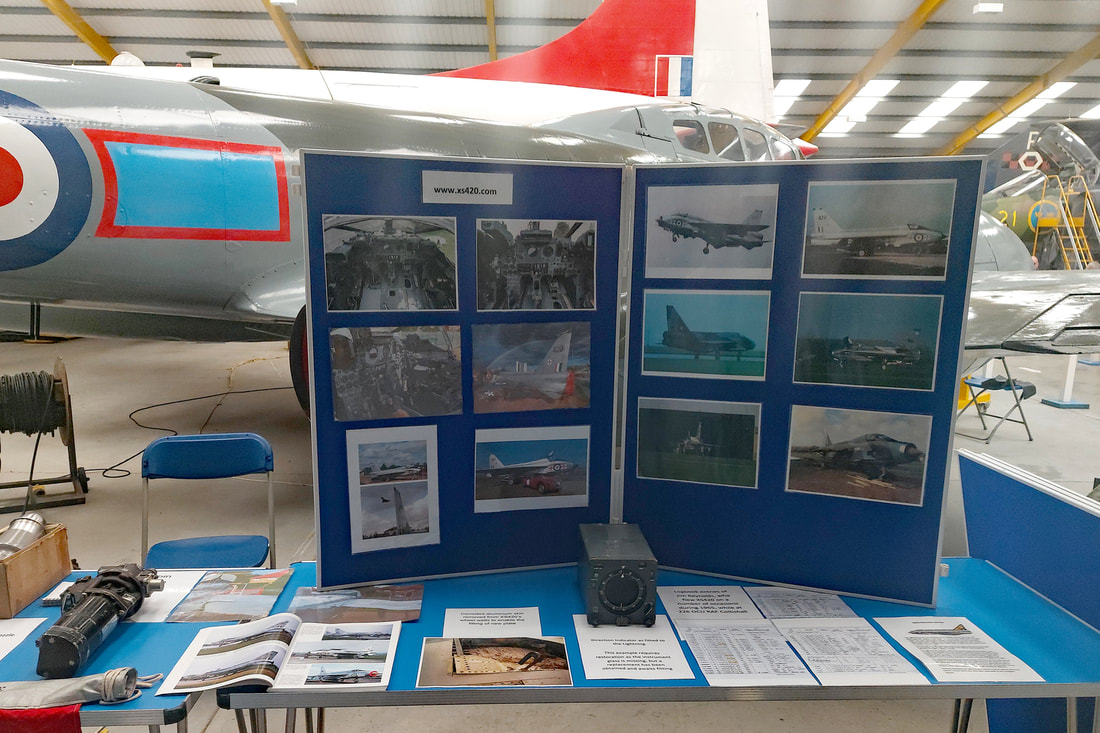
XS420's Info Stand at Cockpit Fest Newark June 2023.
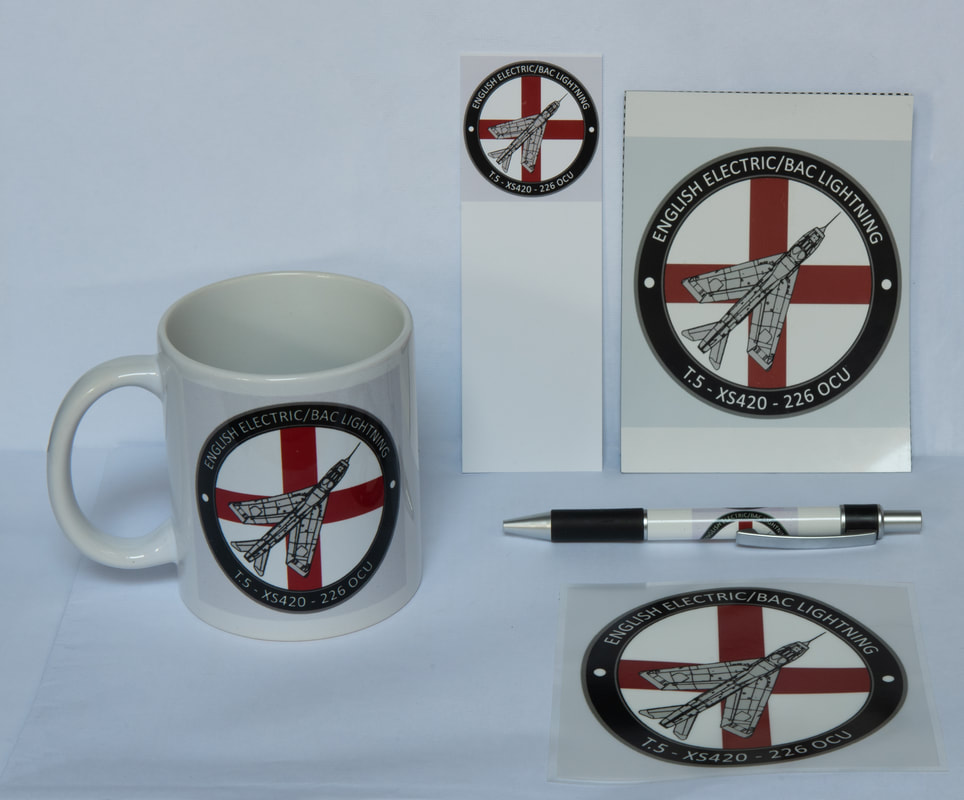
XS420 now has some merchandise which has been designed with the help of Adam Catling. Items can be obtained from the Farnborough Air Sciences Trust shop.
April 2023
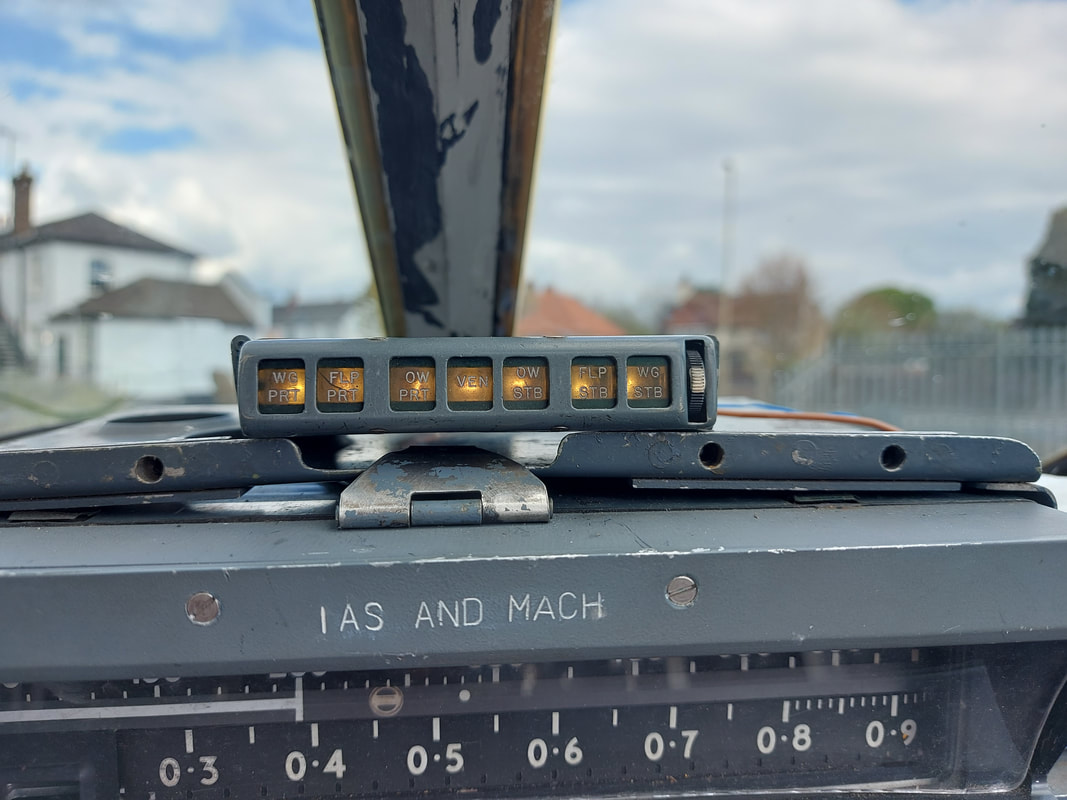
Flight refuel indicator panel wired and lit up.
March 2023
The Tannoy speaker in the video was retrieved some years ago from Binbrook. Martin Blades has restored it to working order and it now plays genuine Binbrook ATC commentary from 1987. With thanks to Chris Norris for allowing the use of his recording.
September 2022
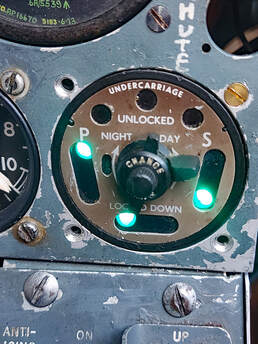
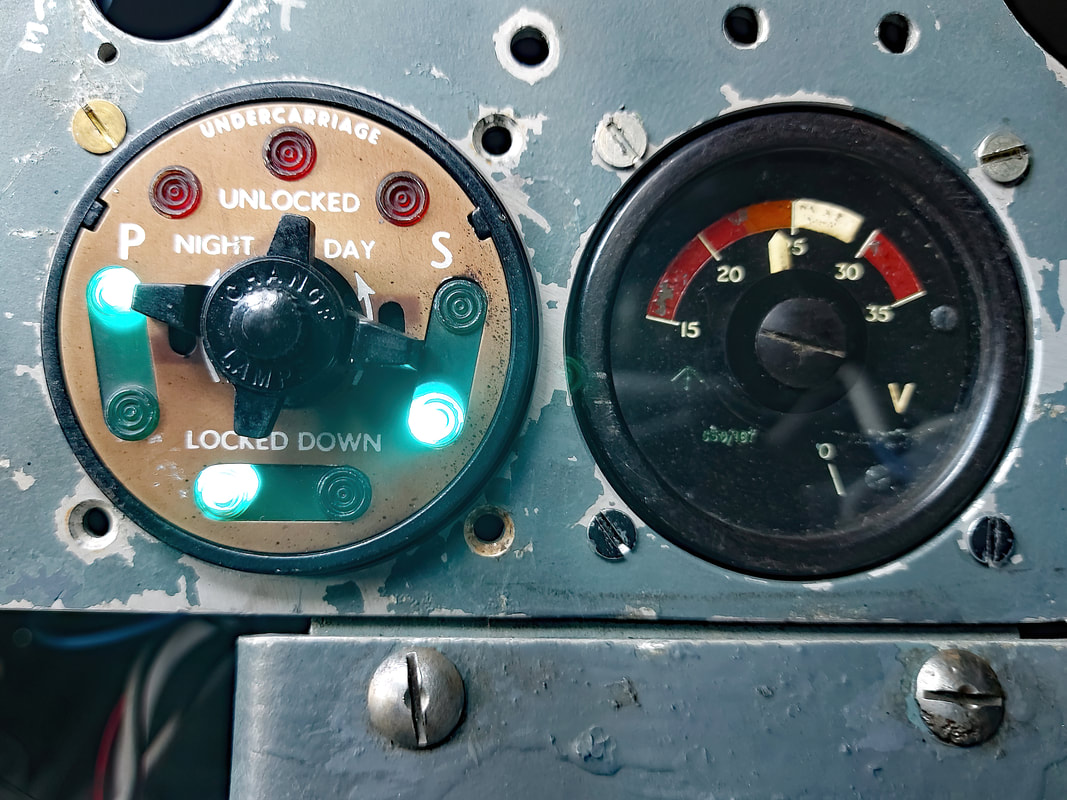
With thanks to Al Stepney the port and starboard Undercarriage Indicators have been wired and now show three greens within XS420's cockpit.
August 2022
A simulated engine start sound system has been fitted to XS420. With thanks to Martin Blades for facilitating this.
June 2022
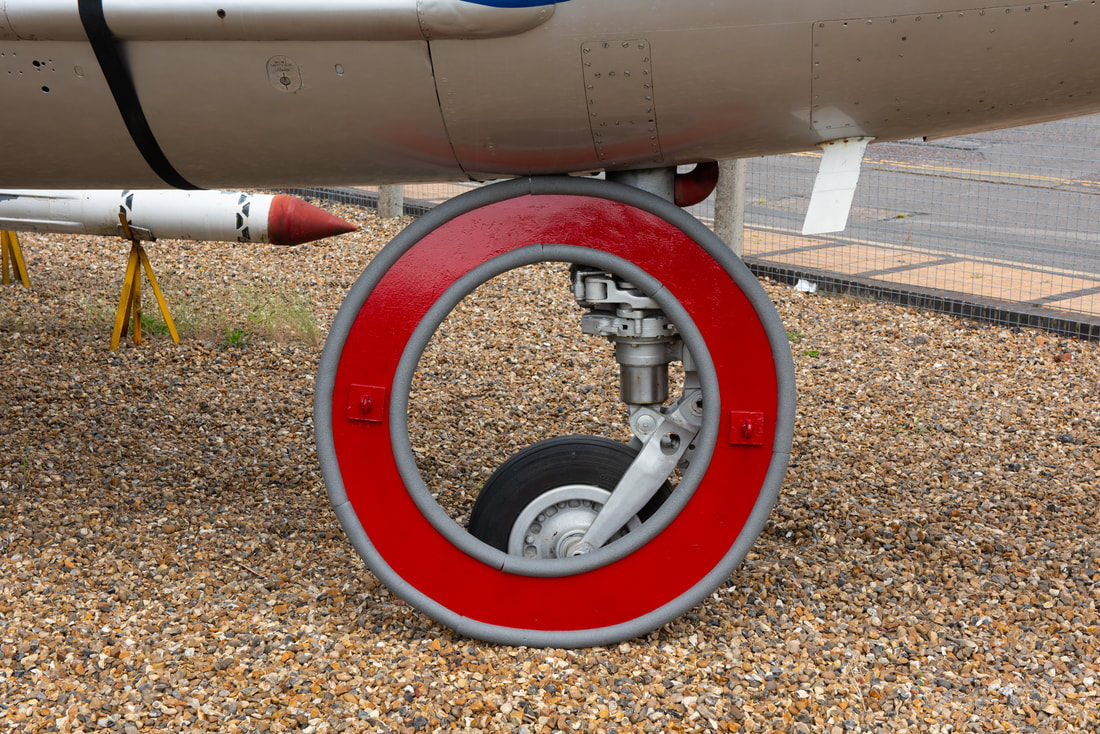
Before and after photographs of the restoration of the intake blank.
Winter to Spring 2022
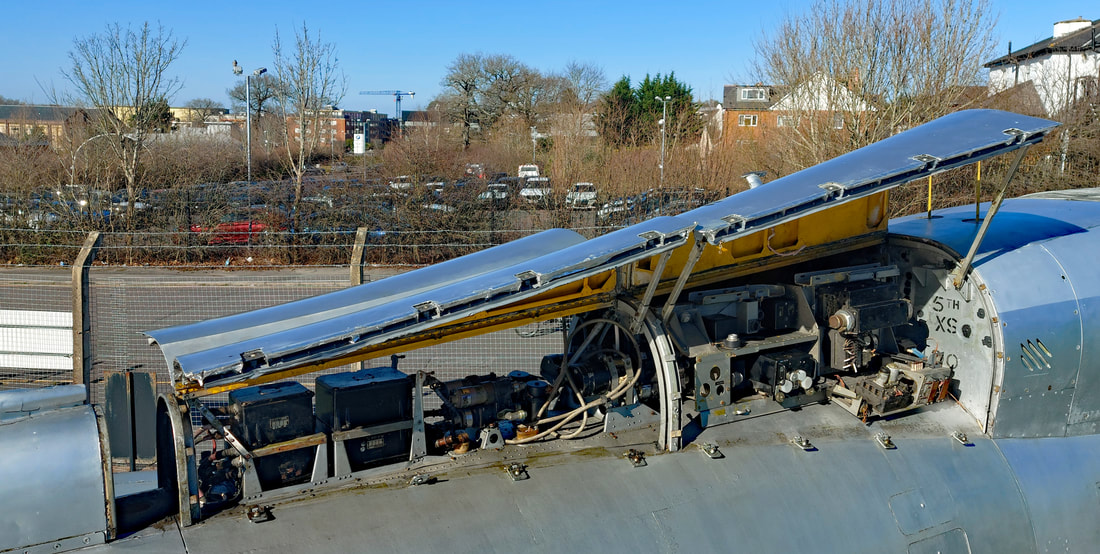
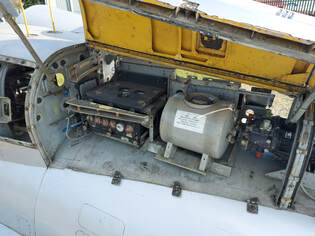
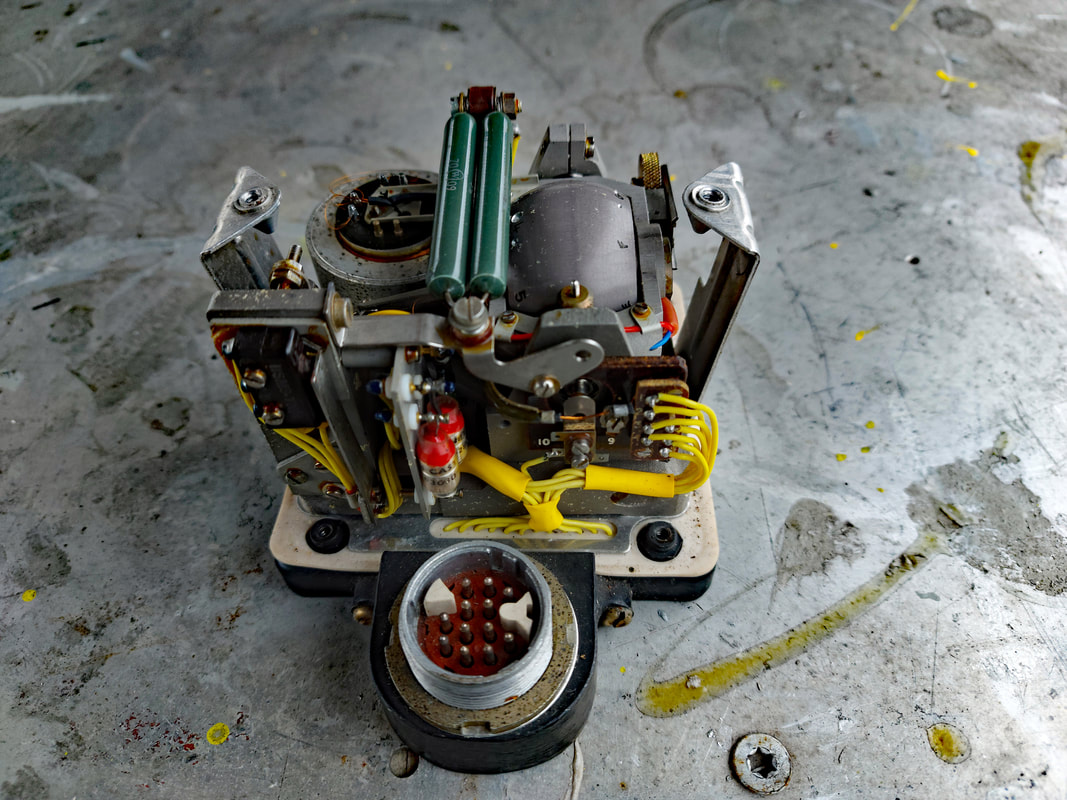
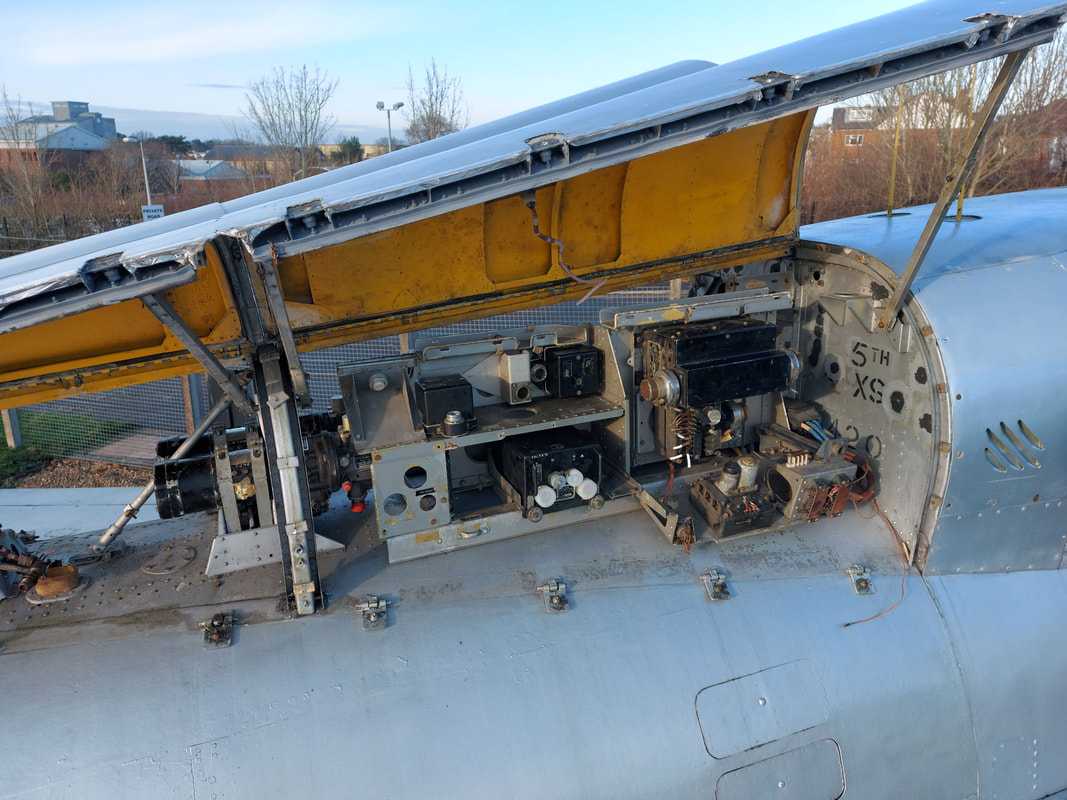
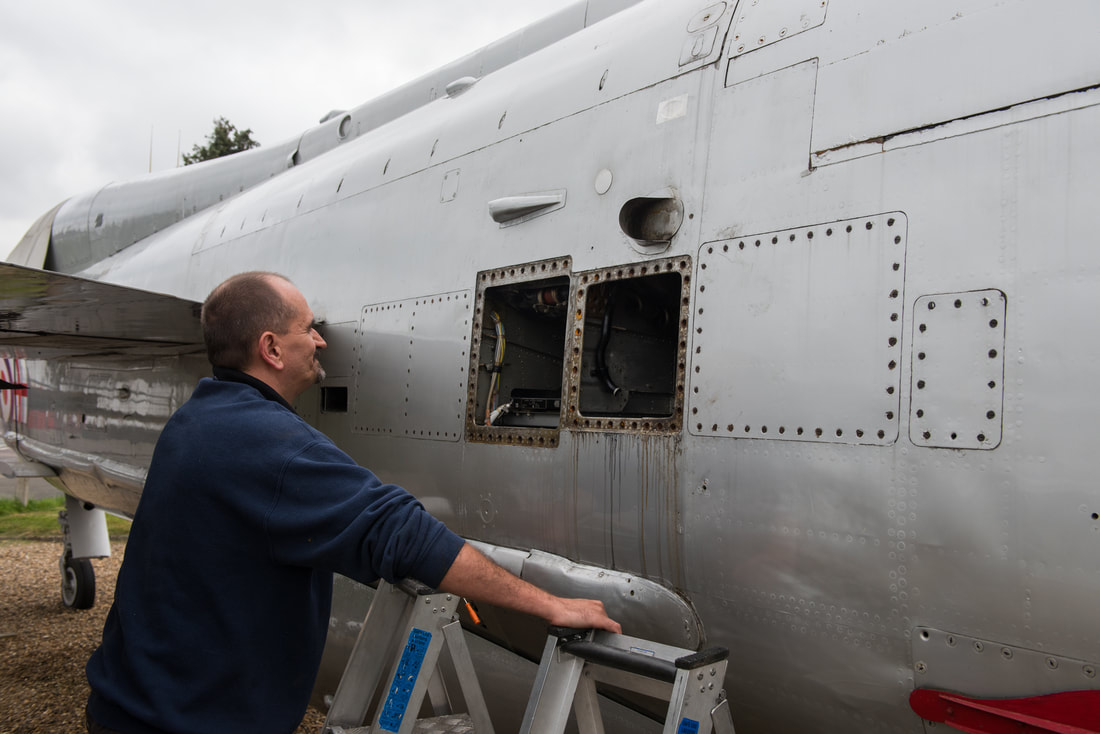
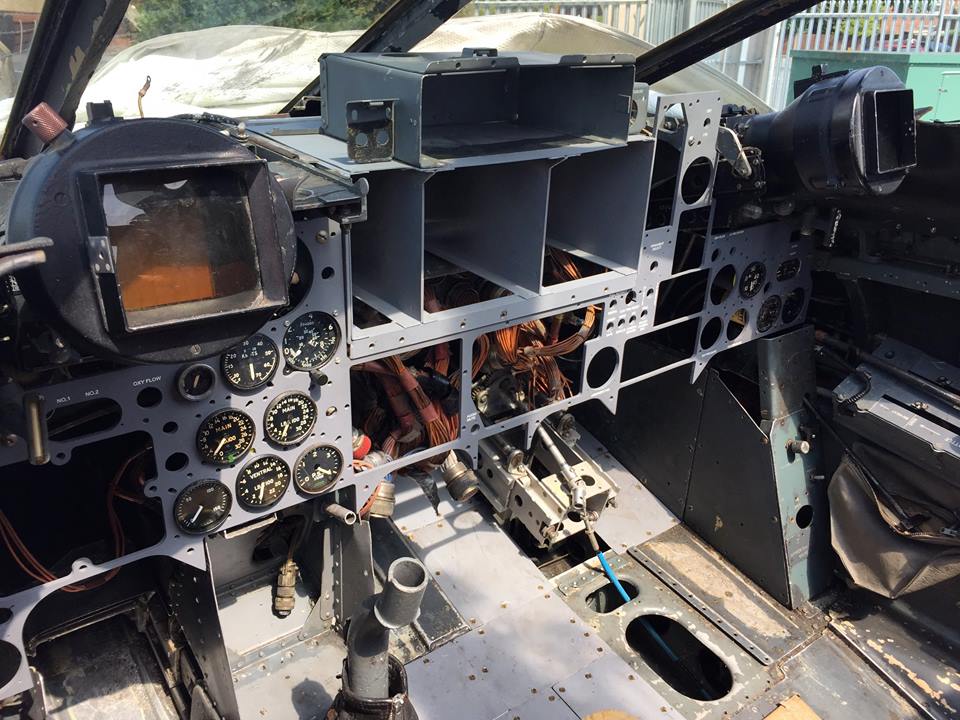
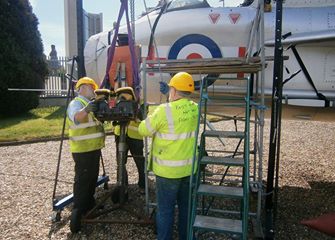
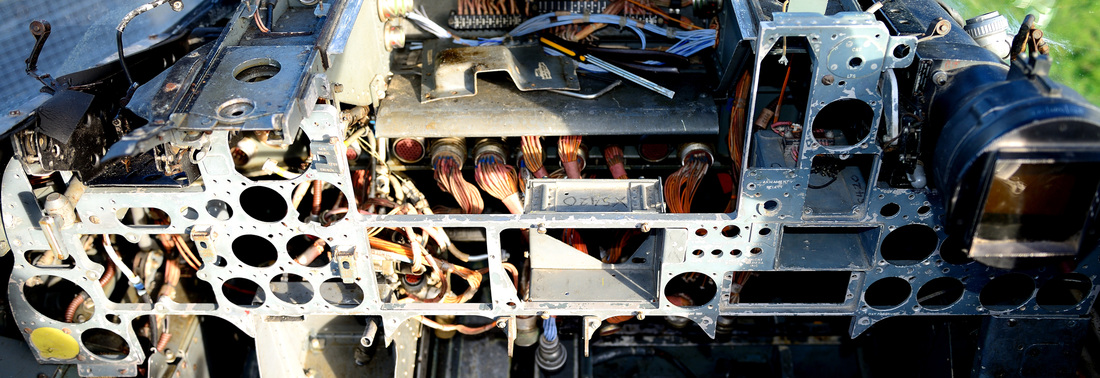
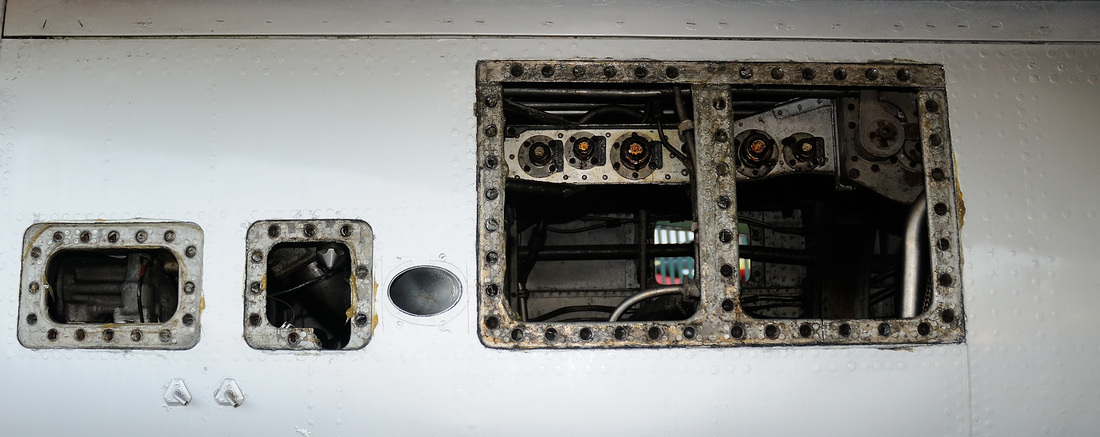
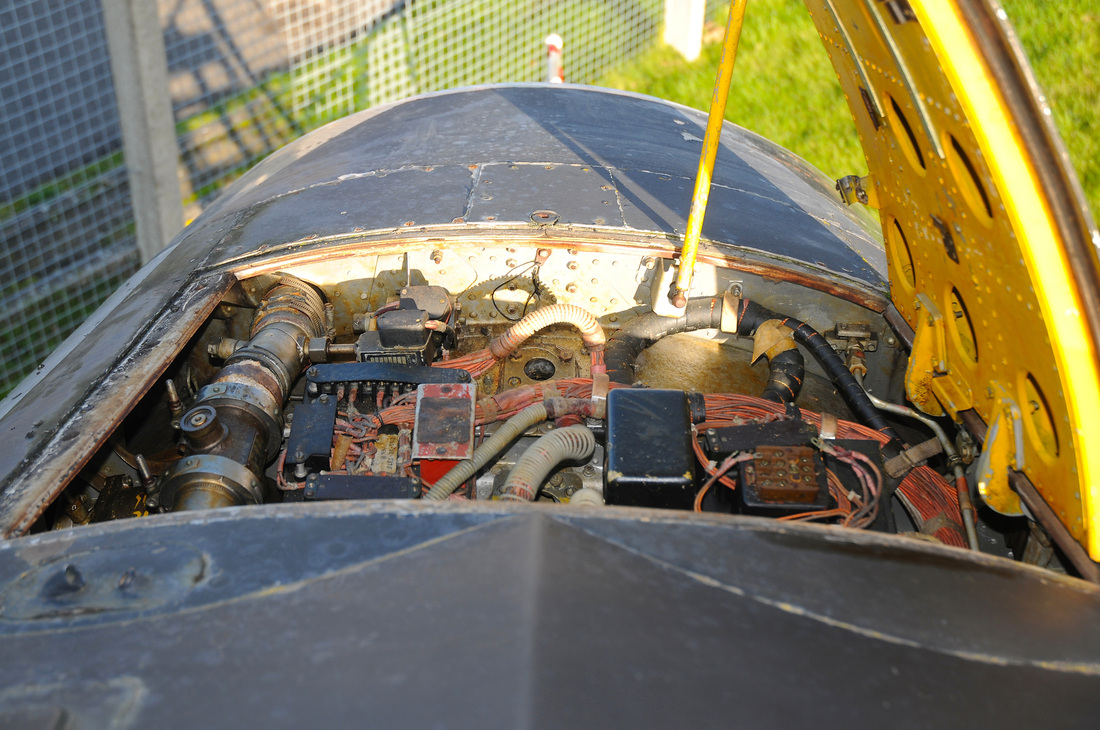
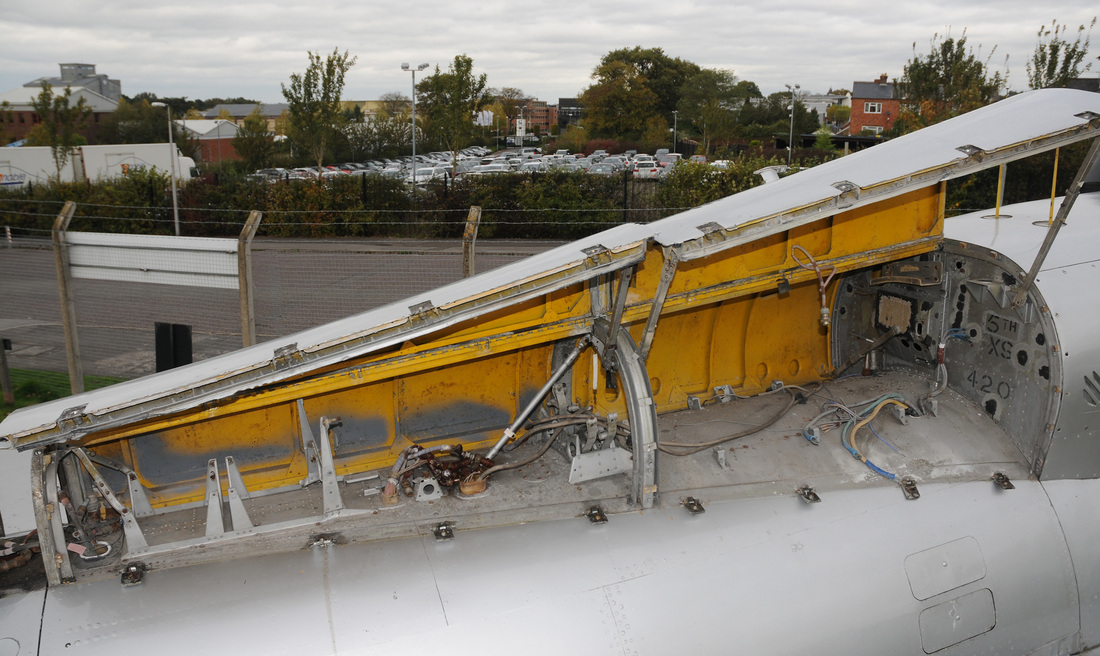
There has been plenty of work going on over the first quarter of 2022, mainly with the acquisition of black boxes. Several trips have been made to Lincolnshire to collect parts and also to explore my other interest in the area, Bomber Command airfields and associated history. Many of the boxes have now been fitted and have allowed the opening of the spine panels to show the equipment in place. While not complete by any means, it is hoped that more items will become available over time. Interspersed with the more exciting aspects of the Lightning's preservation, routine cleaning and greasing of fasteners, etc., have been ongoing.
I would like to welcome Martin Blades, who has kindly offered his help with XS420. His knowledge of electrical wiring and components as well as 3D printing has been invaluable and much appreciated.
My thanks go to Hugh Trevor for his kind donation of two T.5 Vol 3s to the project.
I would like to welcome Martin Blades, who has kindly offered his help with XS420. His knowledge of electrical wiring and components as well as 3D printing has been invaluable and much appreciated.
My thanks go to Hugh Trevor for his kind donation of two T.5 Vol 3s to the project.
Winter 2021 - 2022
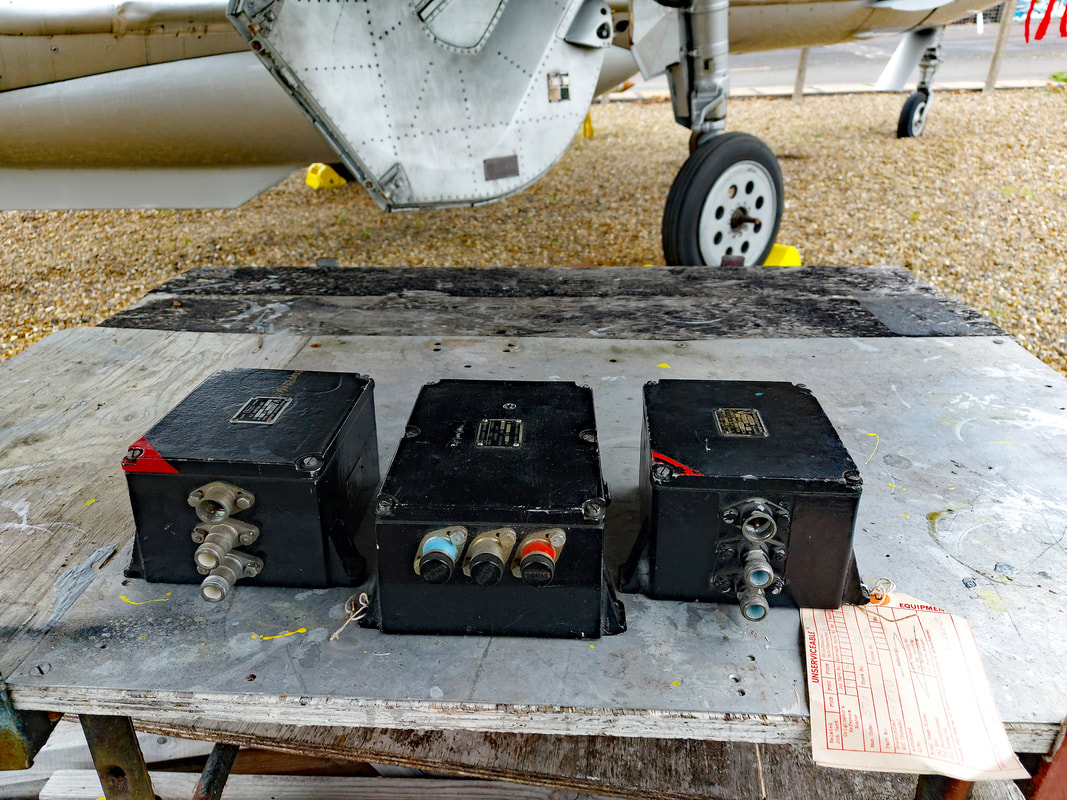
In the third week of January 2022, further black boxes were obtained this time mostly associated with the aircraft's engine starting system. In the first photo, there are two H.F. Ignition Units and a Liquid Fuel System Starter Unit. The H.F. Unit on the left was at one time fitted to Lightning F.6 XR727 which over the years flew with 5, 11 and 29 Squadrons. On 10 May 1988, the aircraft was flown to Wildenrath and ended its days as an instructional airframe and thereafter scrapped by 1992.
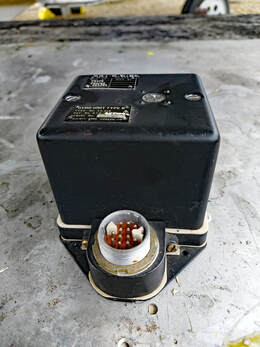
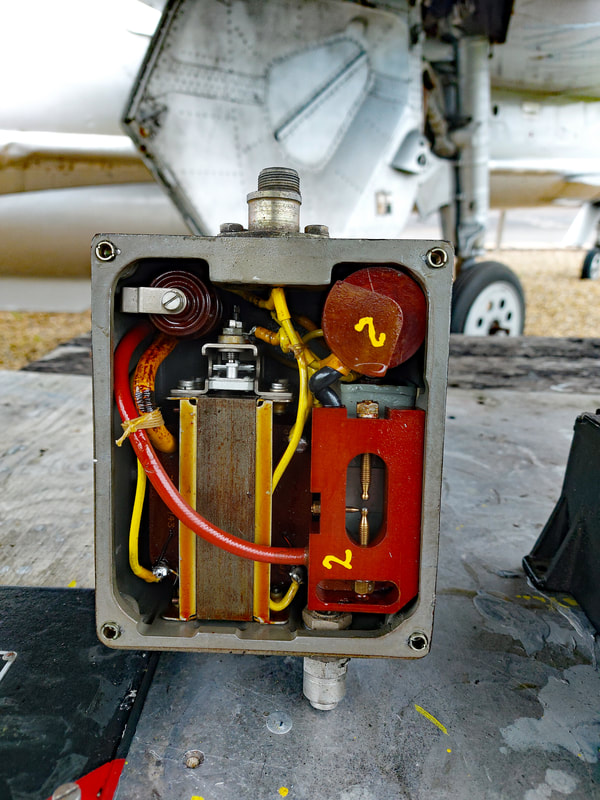
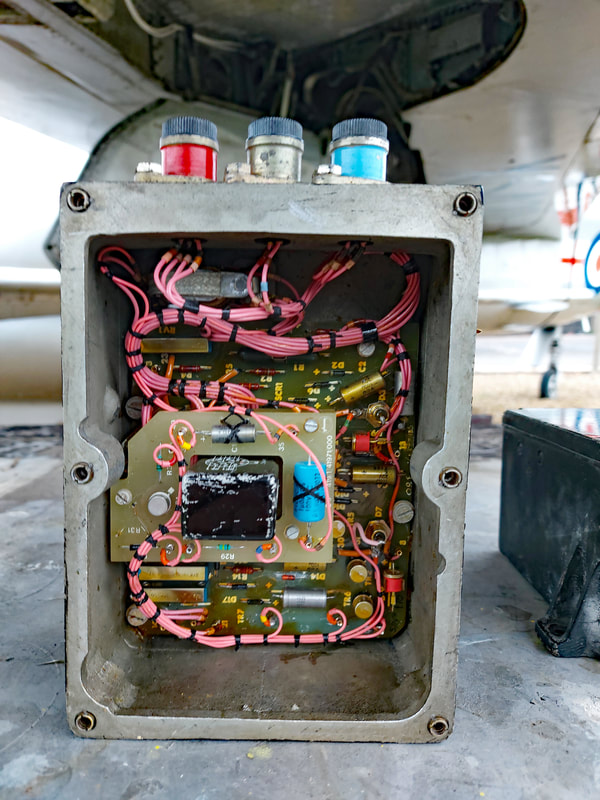
The other black box is a Gyro Unit Type B, one of three fitted (which I've had in the storage container for some time). Being a bit nosey I wanted to see what was inside each one so took the lids off. The aroma inside was that wonderful vintage electrical component smell, if only they could bottle it. Some of the brackets for the H.F and Control boxes are missing so a bit of fabrication will be required to enable me to refit them.
The other black box is a Gyro Unit Type B, one of three fitted (which I've had in the storage container for some time). Being a bit nosey I wanted to see what was inside each one so took the lids off. The aroma inside was that wonderful vintage electrical component smell, if only they could bottle it. Some of the brackets for the H.F and Control boxes are missing so a bit of fabrication will be required to enable me to refit them.
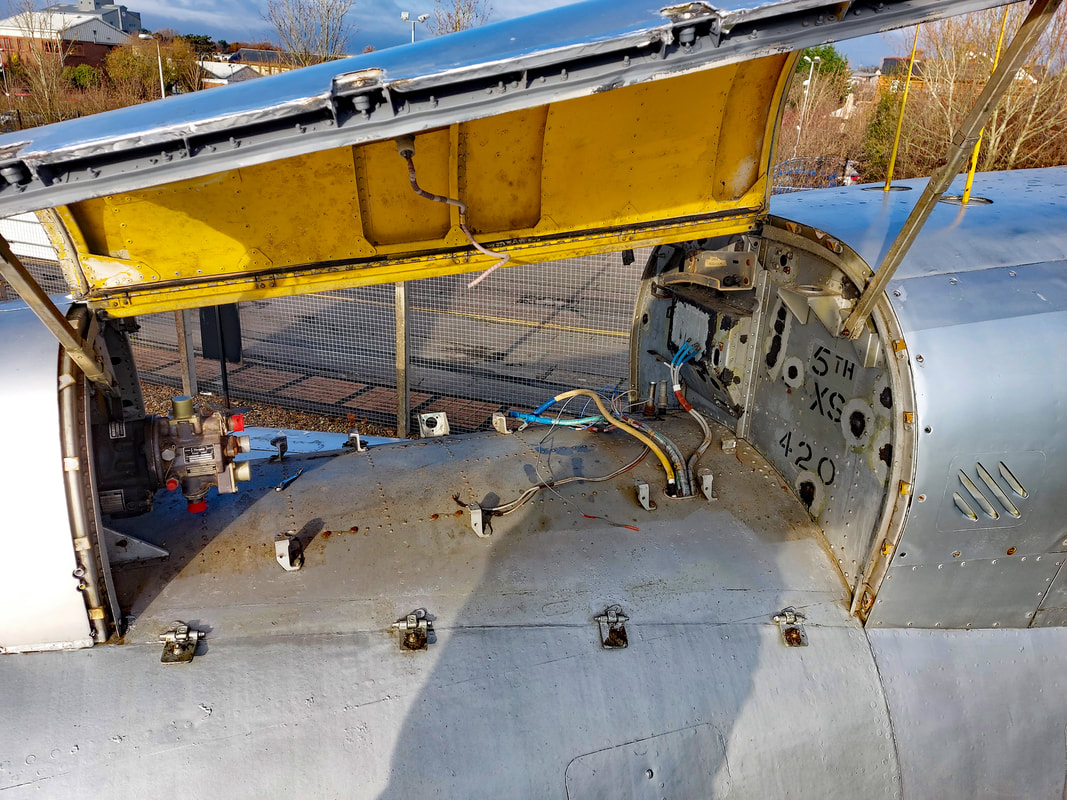
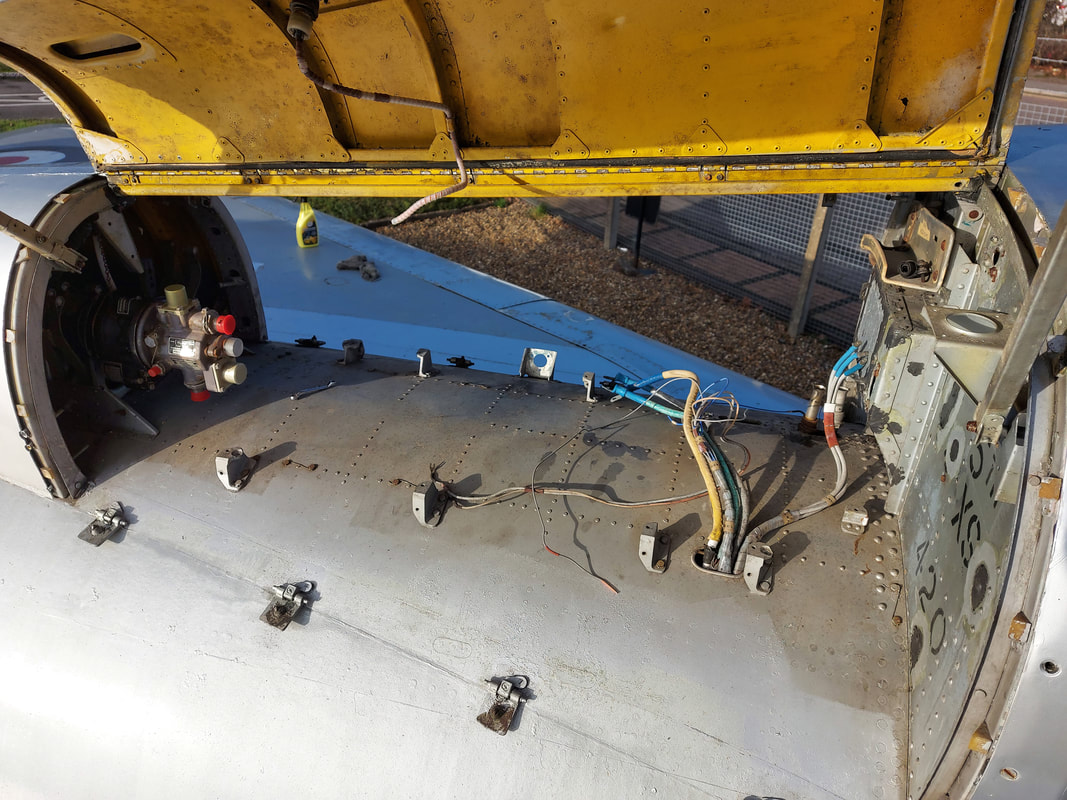
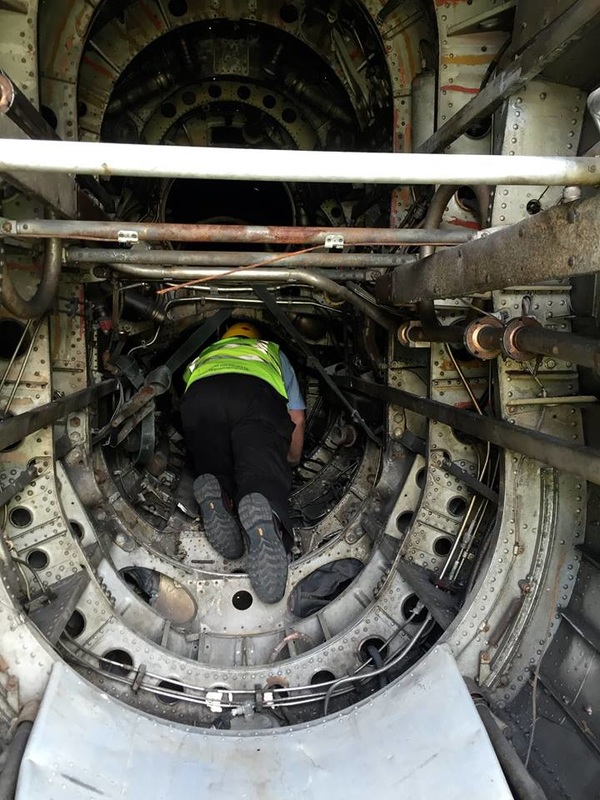
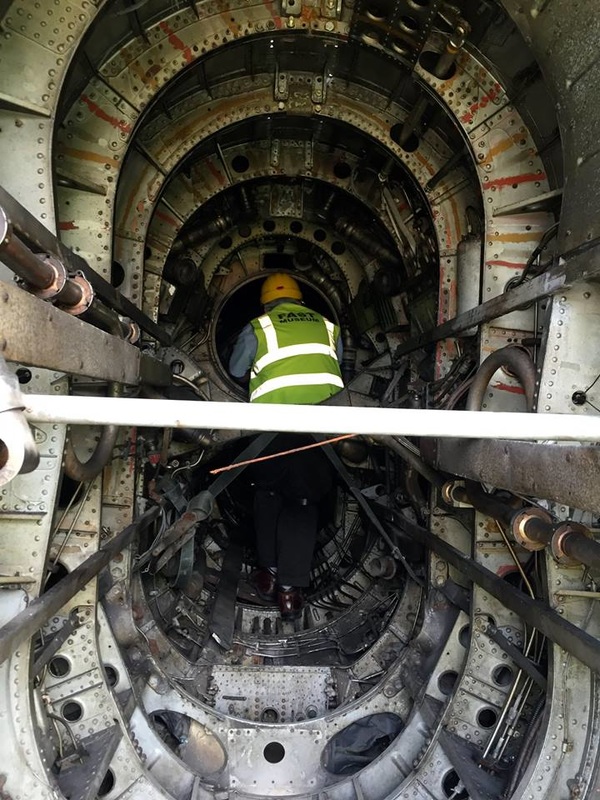
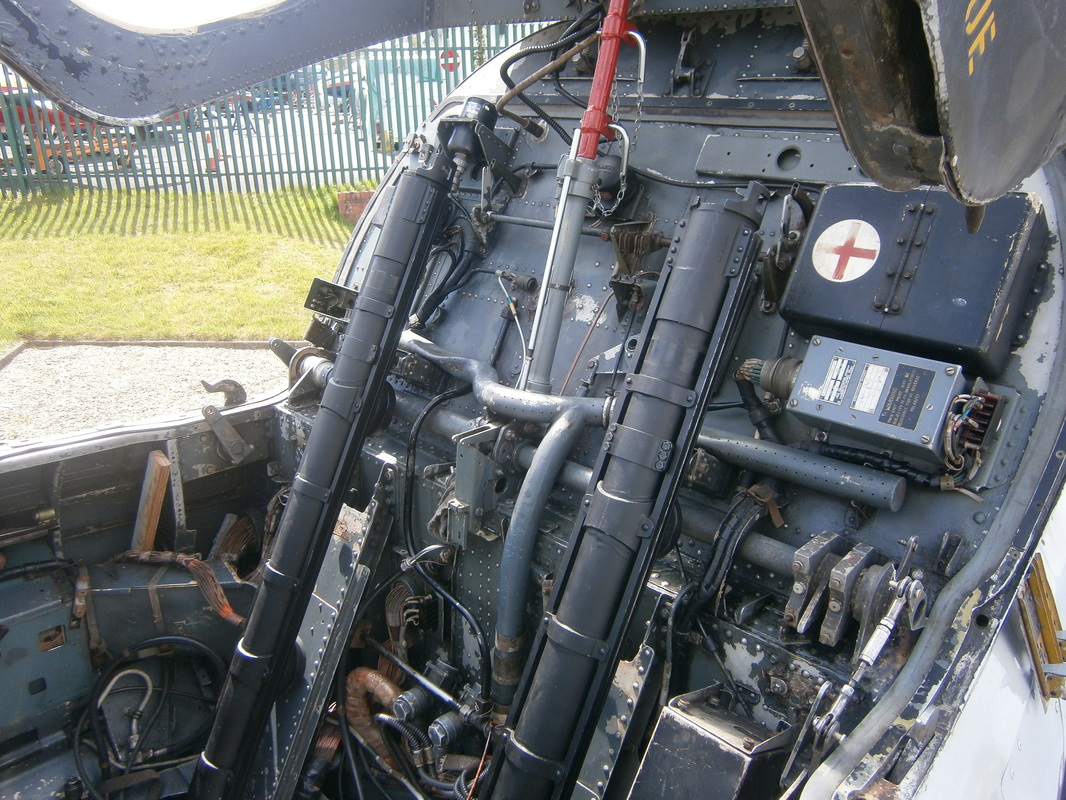
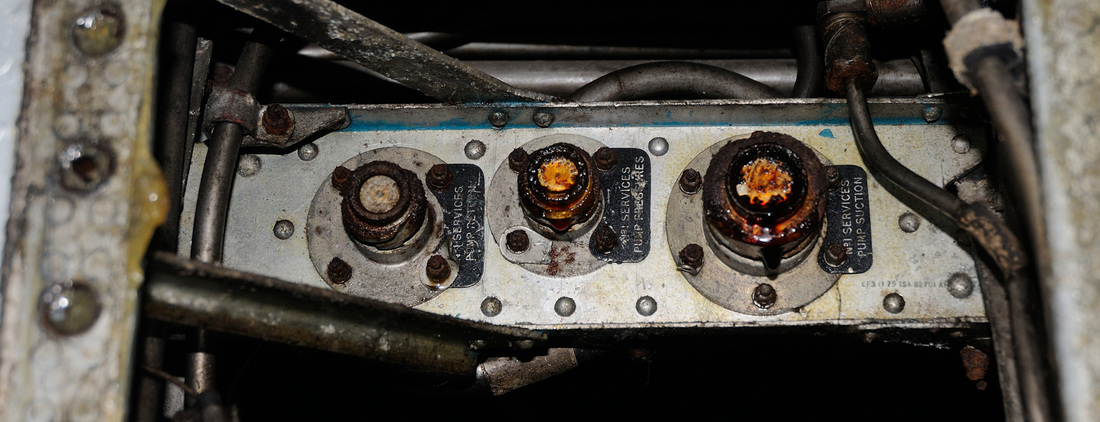
In mid-January 2022, a road trip was made to the wonderfully flat landscape of Norfolk; the purpose of the visit was to collect some parts that had come from XS420 many years ago. Thanks must go to Chris Garver, who had the foresight to save the items from being scrapped. If he'd not, an important piece of the aircraft's history would have been lost. The photo below shows some of the equipment reinstalled to the fuselage spine area. Visible to the left are the two black Avpin pumps which supplied fuel to the Plessey Liquid Fuel Starter System which spun up the two Rolls-Royce Avon 302Cs turbojets which in turn allowed the power-plants to start. It is hoped, over time, other items will be obtained to enable visitors to see the internal workings of this complex machine.
Summer 2021
As the pandemic eased FAST reopened its doors to the public, which was very welcome after a long period of of no footfall through the museum. Another bonus was the return of Cockpit Fest which is always a highlight of the aviation year. Held over three days from 28 to 30 August 2021 the chance was taken to display XS420's information boards. A steady stream of visitors made for an enjoyable weekend and 2022's event is now looked forwards to with great anticipation.
Winter 2020 and Spring 2021
While the museum at FAST has remained closed due to the pandemic, access has been available to XS420 so work has been continuing. This has mostly revolved around painting which has met with varying degrees of success. The problem with silver is trying to match the existing finish which has been nigh on impossible. Luckily Lightnings in service did not have a uniform look so the varying shades do not look out of place and are in fact more authentic when compared with contemporary photos. Work will continue and one of the next challenges is the starboard side of the fin, as this is in need of attention.
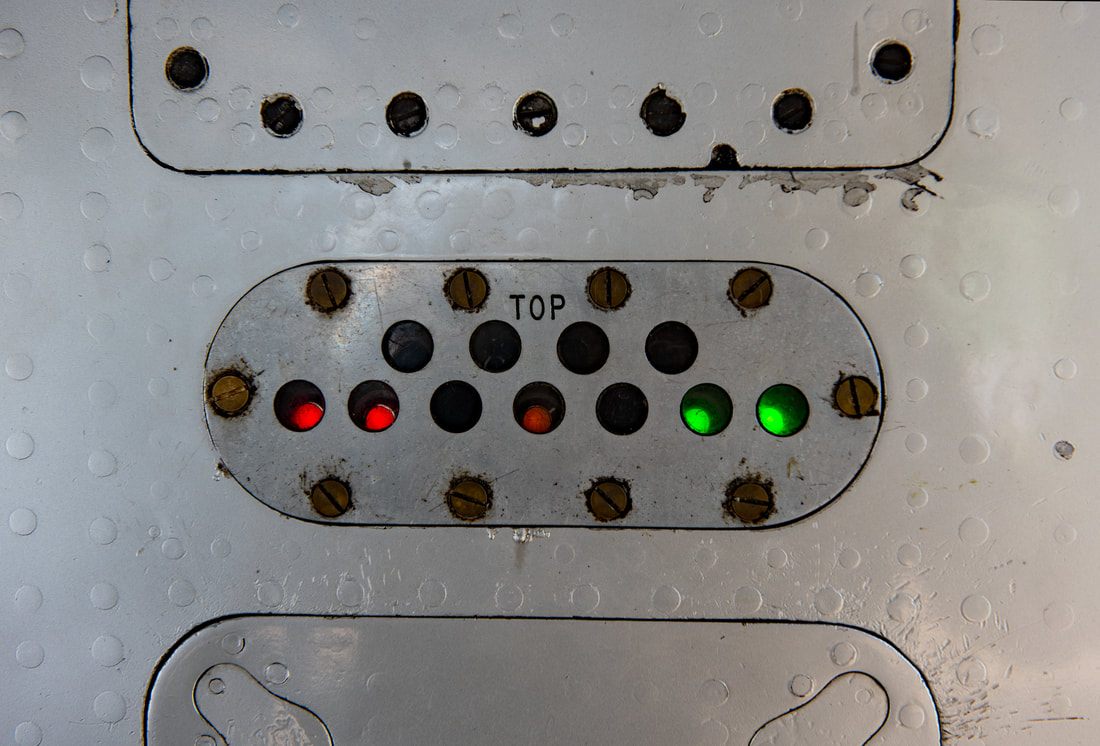
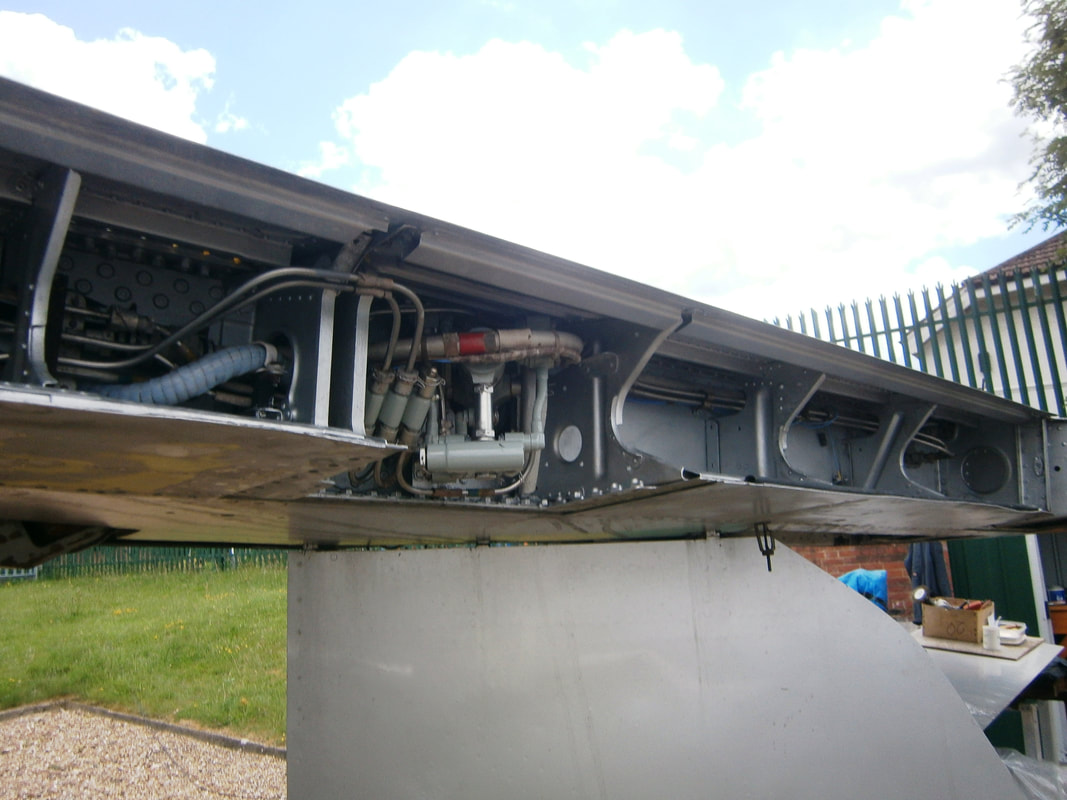
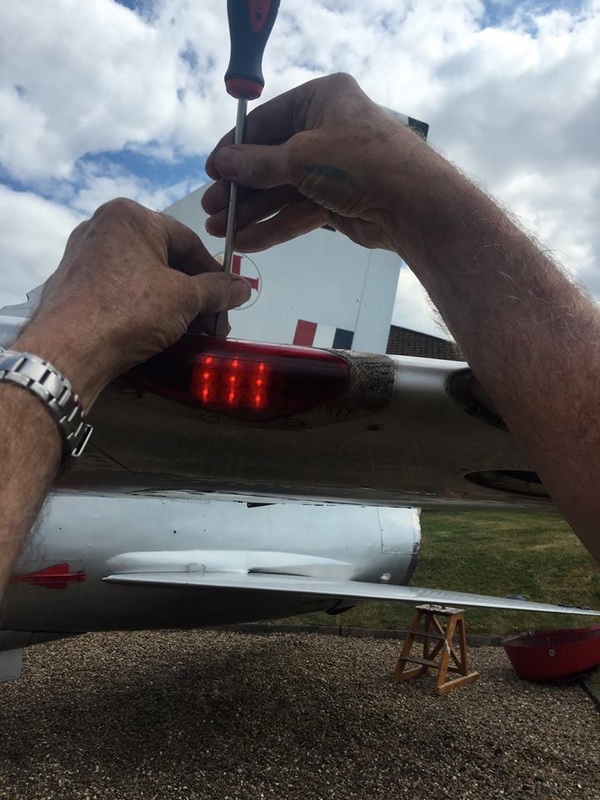
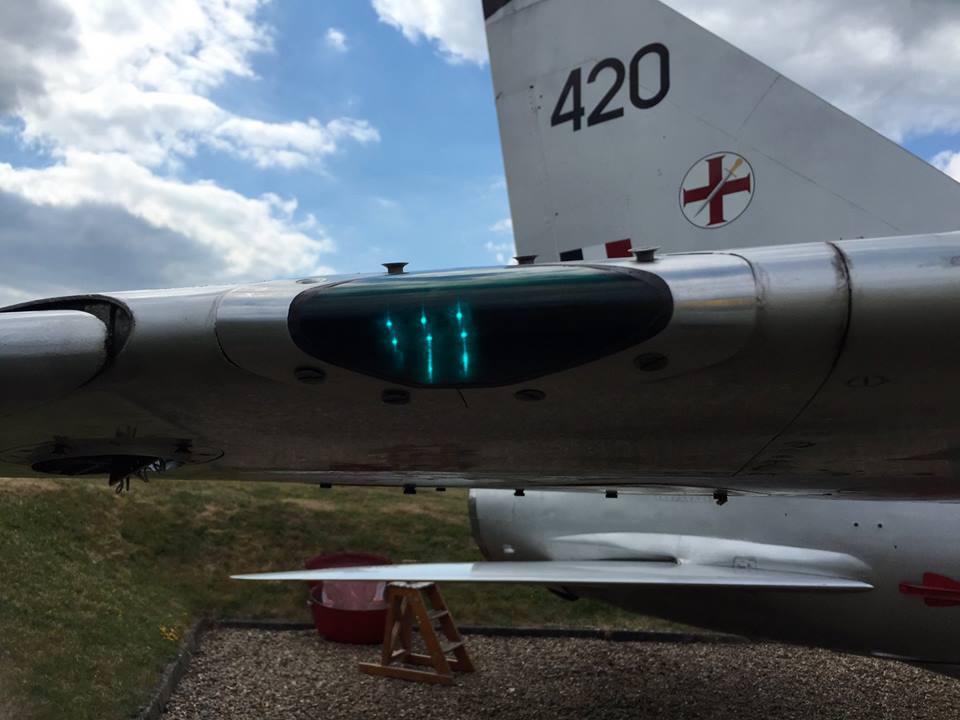
Another job recently completed was wiring up the refuelling indicator lights located under the port wing. The centre yellow one is not very bright and this will be looked into at a later date. The lights represent red for the flap and main tanks, green for those on the starboard side, and yellow for the ventral. Either side of the yellow are fire extinguisher indicators, while the top row is for the overwing tanks, which were not fitted to the T.5 although the plumbing does exist for them.
Another job recently completed was wiring up the refuelling indicator lights located under the port wing. The centre yellow one is not very bright and this will be looked into at a later date. The lights represent red for the flap and main tanks, green for those on the starboard side, and yellow for the ventral. Either side of the yellow are fire extinguisher indicators, while the top row is for the overwing tanks, which were not fitted to the T.5 although the plumbing does exist for them.
November 2020
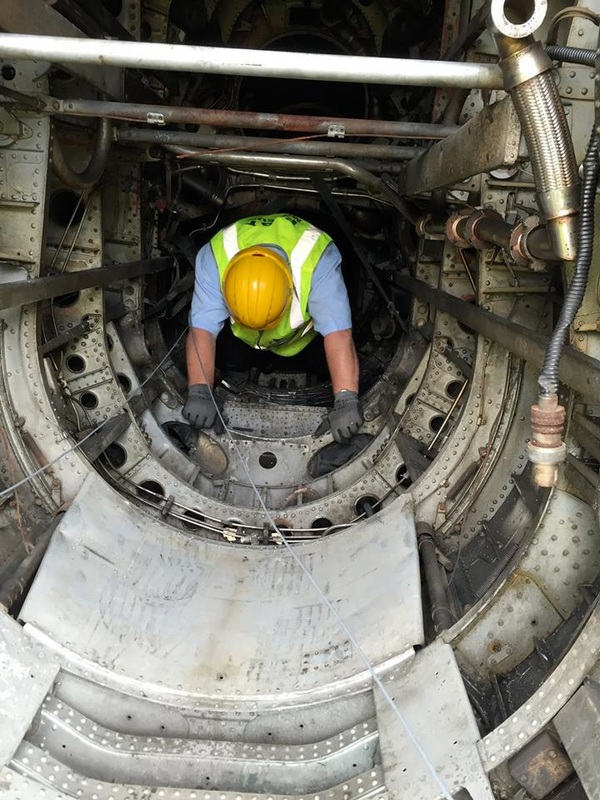
The chance to procure some of XS420's spine components has arisen, which is a very rare event. To prepare for this some work within the spine has been undertaken prior to the fitting of the parts. The struts that support the panels when raised have been reattached and greasing of hinges has been completed. It's hoped the parts will allow a more interesting perspective when the panels are open. Now it will be the time to lookout for the components that populate the various racks, both within the bay shown and for the one forwards of this. All in all an interesting project.
October 2020
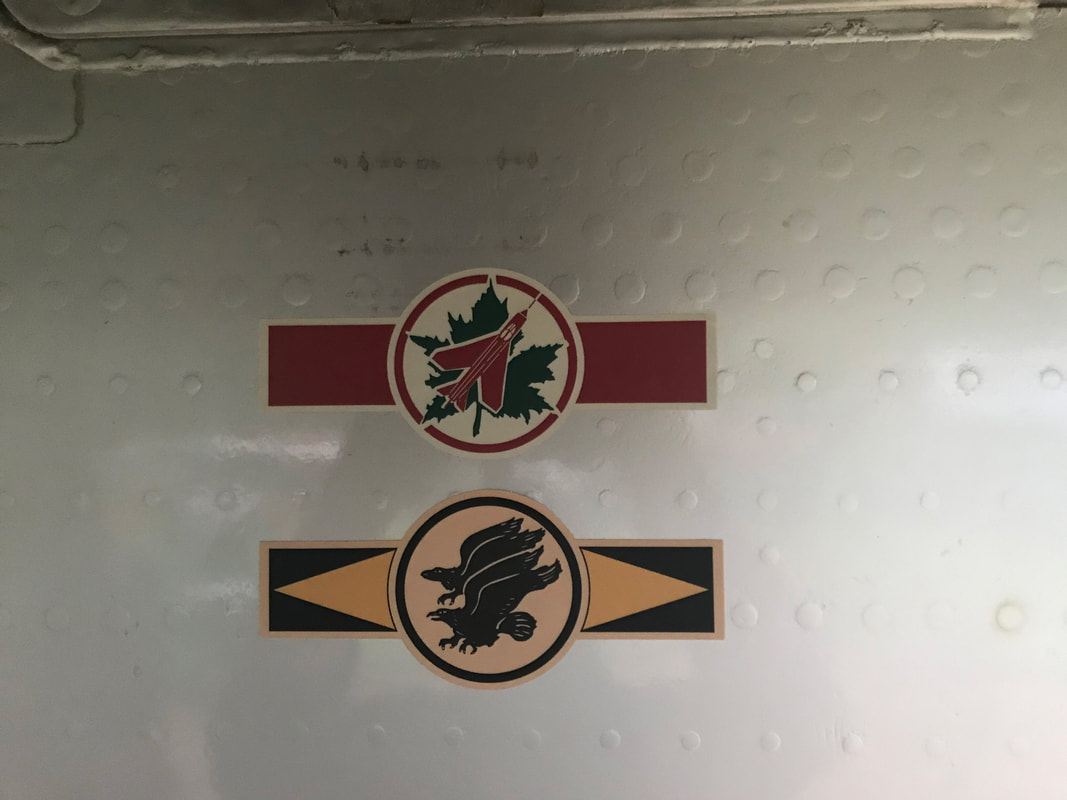
Kindly sent from Bill Beardsley in the USA, 5 and 11 Squadron crests, now applied to XS420's starboard fuselage.
December 2019
With thanks to Al Stepney for supplying the flasher unit for XS420's anti-collision lights.
Also for his work in getting warning panels and Attention Getters working.
September 2019
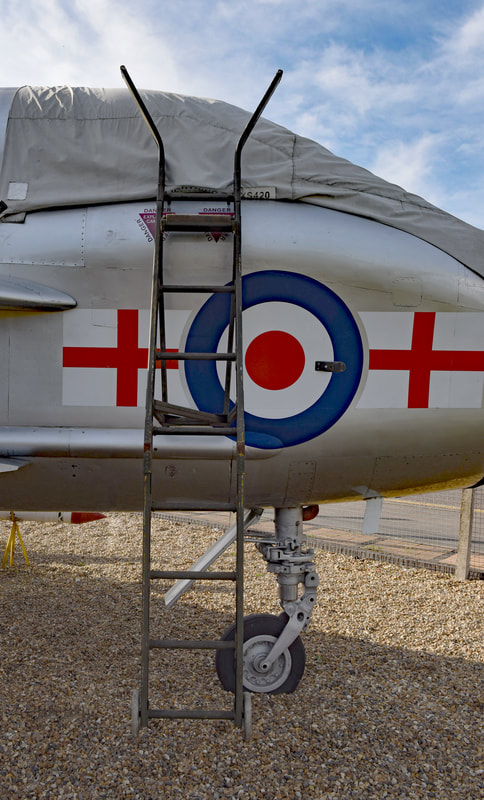
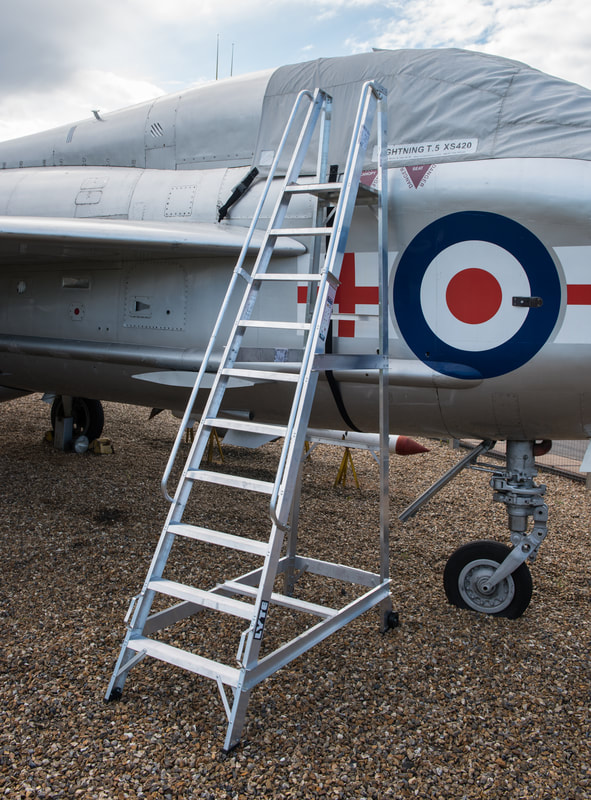
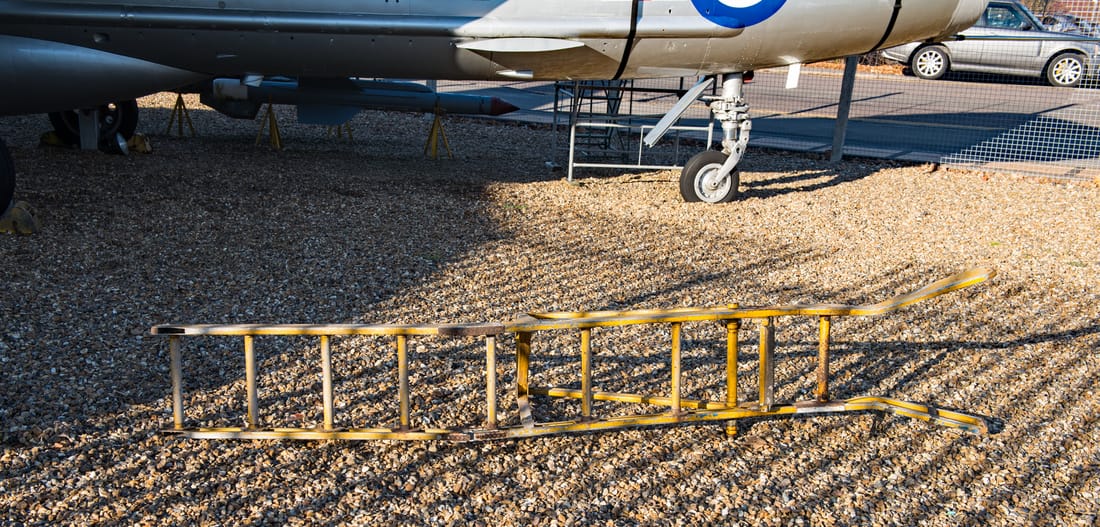
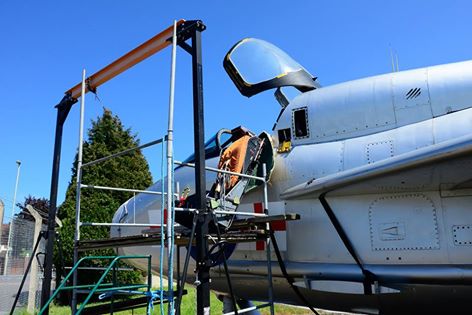
A very rare T.5 crew access ladder has been obtained.
July 2019
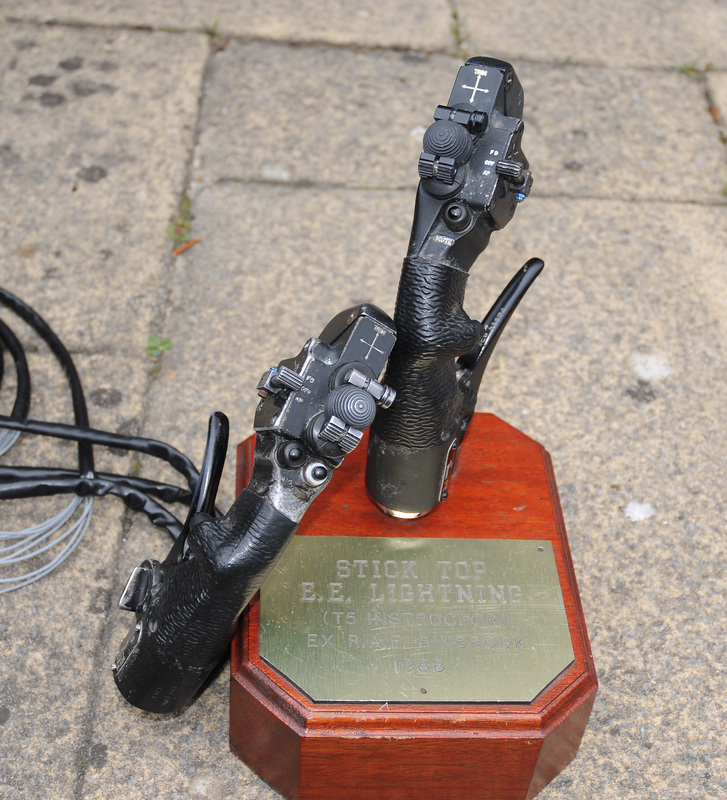
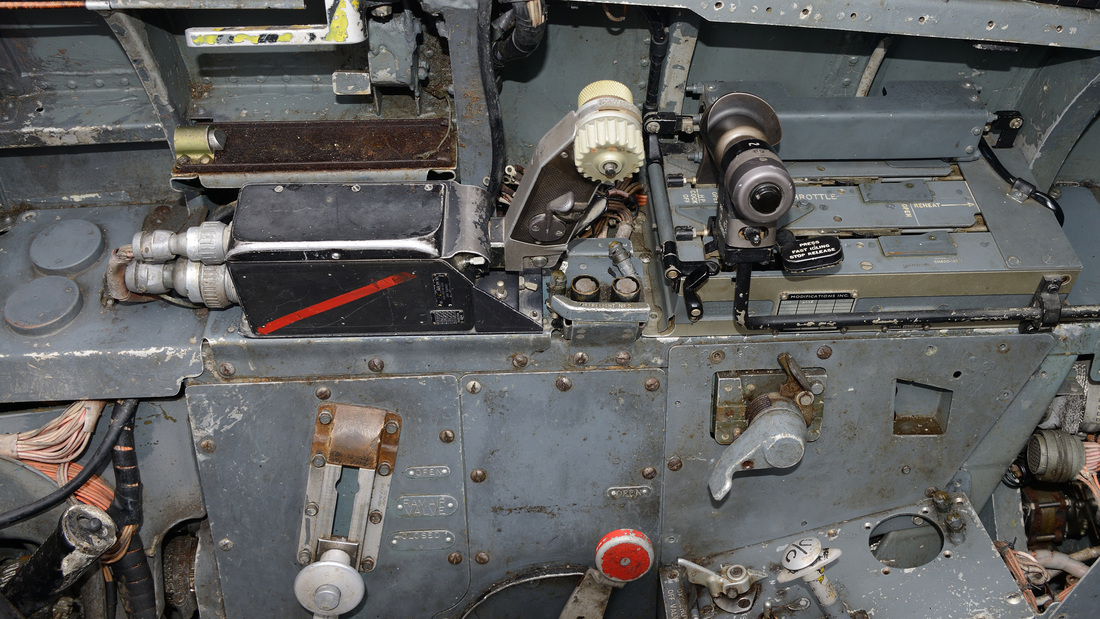
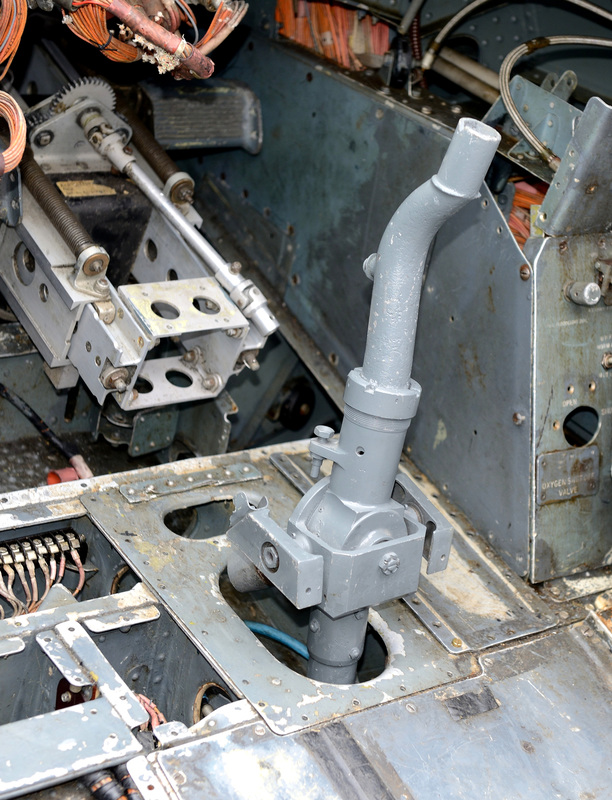
Instructors swan neck and stick top fitted.
June 2019
Instructor's control column pedestal obtained and fitted.
Refitting of starboard flap and painting completed.
May 2019
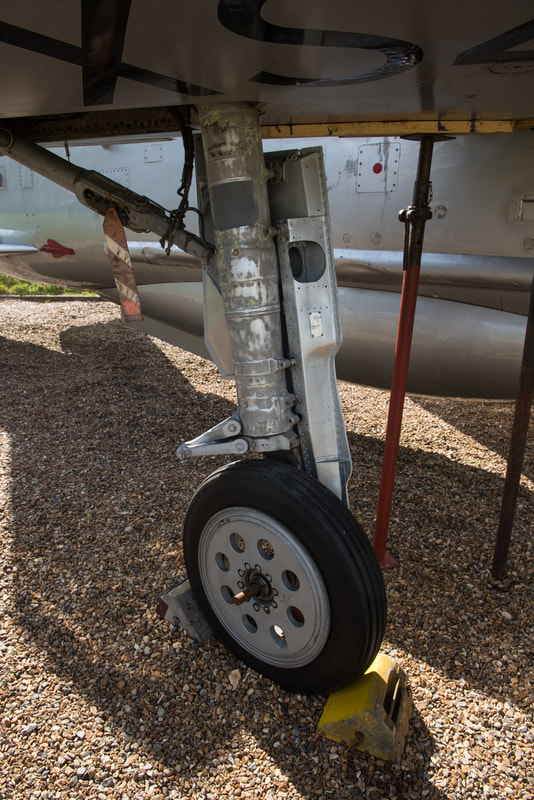
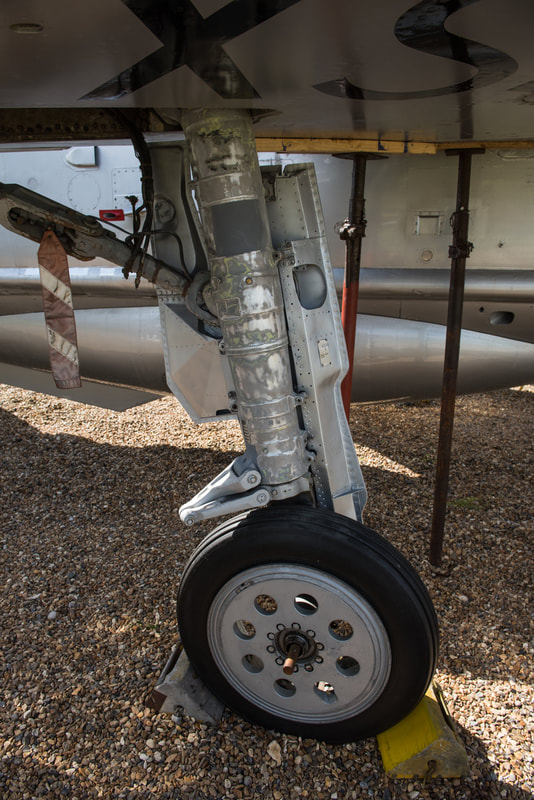
Port and Starboard Oleo Clamps fitted.
Access ladder acquired.
April 2019
Continuing with work on the upper part of the starboard wing today. Replacement panel now in place and etch primed. Bottom right shows the work that needs to be done to prepare for painting.
More progress today on 420's starboard flap. Bracket Mk.2 in place, flap now in correct position (this bracket is to pull flap into up position, main weight is held at three other points along trailing edge). All original inner flap attachments and jack missing hence the need to make new. Fabricated missing upper wing panel and fitted in place. Next to secure all panels in position to prepare for painting.
February 2019
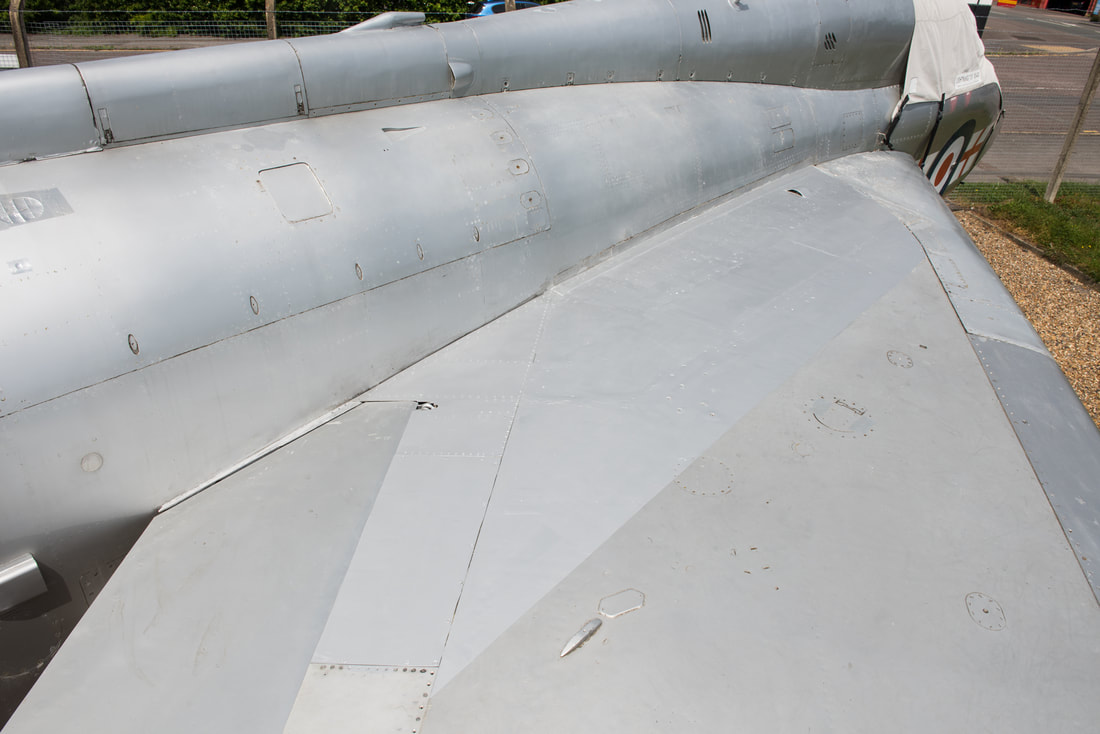
Good progress today (10 February) as 420's starboard flap is now reattached and able to remain in place with no support. I've also made bracketing that keeps the flap in the up position. The reason there was an issue is when the aircraft was moved many years ago the wings were cut and the inner starboard jack and all its fixings went missing. So there was nothing to attach the flap to. Initially before I obtained the aircraft some effort was made to reattach the flap which was partially successful but meant it was in the down position, far from ideal. It is now in the up position, supporting its own weight and I can start to refit the upper wing panels and get it all painted. This makes me happy as the starboard inner upper wing section has for some time looked very shabby so hopefully soon I can rectify that
January 2018
All external lighting is now finished and functioning correctly, with the completion of the anti-collision lamp on the aircraft's spine.
December 2017
Work has now been undertaken to allow the port anti-collision light to flash. The addition of lighting is certainly breathing some life back into XS420 and is clearly rewarding for the time & effort expended.
More work undertaken to bring the lighting back into operation, now illuminated are the port & starboard navigation lights, the port landing lamp and the port anti-collision light (although this is not flashing yet).
November 2017
Giving XS420 a bit of life has been a long term goal, so towards the tale of end November work commenced on bringing some of the lighting back into operation. The first light to be illuminated was the starboard landing lamp.
July 2017
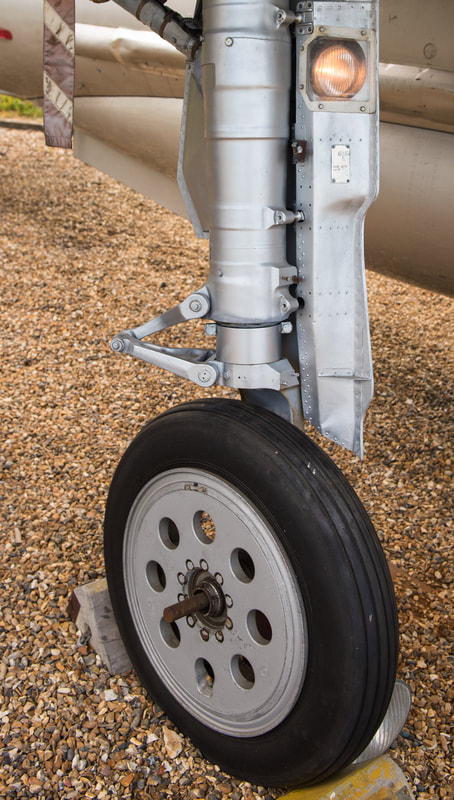
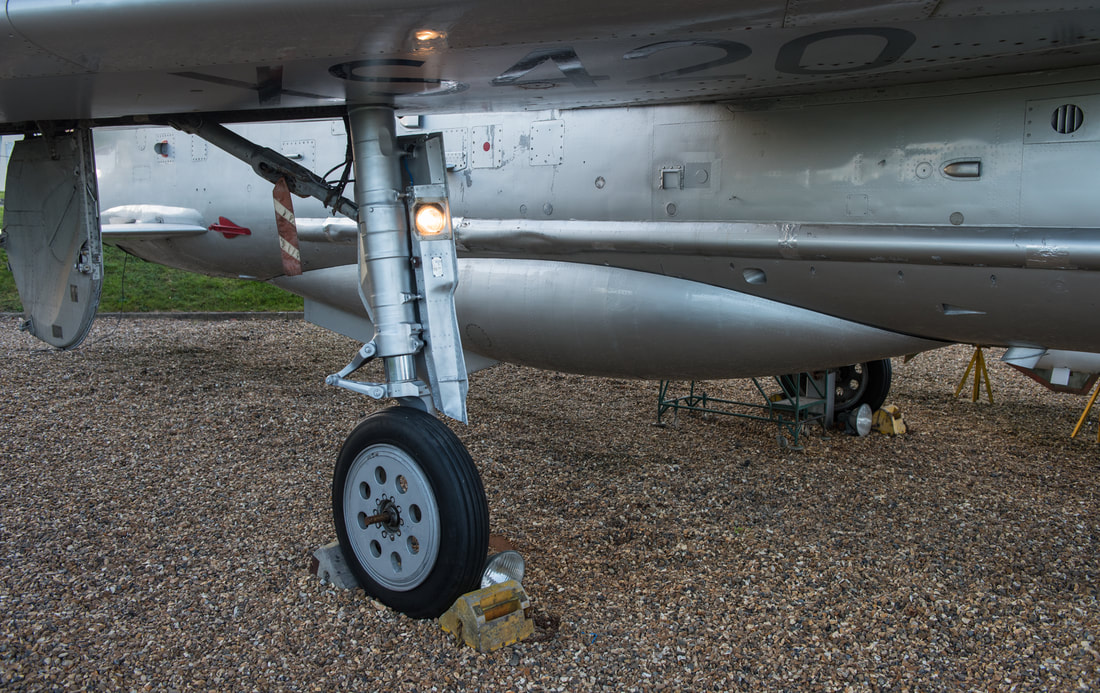
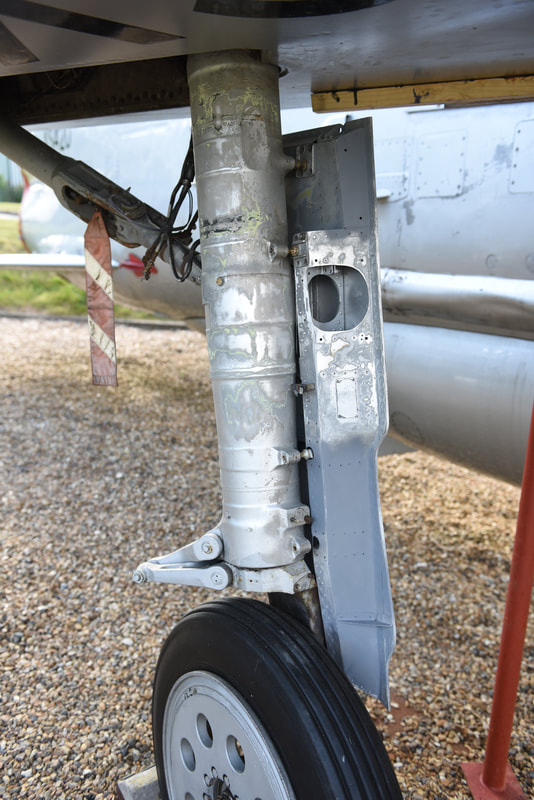
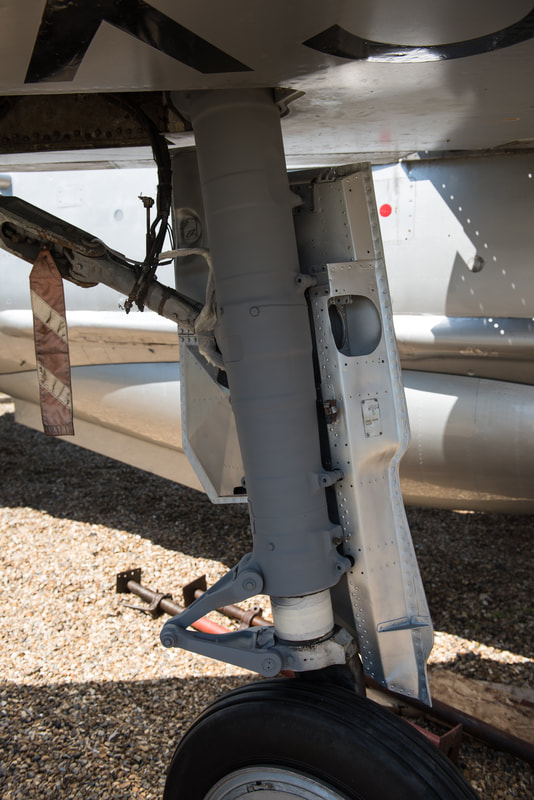
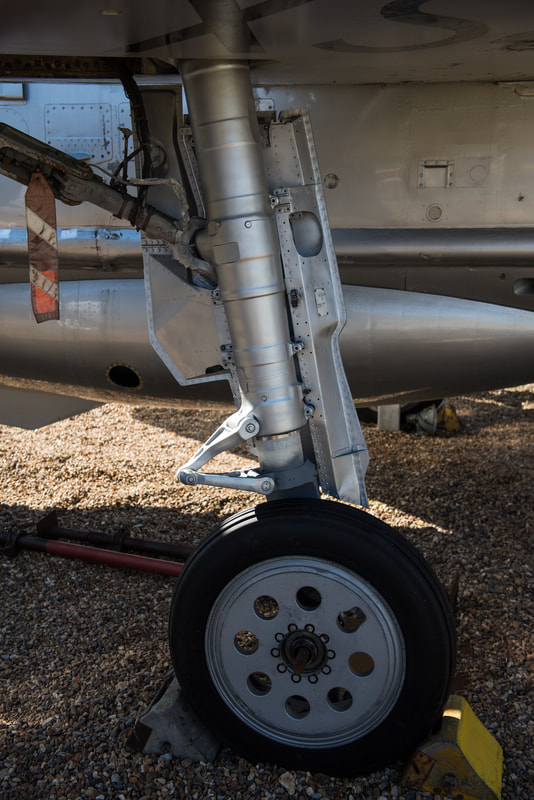
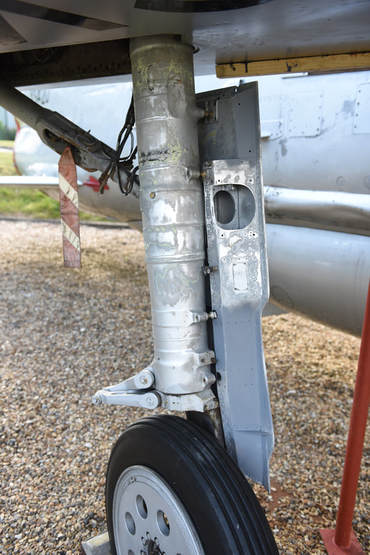
I'd not considered doing much this weekend (1st & 2nd July) with 420 but when such thoughts strike there is usually a happy outcome. The starboard undercarriage leg has now been primed and painted. Attached are some before and after photos with the first one taken some weeks back.
June 2017
XS420 went up in the world on Tuesday but only by 4 inches!!! Words & Photos Derek P.
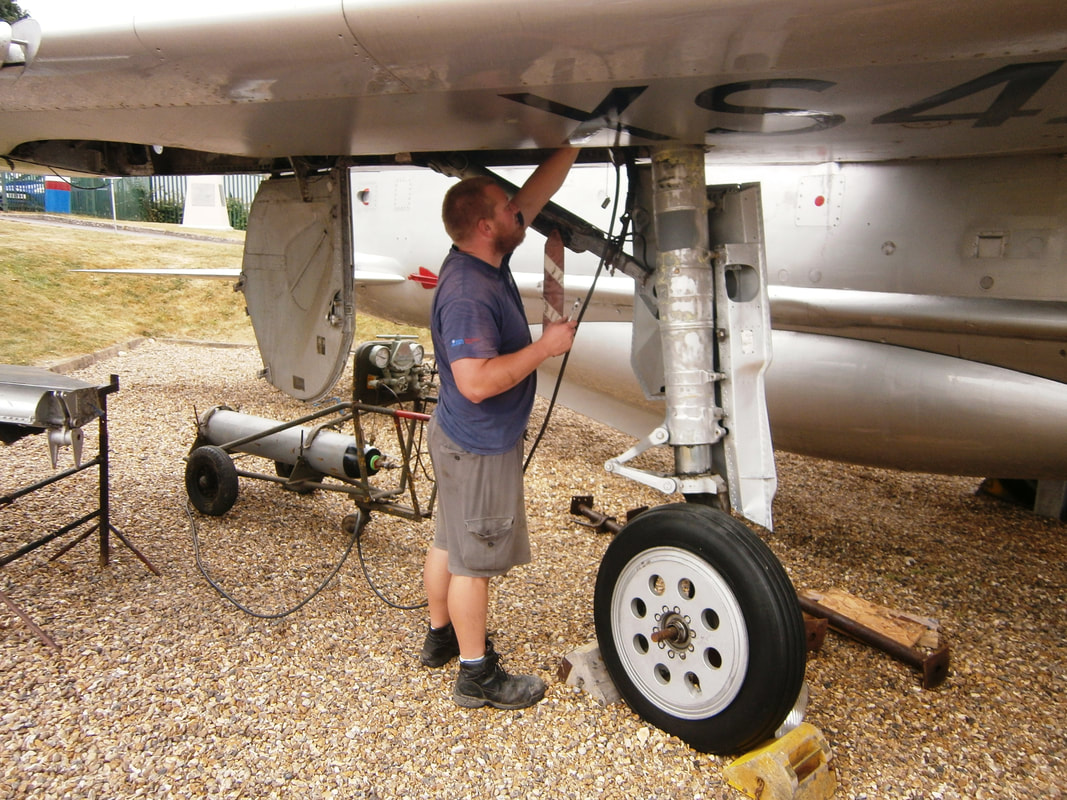
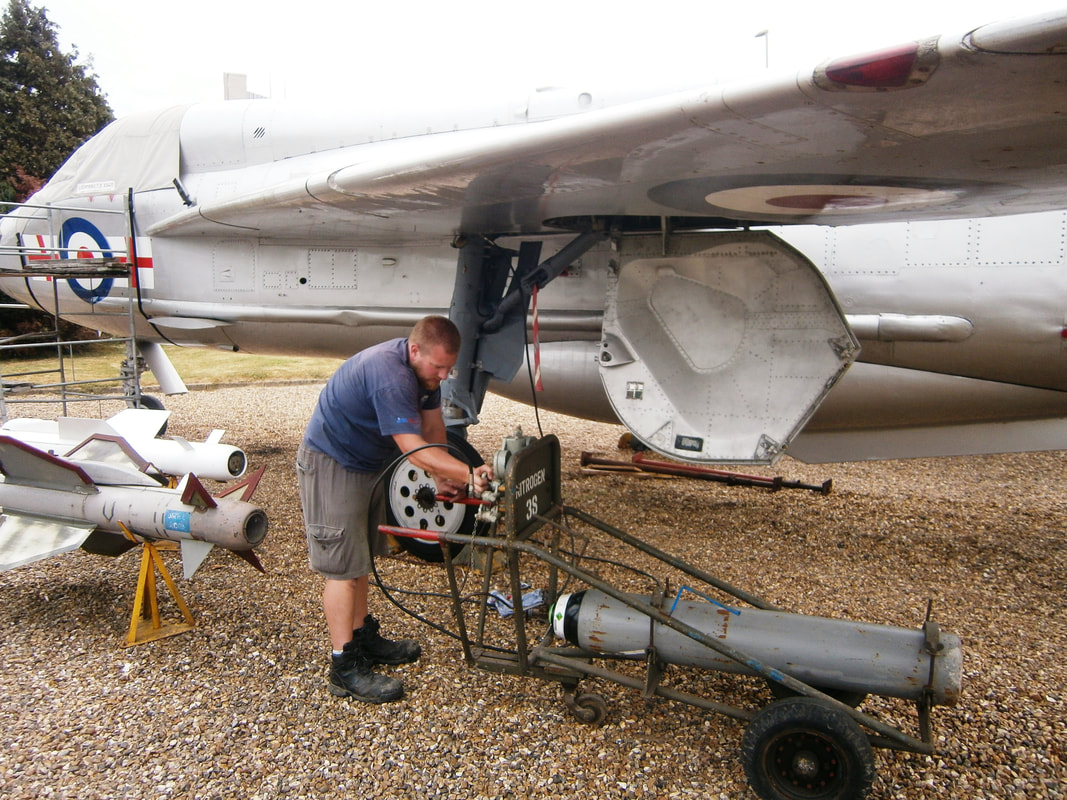
A big thank you to Dave and Ashley from the Gatwick Aviation Museum who brought up a nitrogen bottle and various fittings for their Turner adaptor to reset the oleo heights of the main u/c legs. All the appropriate connections were made but at first there was some doubt whether the right hand one would actually move as it was bottomed out and looked a bit rusty. Suddenly as Dave slowly increased the pressure up 400 psi there was a sharp crack and the airframe slowly staggered skywards and by the time the supply was turned off it had settled to four and one sixteenth of an inch!!!!
The kit was transferred to the left leg which was also quite rusty on the fescalised portion (shiny bit!) but this needed 500 psi to get moving and again was set to the same height as the right leg. 420 now looks as if she owns the airspace at FAST.
If the pressure starts to drop away we will have to make up a couple of steel collars to keep the a/c at a reasonable height.
Many thanks and well done Dave and Ashley.
Another very enjoyable weekend at Cockpit Fest 2017 Newark with XS420's info stand.
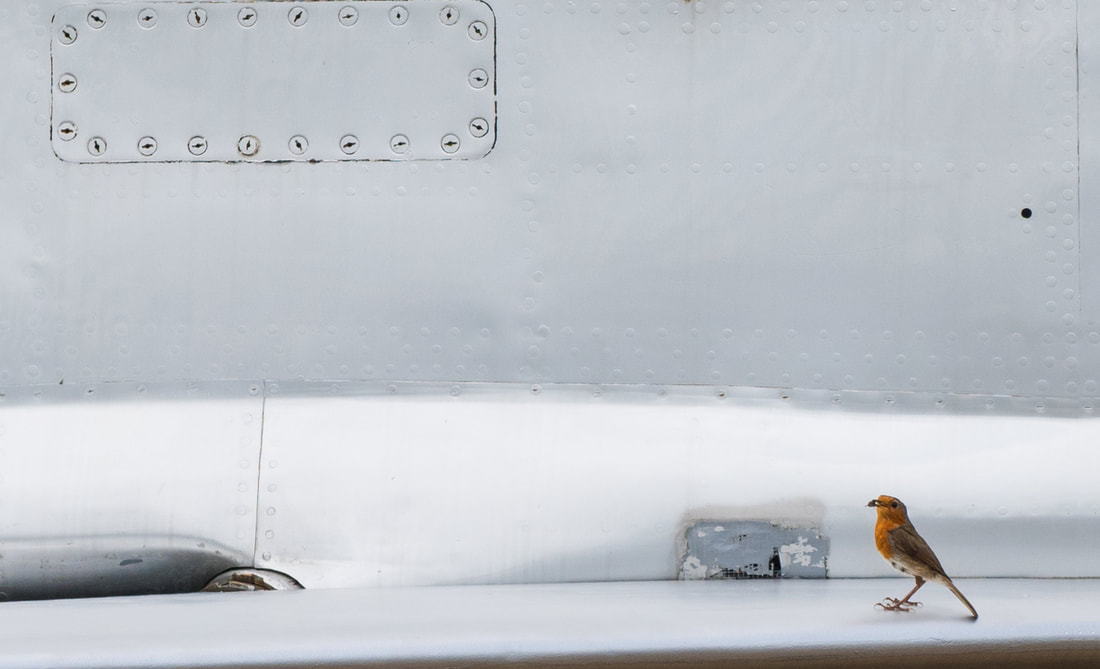
Our little friend was back again today. y
After the ventral tank work another task was undertaken to remove Panel 87. As usual some of the fasteners were unwilling to play ball but in the end with some muscle from Andy Wootten the panel was removed. It was revealed this panel came from Lightning F.6 XR757 so that's another one that goes to make up 420. With the greasing up of the fasteners and some general cleaning around the area the panel was refitted.
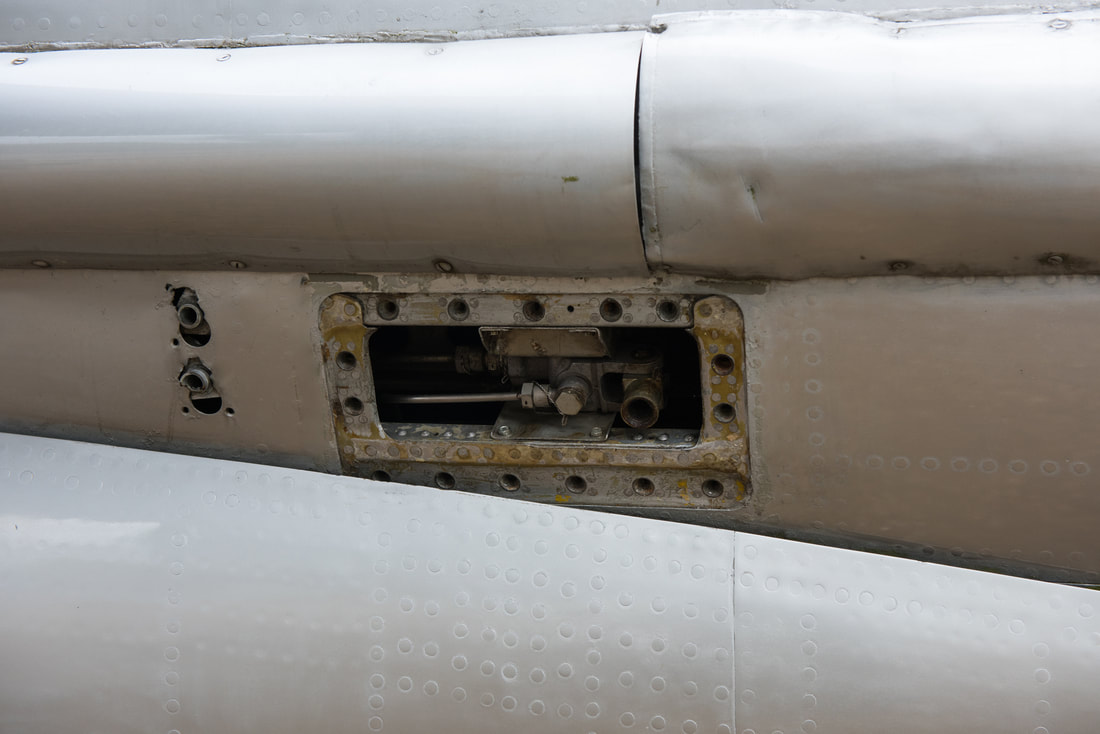
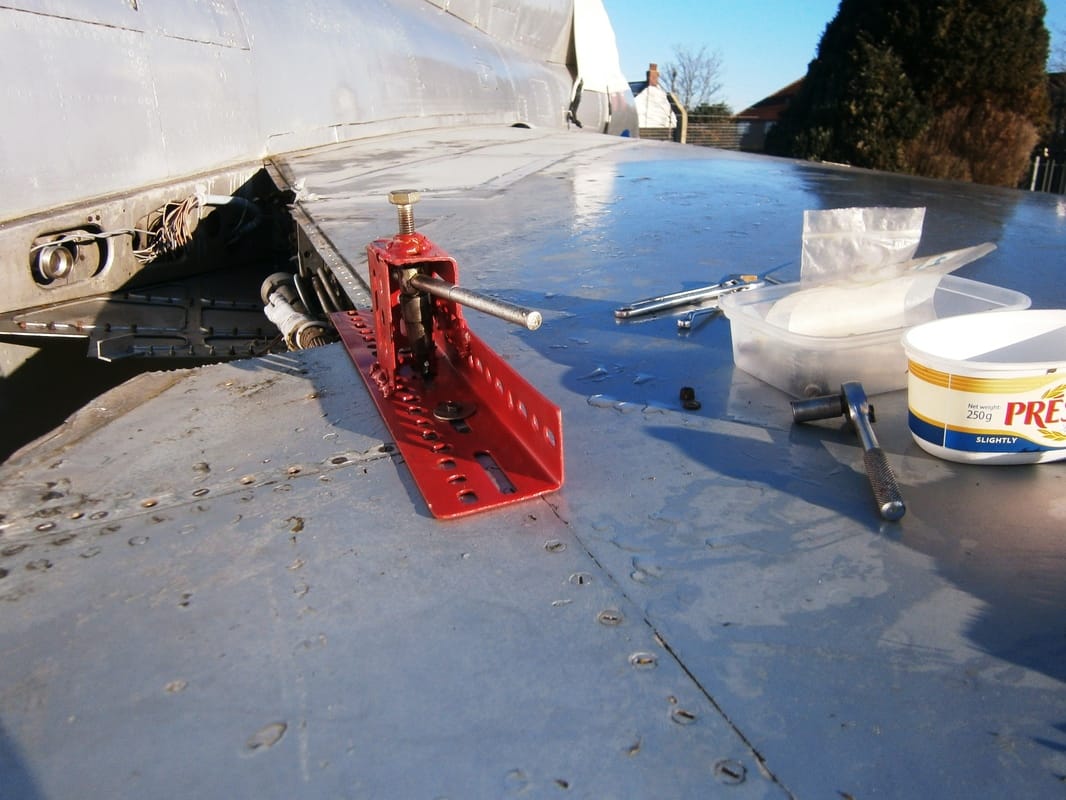
On the evening of 8 June 2017 a planned piece of work took place on XS420. Recently Panel 79 was obtained which covers the hand hydraulic pump located low on the port fuselage just above the rear of the ventral tank. The panel has been restored and painted but the slight fly in the ointment was the two lower left fasteners could not be secured as the upper edge of the ventral tank obstructed screw driver access.
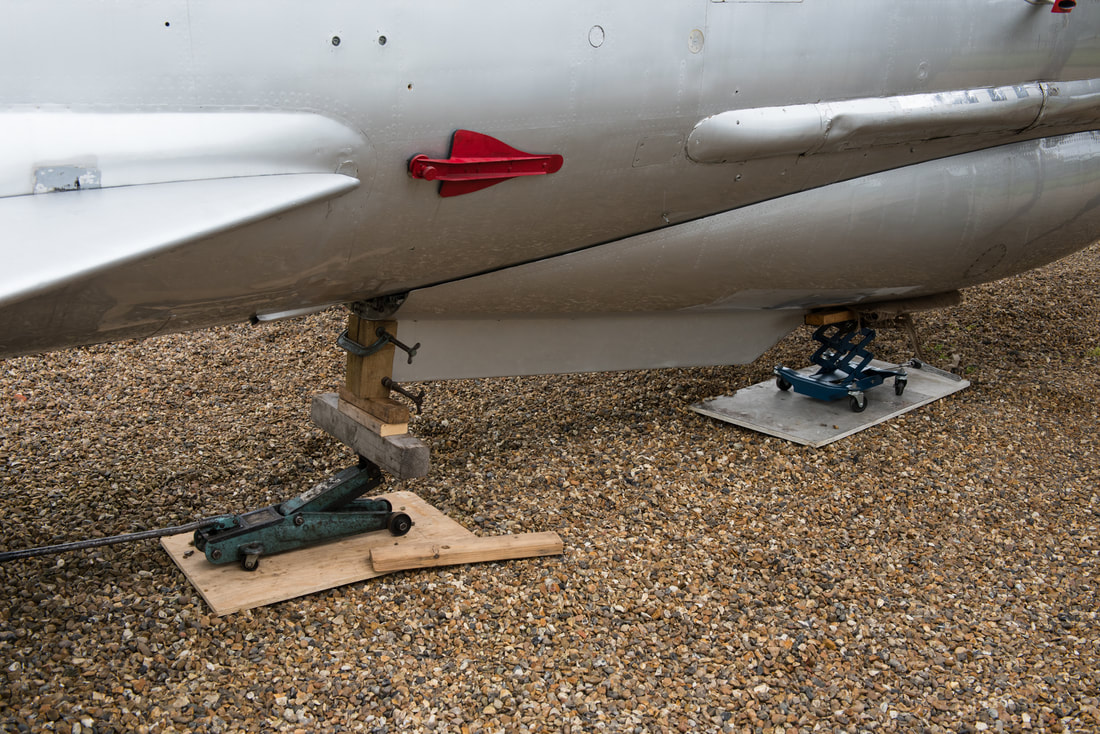
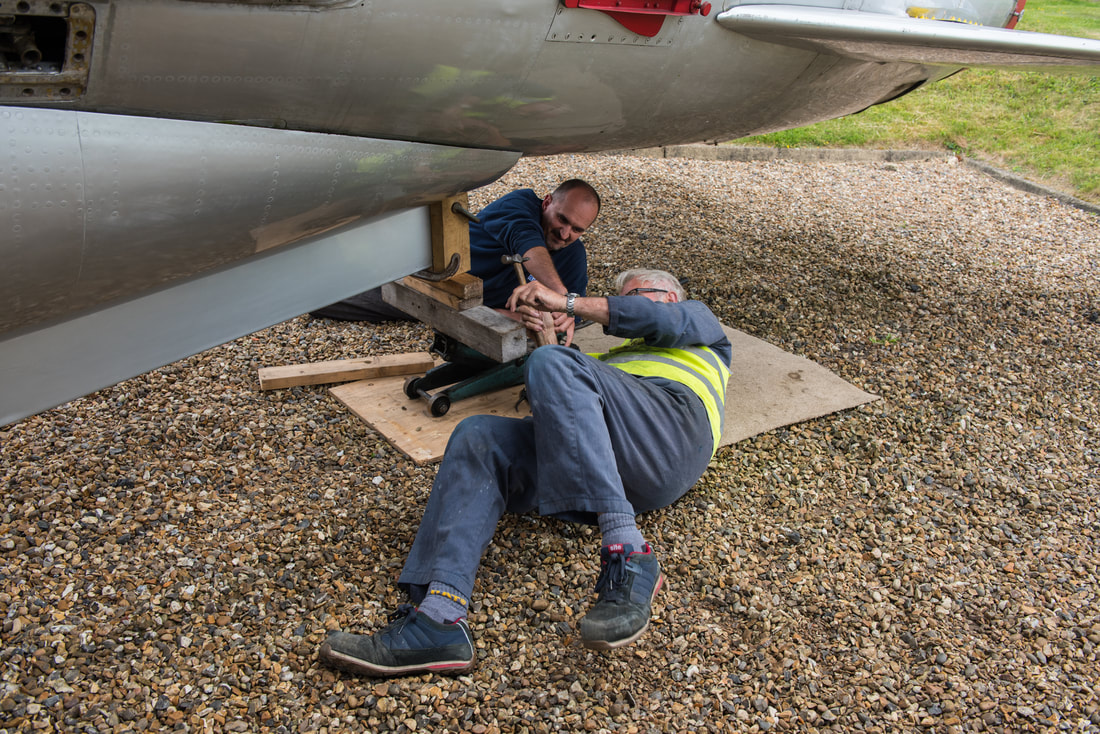
So it was necessary to slightly drop the ventral tank so the panel could be secured. Derek made up two jacks and with assistance from Andy Wootten the plan went ahead and was successful. The two retaining bolts to the rear of the tank were removed and by gently lowering the rear jack enough space was gained to fit the panel and do up the fasteners.
So it was necessary to slightly drop the ventral tank so the panel could be secured. Derek made up two jacks and with assistance from Andy Wootten the plan went ahead and was successful. The two retaining bolts to the rear of the tank were removed and by gently lowering the rear jack enough space was gained to fit the panel and do up the fasteners.
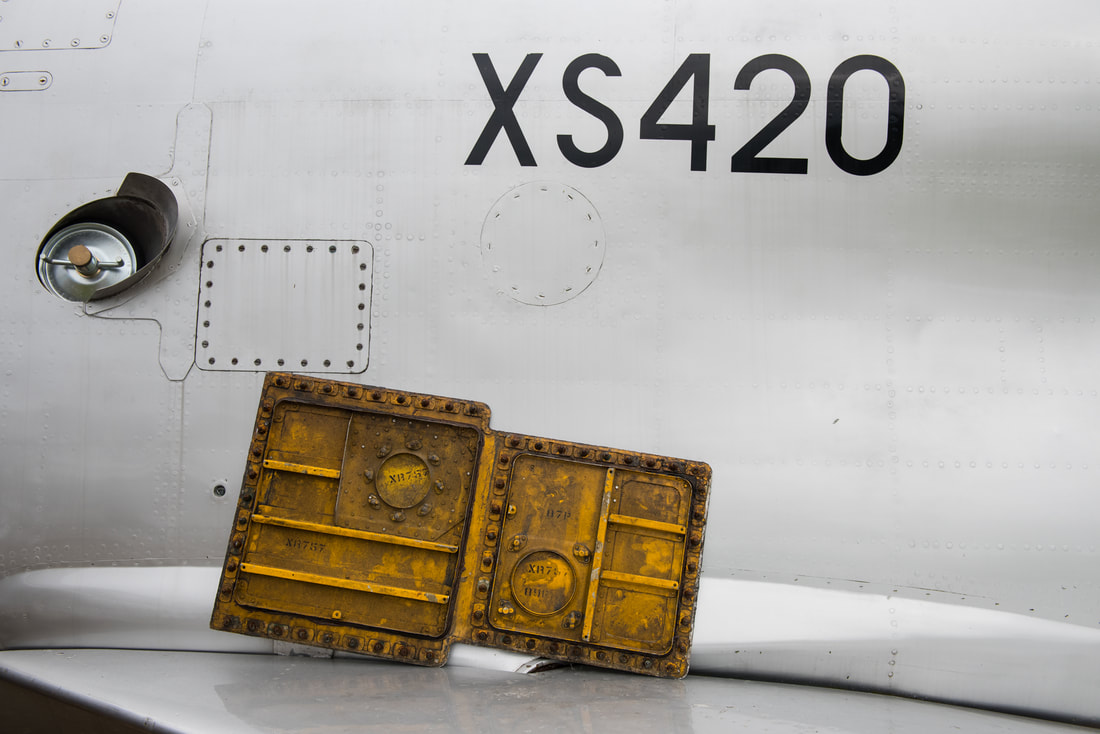
Removal of Panel 69 revealed it used to belong to F.6 XR759 - yet another Lightning that goes to make up XS420
More progress today with a second coat of paint applied to the starboard undercarriage leg fairing and further sanding down of the leg itself in preparation for repainting.
Also at lunchtime today all ten of No 1 engine bay hatch fastening covers on the starboard side were seized in the open position - by this evening they were all free and closed including a very difficult to get to one behind the missile pylon. Amazing what you can do with a bit of string !
Oh and another Lightning appeared on a fuselage panel I removed today but more of that later.
The final trial fit of the refurbished trailing edge assembly. Words & Photo Derek P.
The dent to the far right hand trailing edge of the lower panel will be dressed out when the assembly is secured with its screws. It makes it a bit more rigid to use the hammer and dolly. The metal around the dent will be annealed first so it should knock out fairly easily. Unfortunately there is a rubber seal glued to the trailing edge very close to this dent so the seal will be carefully removed prior to dent removal. This can be re glued as will the seal on the left side lower panel.
All in all this part of the airframe is looking a lot better than it did a couple of months ago!
May 2017
Words & Photos Derek P.
Just spent the last three work sessions fitting the right side u/c door jack plus all of its associated hydraulic components, transfer block, walking joints and pipework. Today was spent wire locking the blighters!!!
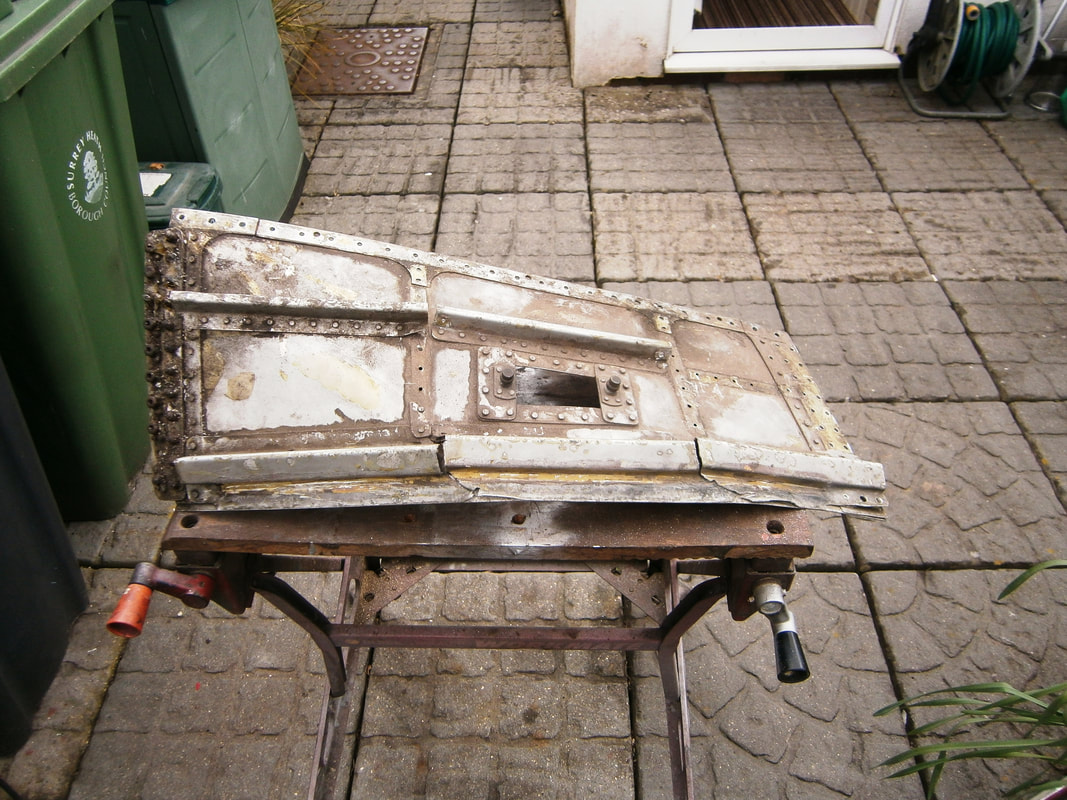
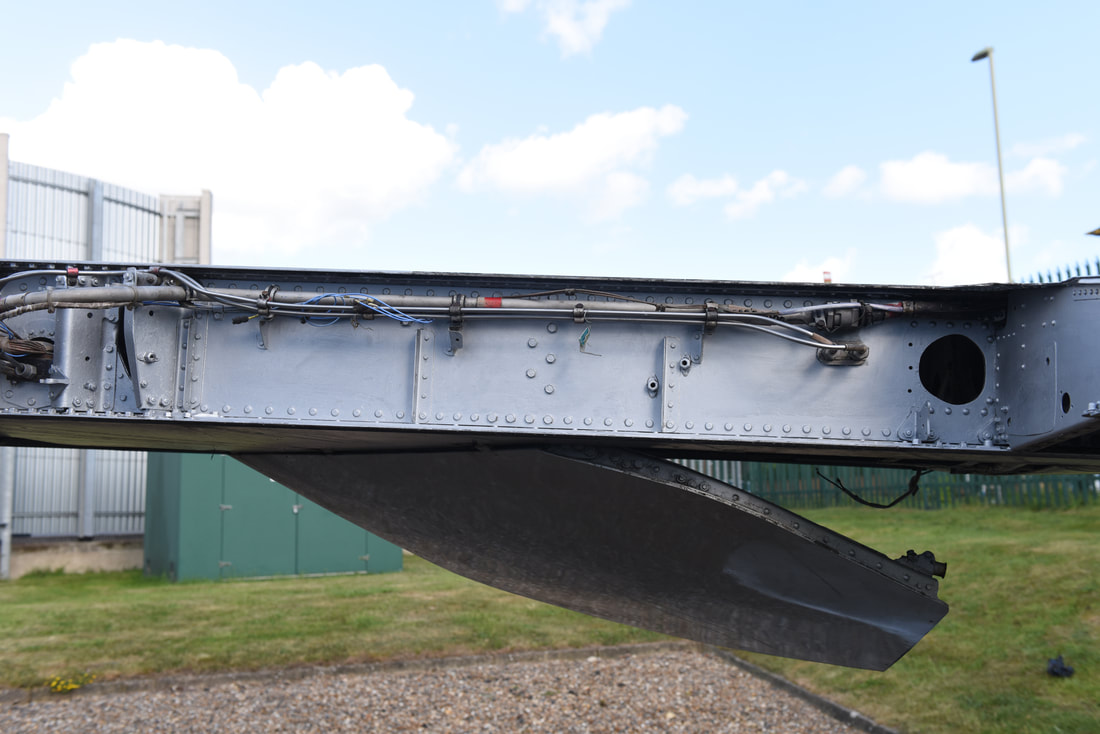
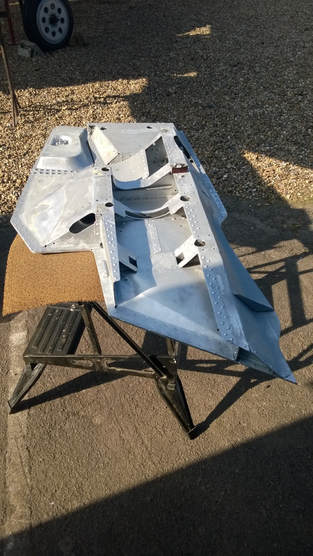
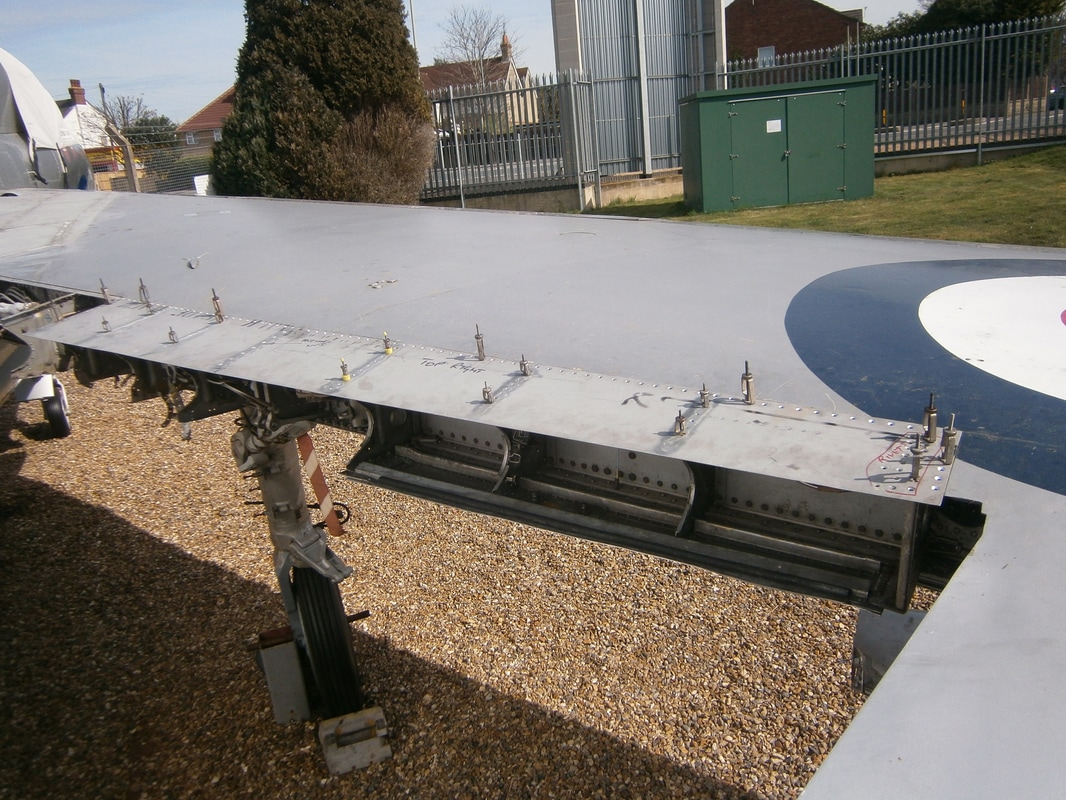
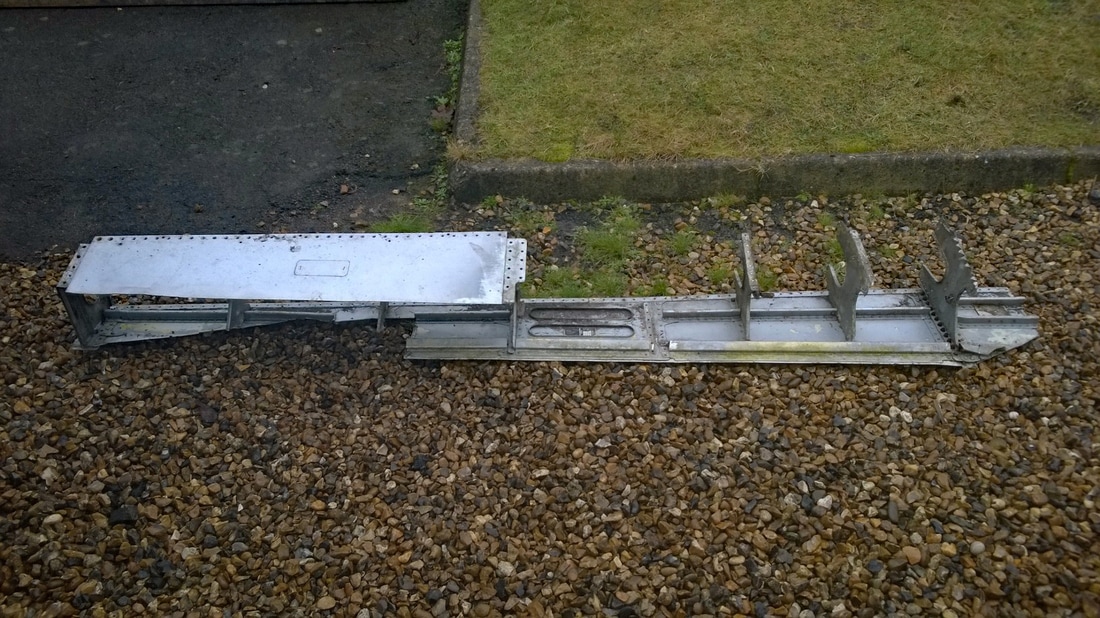
The trailing edge assembly has been fully rebuilt with ribs repaired and replacement top skin fitted along with major repairs to the lower access panel. The internal structure of the assembly was painted by Richard over the weekend and can now be fitted over the course of the next few sessions. The outer skin will be painted in due course. Another job to be crossed off the list.
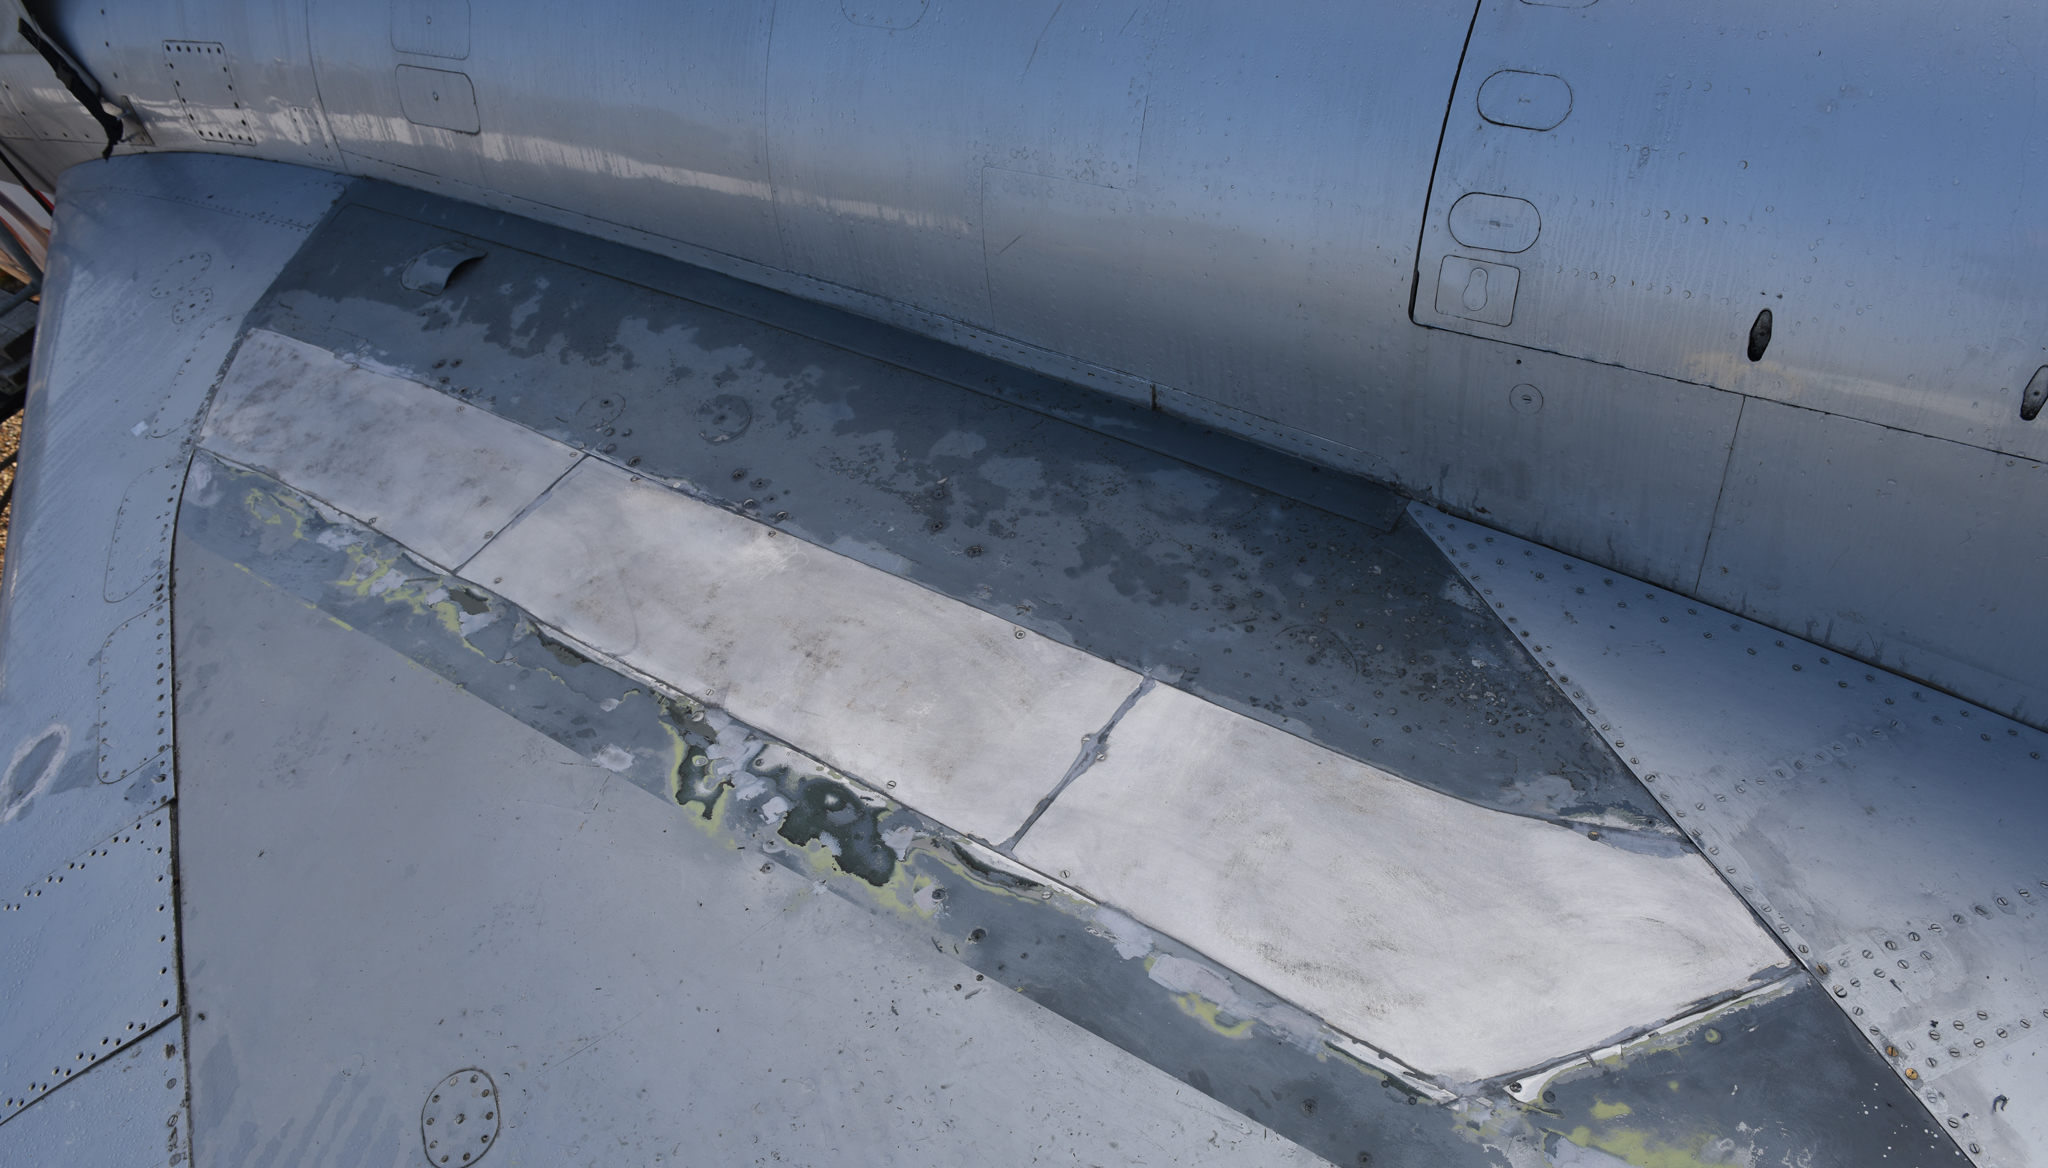
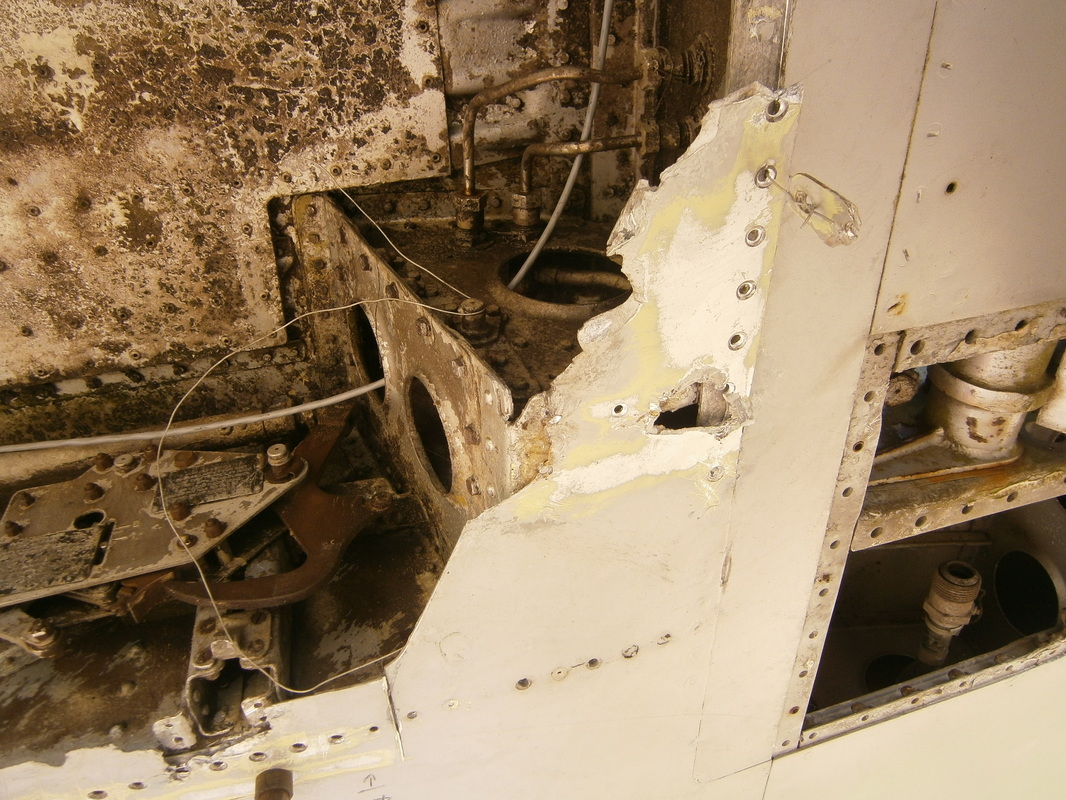
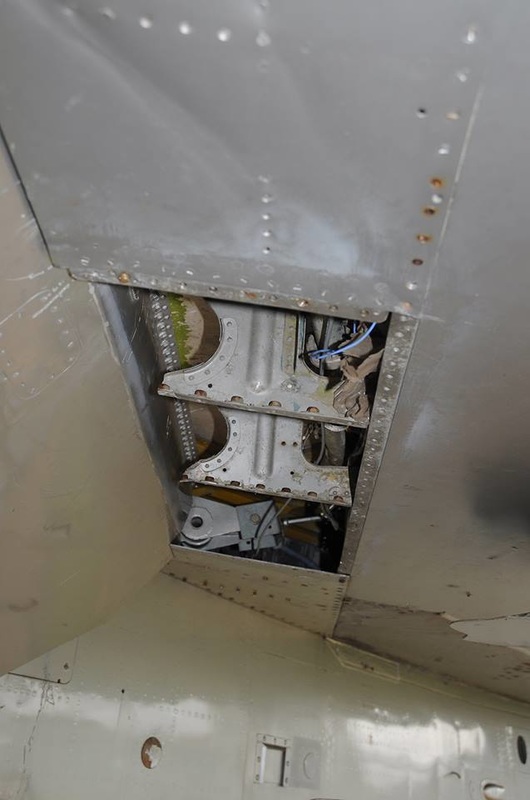
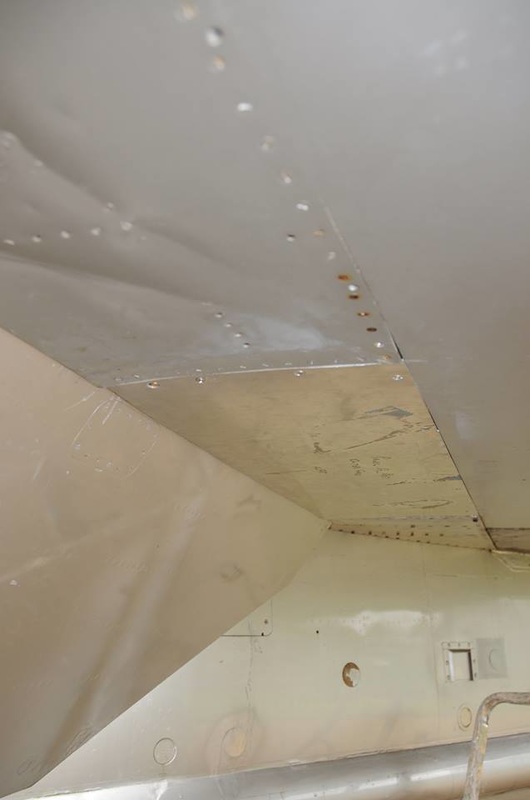
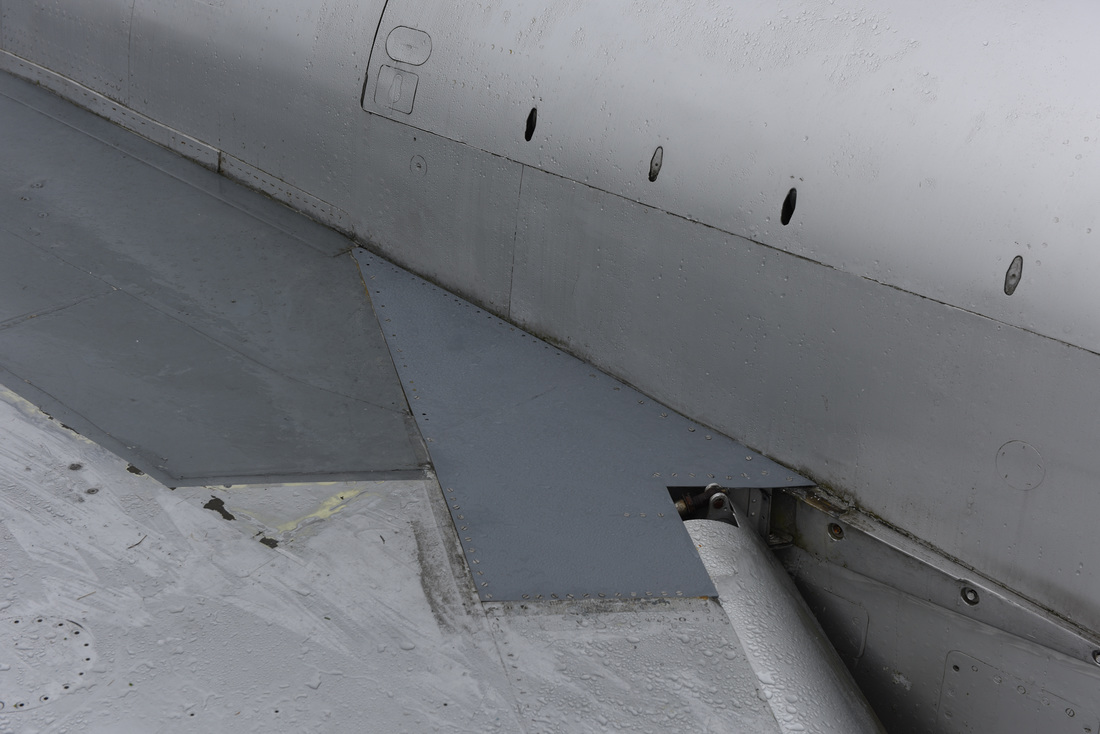
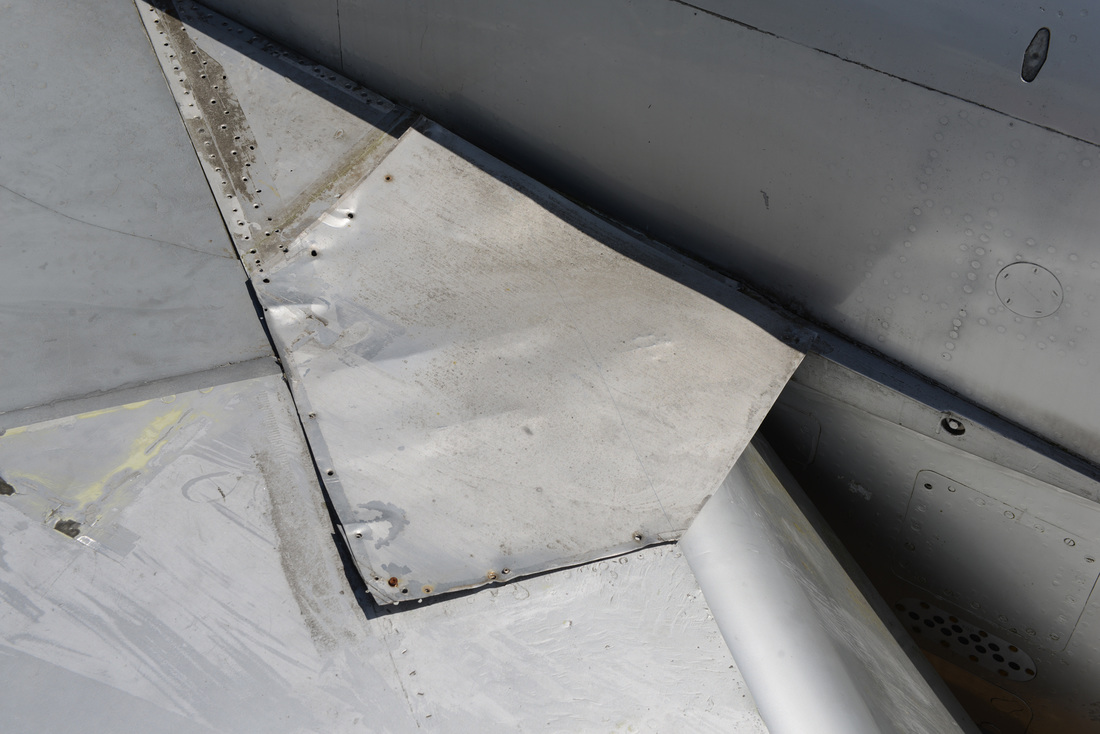
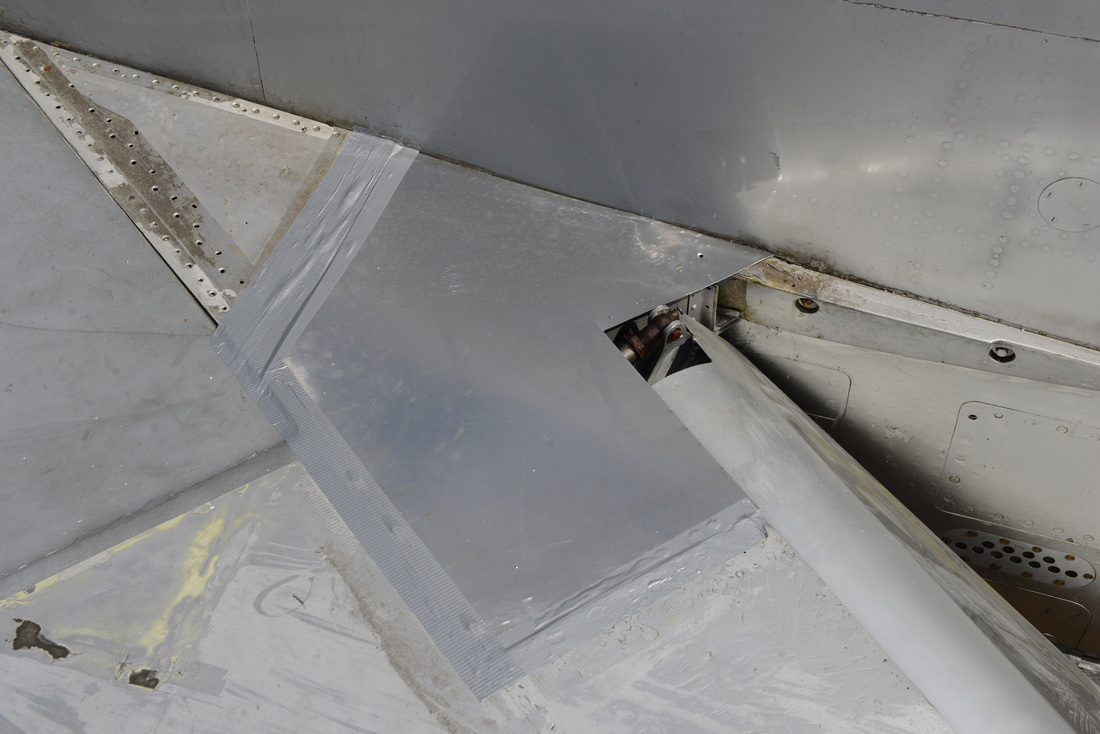
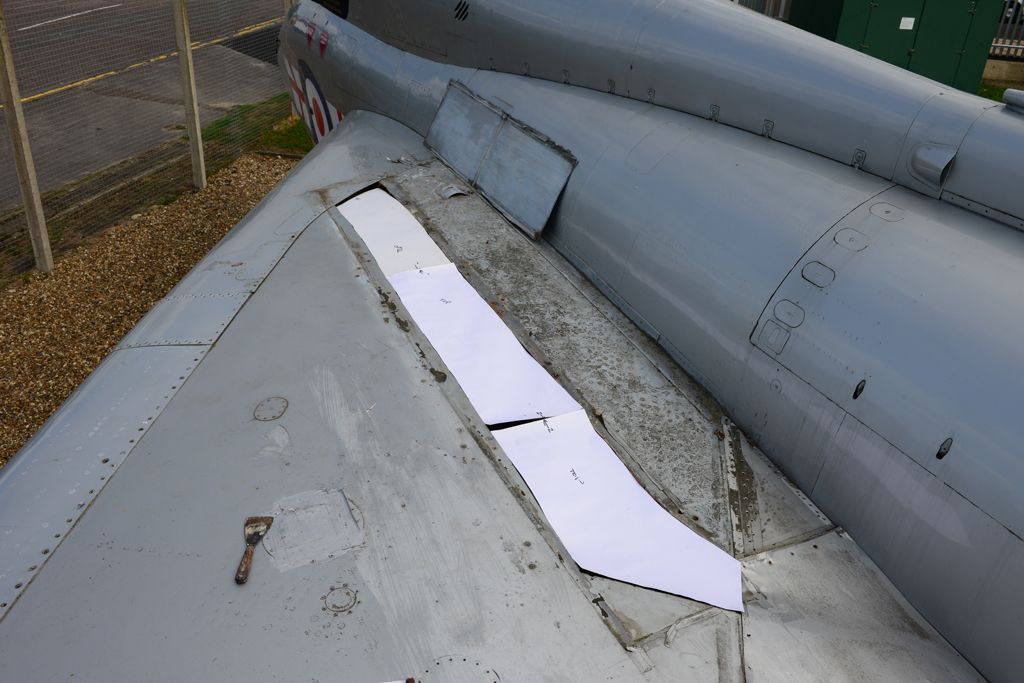
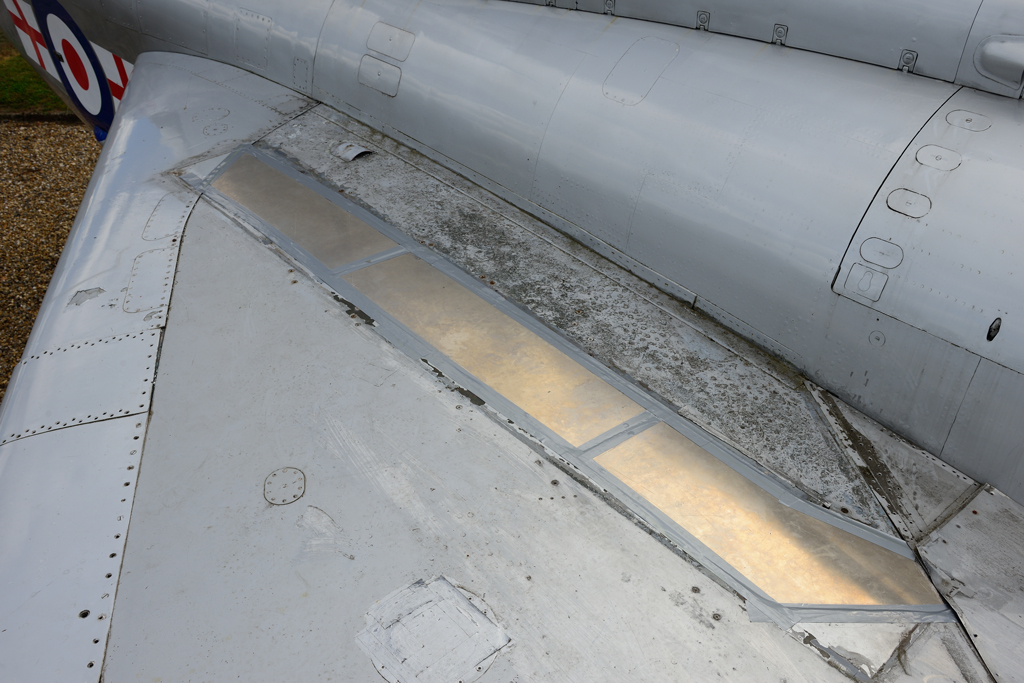
The next major job is to repair the large panel inboard of the flap that was hacked through when the wings were cut many years ago. This panel as well as sealing the fuel tank also held the inboard flap attachment rib.
The photo shows the big gap in the panel where metal was cut out!
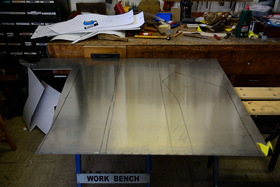
The idea is to make up a one piece of metal to fit in the hole and weld it to the large piece and make the right end match the small piece!!
Another mission!!!
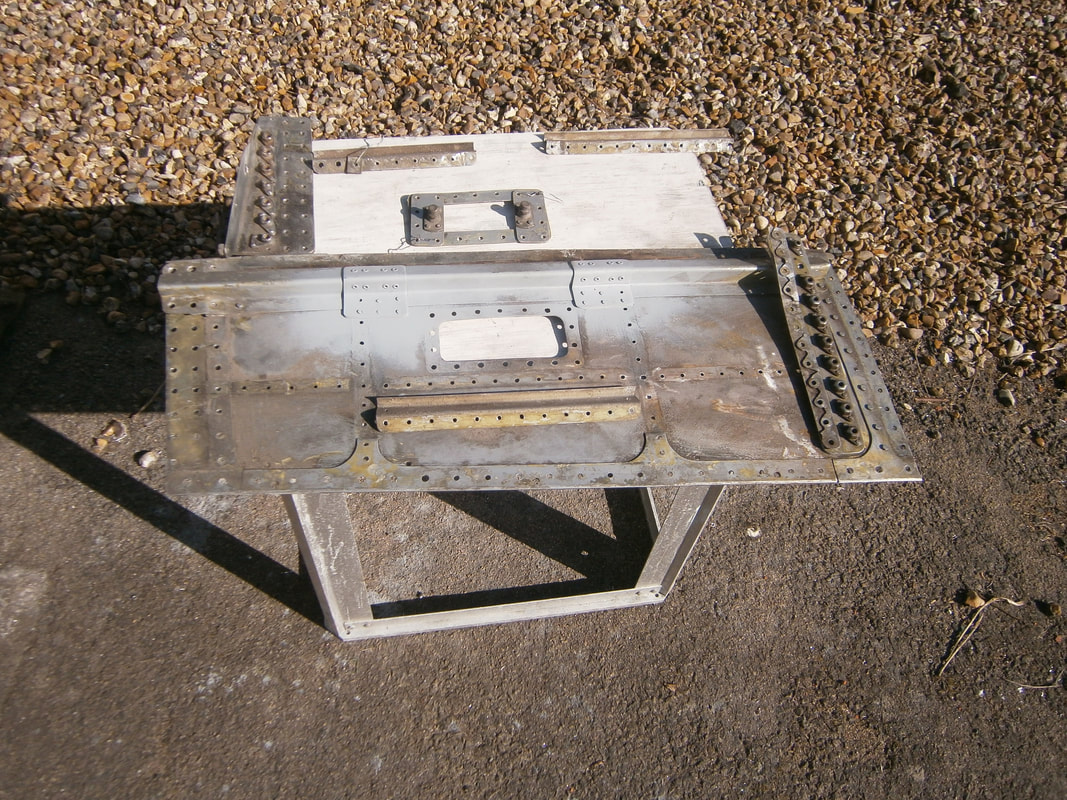
Further to the latest trailing edge update photo 1 shows the quite severe damage to the lower access panel with the long stiffener at the rear of the panel being sheared in two places and photo 2 the sharp bends in the skin which must have occurred when the mainplanes were cut off.
The rear stiffener has been repaired with patches and the centre stiffeners and small access panel fasteners de-riveted and removed to allow the skin to be dressed back flat following some gentle annealing with a gas torch.
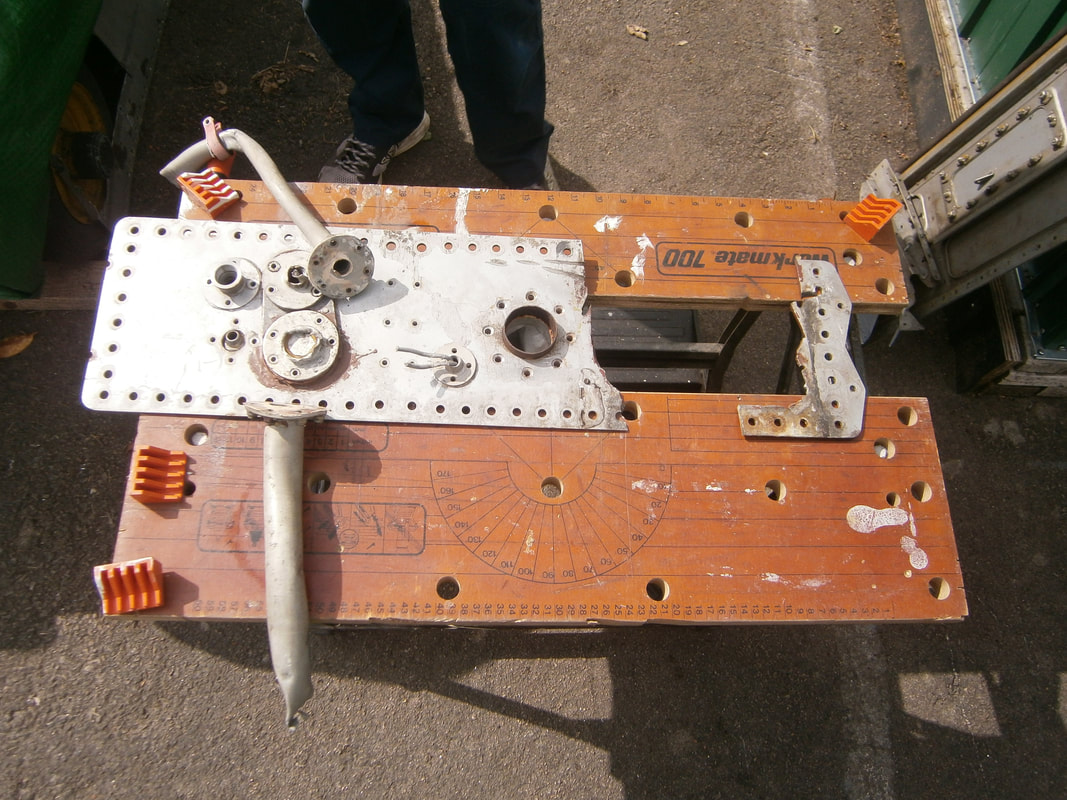
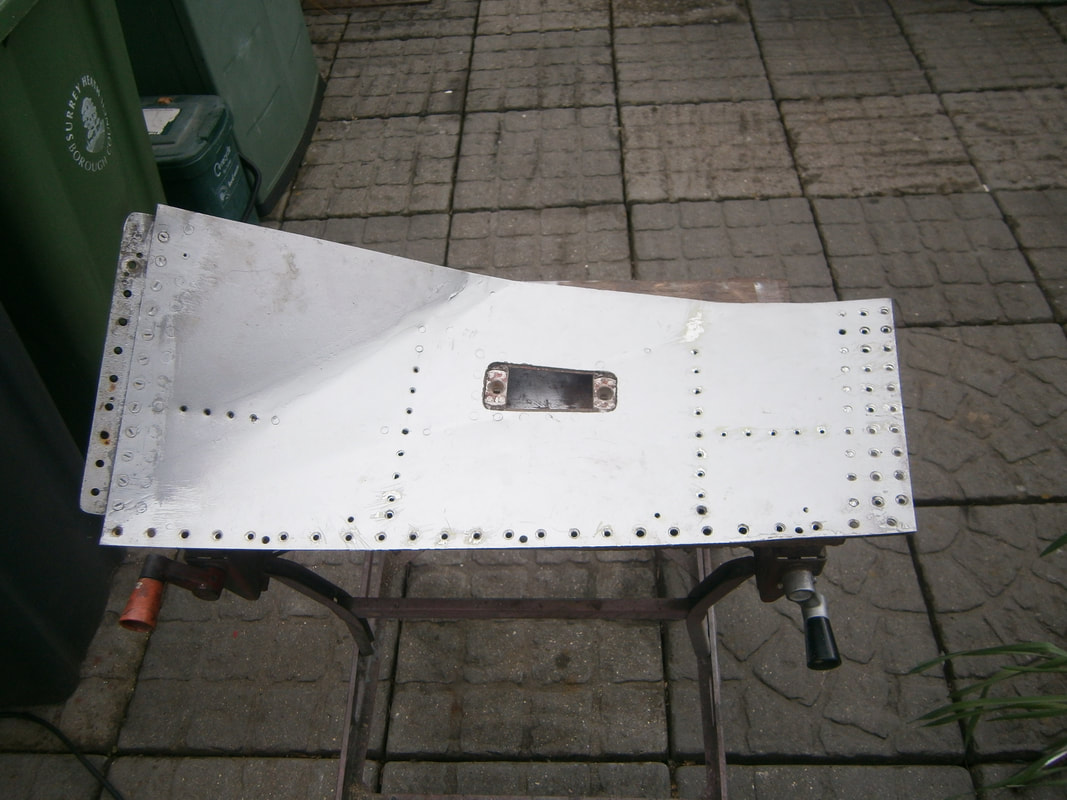
Photo 3 shows the patches fitted to the stiffener and the removed stiffeners and access panel fasteners waiting to be re riveted once the panel is reattached to the trailing edge assembly as in photo 4. Photos Derek P.
Derek continues work on the starboard trailing edge with the fitting of replacement ribs and riveting in place the wing panels obtained from F.53 ZF582.
In preparation for the fitting of the trailing edge section, painting has also taken place to the in-situ rear section.
In parallel with this work the starboard undercarriage leg and fairing is being rubbed down to bare metal in preparation for repainting.
In preparation for the fitting of the trailing edge section, painting has also taken place to the in-situ rear section.
In parallel with this work the starboard undercarriage leg and fairing is being rubbed down to bare metal in preparation for repainting.
April 2017
Hydraulic Hand Pump access panel. Photos Derek P.
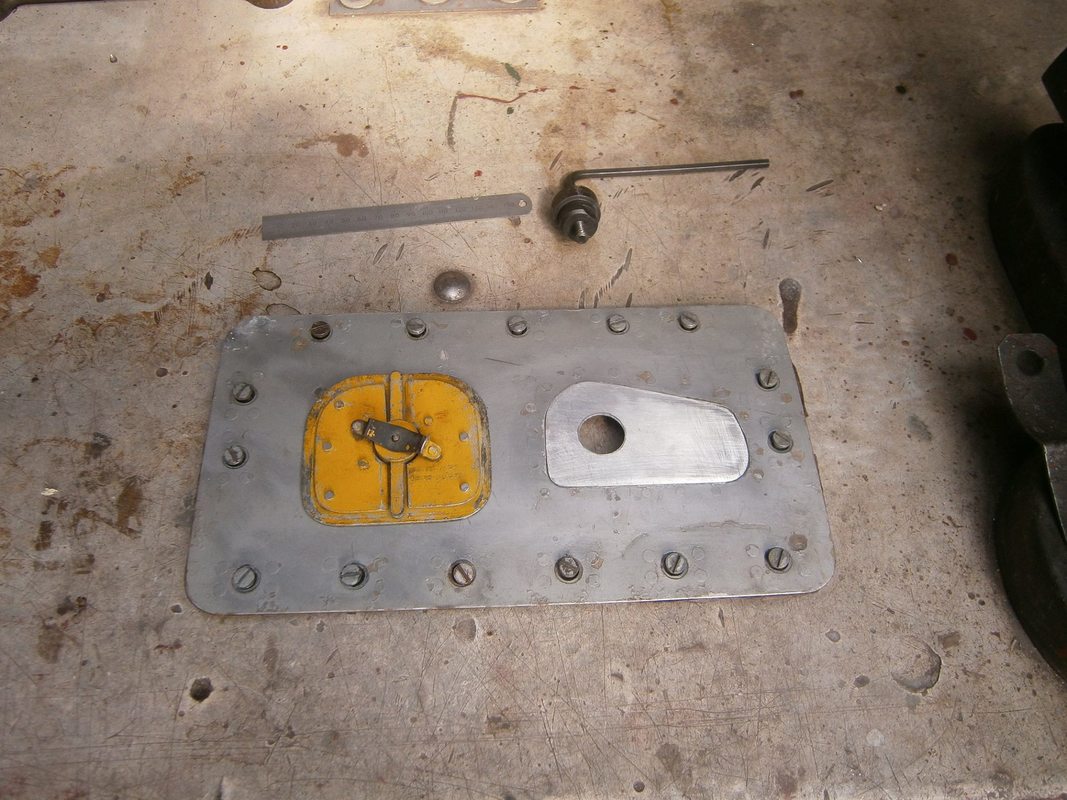
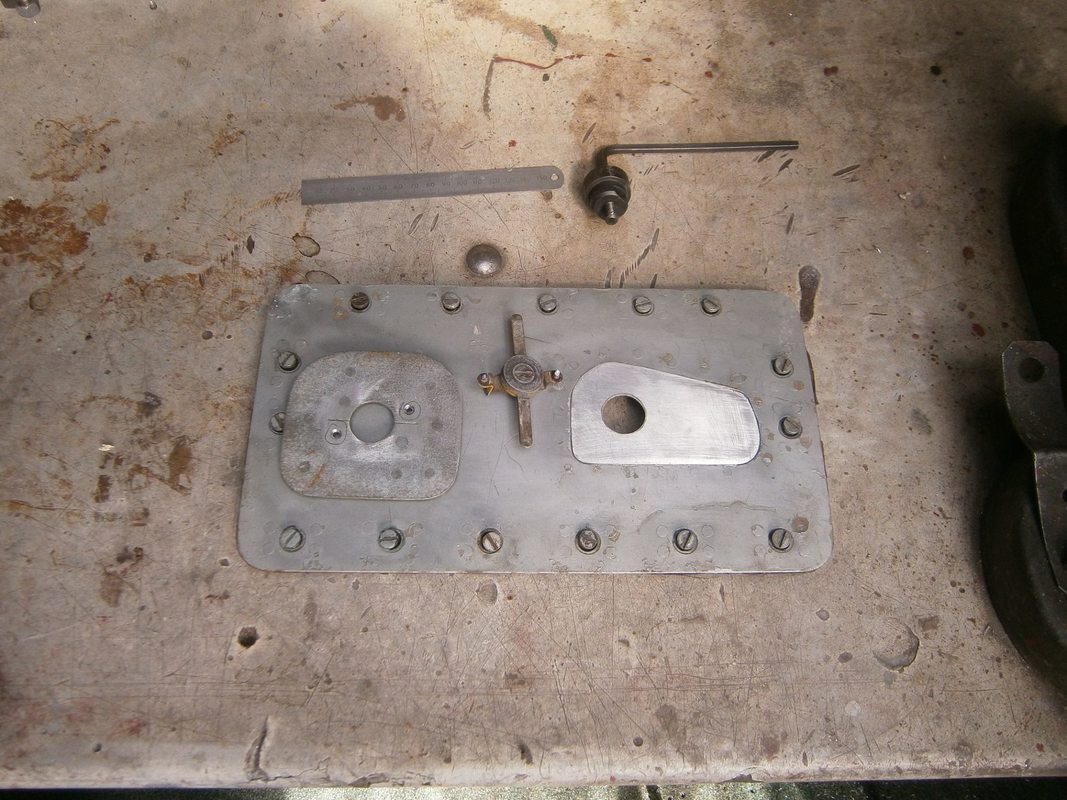
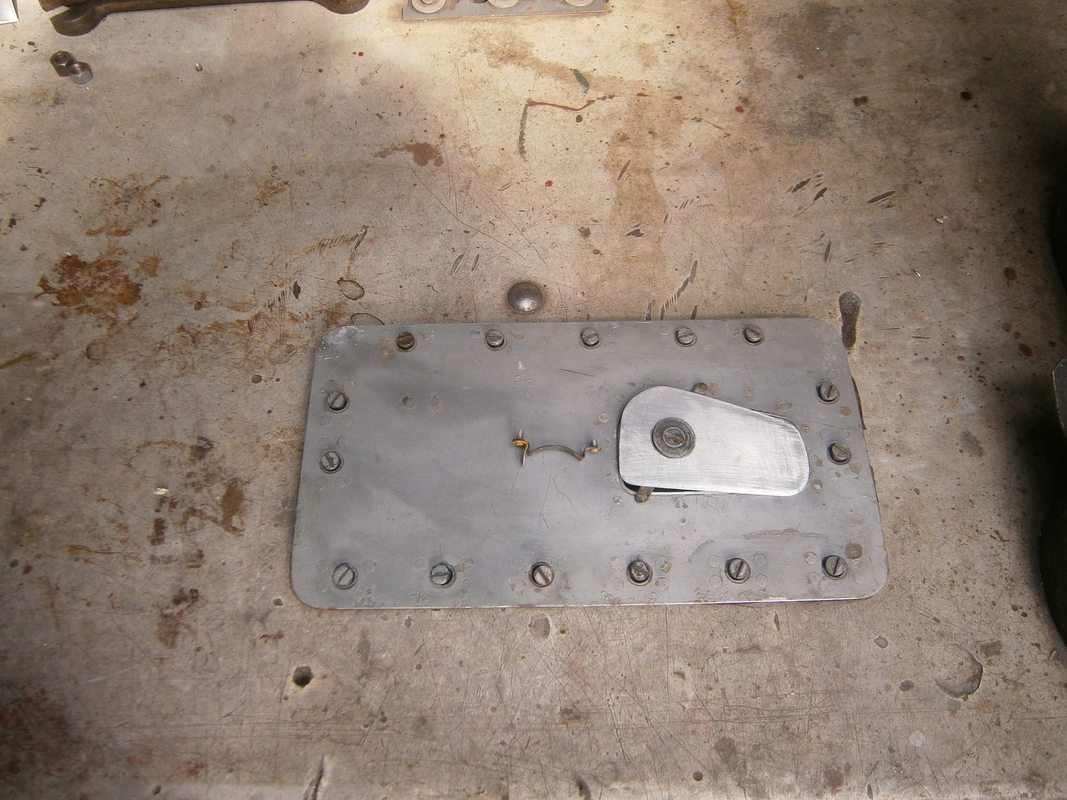
Hand Pump Handle panel fabricated using the AP Vol 3 picture that Richard put on a previous post. The fastener and its rotating bar have been robbed from another small panel of which we have a couple of spares. I just have to make up a pair of backing plates to which the compression spring is riveted to, a coat of paint and hey presto another job done. The pictures probably give more info than words can describe!!!
Hand Pump Handle panel fabricated using the AP Vol 3 picture that Richard put on a previous post. The fastener and its rotating bar have been robbed from another small panel of which we have a couple of spares. I just have to make up a pair of backing plates to which the compression spring is riveted to, a coat of paint and hey presto another job done. The pictures probably give more info than words can describe!!!
Starboard U/C leg fairing degreased and ready to rub down prior to undercoating.
March 2017
Words & Photos Derek Parks
Upper replacement skin panel attached to ribs by grip pins and repairs attached to damaged ribs again using grip pins. Next step is to rivet all repairs to ribs and then ribs to the upper and lower skin panels. So it will be out with the compressor, snaps, reaction blocks and rivet gun, not for the faint hearted!!!!
A recent visit by Mr Kevin Underwood, ex RAF and owner of C-TEC Plating of Leighton Buzzard. Many thanks to Kevin and his team for the refurbishment of many fittings, hydraulic parts and loads of fasteners for XS420.
Note from Richard - my thanks too to Kevin for his help with XS420
Starboard undercarriage leg fairing removed to allow a repaint.
Words & Photos Derek Parks
The recently acquired hydraulic hand pump and handle have been refurbished and installed. Thanks to Kevin and Gary of C-TEC, Leighton Buzzard for plating the one time severely rusted pump handle adaptor on the pump.
We now need to see if we can fill and charge one of the services reservoirs to see if we can operate the air brakes with it !!
Words & Photos Derek Parks
Just a short update, u/c door jack and outboard flap jack reassembled and ready for fitting (airframe mounted walking joints behind the door jack).
Just a short update, u/c door jack and outboard flap jack reassembled and ready for fitting (airframe mounted walking joints behind the door jack).
Words & Photos Derek Parks
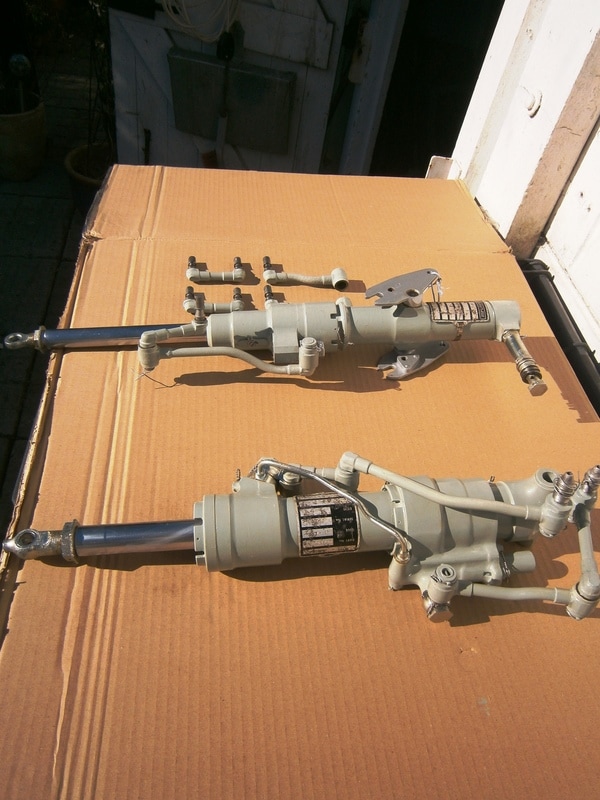
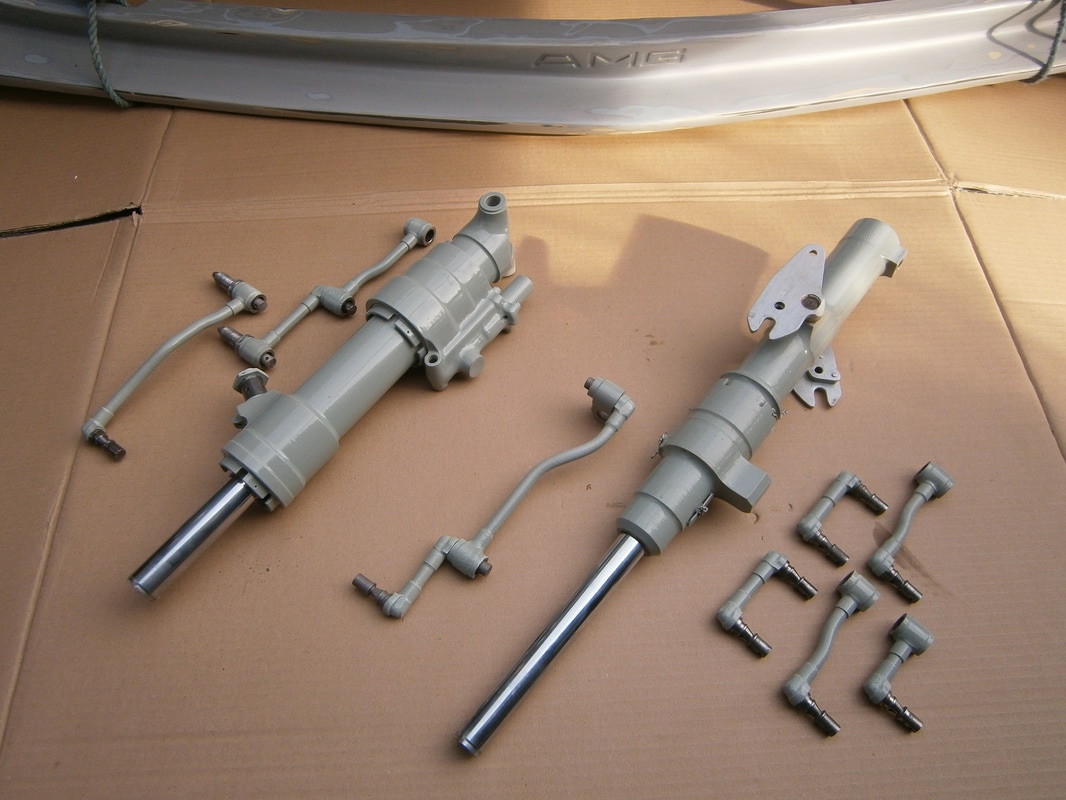
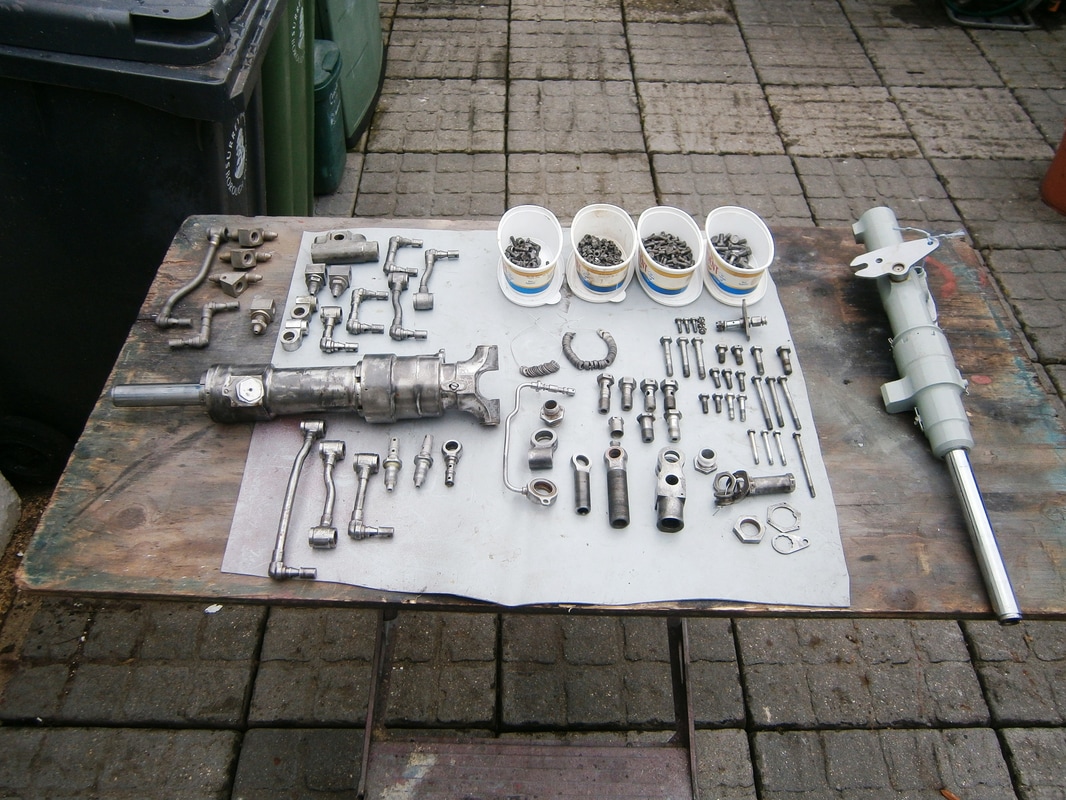
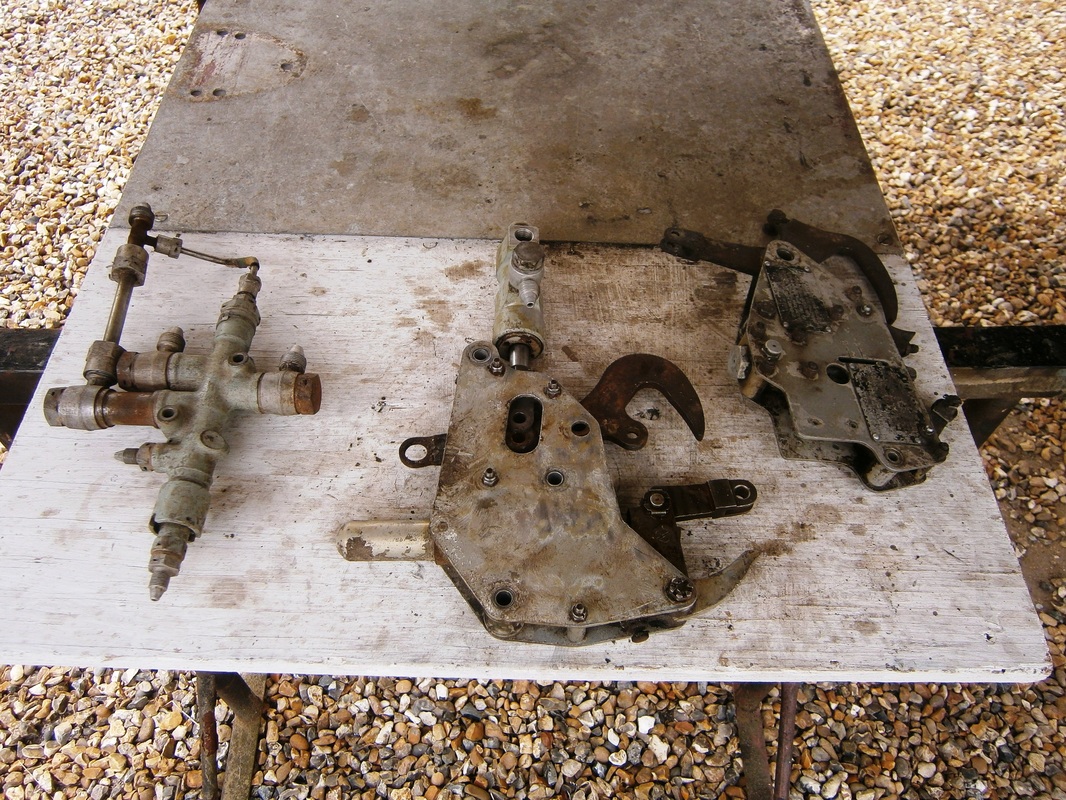
The following photo shows the state of play of the trailing edge hydraulics after having been stripped, etch primed and subsequently painted.
On the left of the picture is the flap jack and the three elements of the walking joints which enable it to slightly articulate as the jack moves.
In the centre is the u/c door jack and associated walking joints.
At the right side are the airframe mounted walking joints, 5 off, which also articulate when the u/c door is moved open and closed.
All of the steel components are away being plated to combat the dreaded corrosion, they include the banjo bolts and eye end fittings and their associated locking devices.
They are certainly a bit of an improvement on picture 2
February 2017
Words & Photos Derek Parks
U/c door jack finished on right side of picture its associated hydraulics stripped and de-rusted ready for painting top left
u/c door jack, airframe mounted hydraulics centre of picture above flap jack stripped and de-rusted ready for painting
flap jack and associated hydraulics below it stripped and de-rusted ready for painting
items on the right side of picture going up for plating
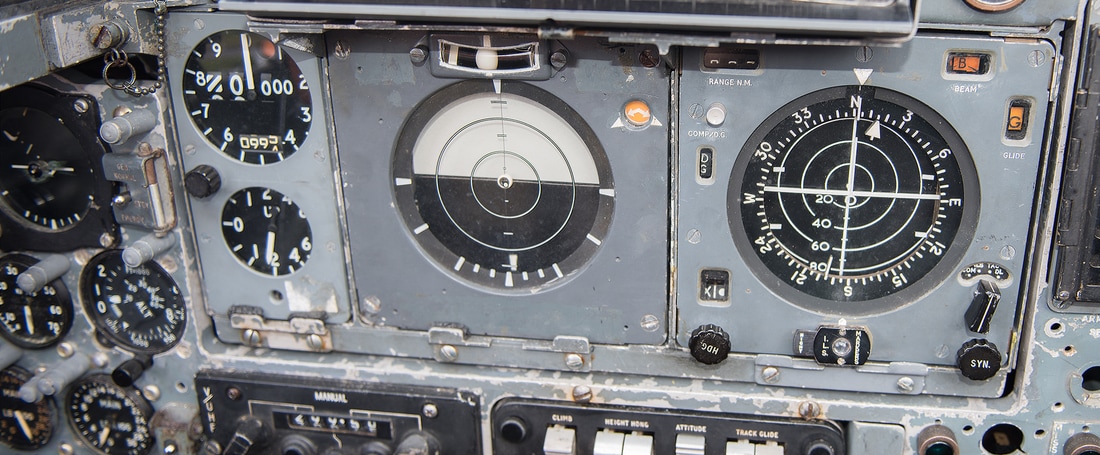
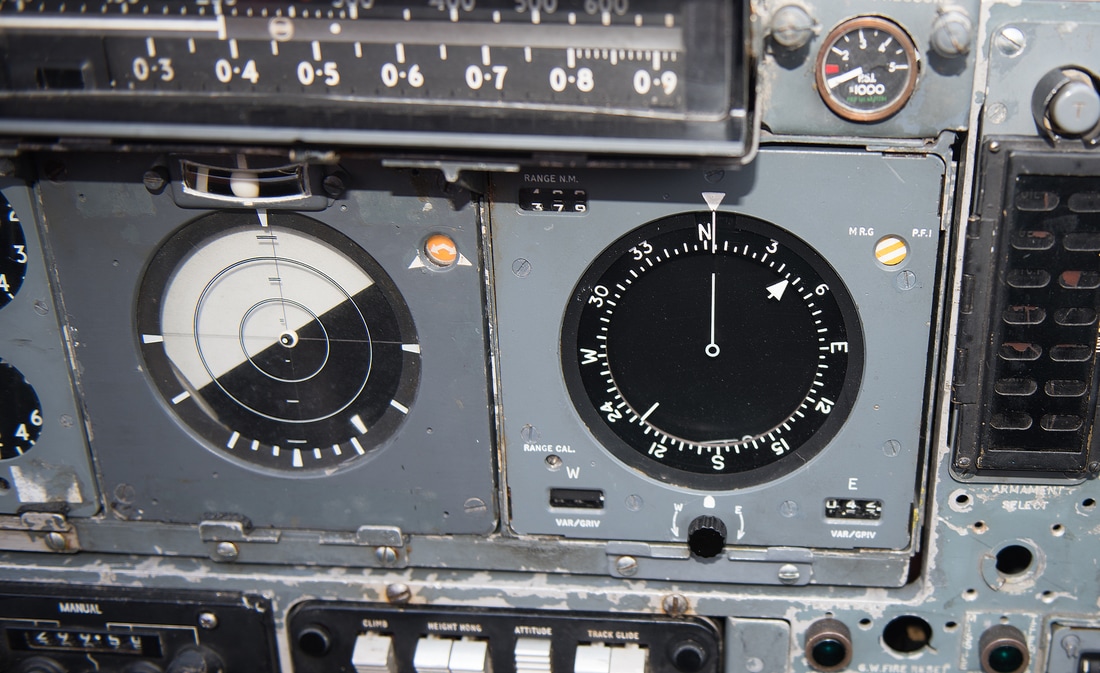
Before and after shots of the existing Navigation Display and the correct one recently acquired and fitted yesterday. Also took the opportunity to straighten up the Attitude Indicator so 420 is now on a more even keel. Work also started on repainting the upper surface of the starboard elevator as the lacquer had stated to flake.
January 2017
Words & Photos By Derek -
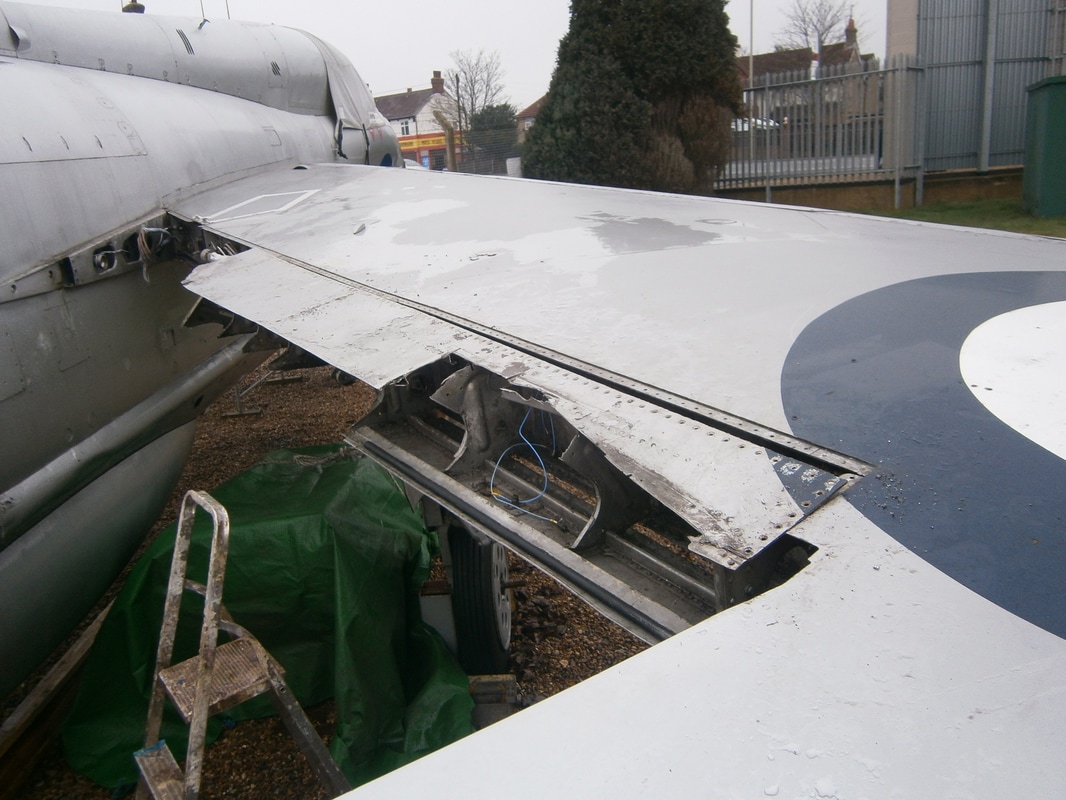
Good progress today. Made a start de-riveting the upper panel in order to release the ribs. We managed to get space in the workshop as it was pouring down out side so at least we kept warm and dry which in itself was a bit of a novelty!!!
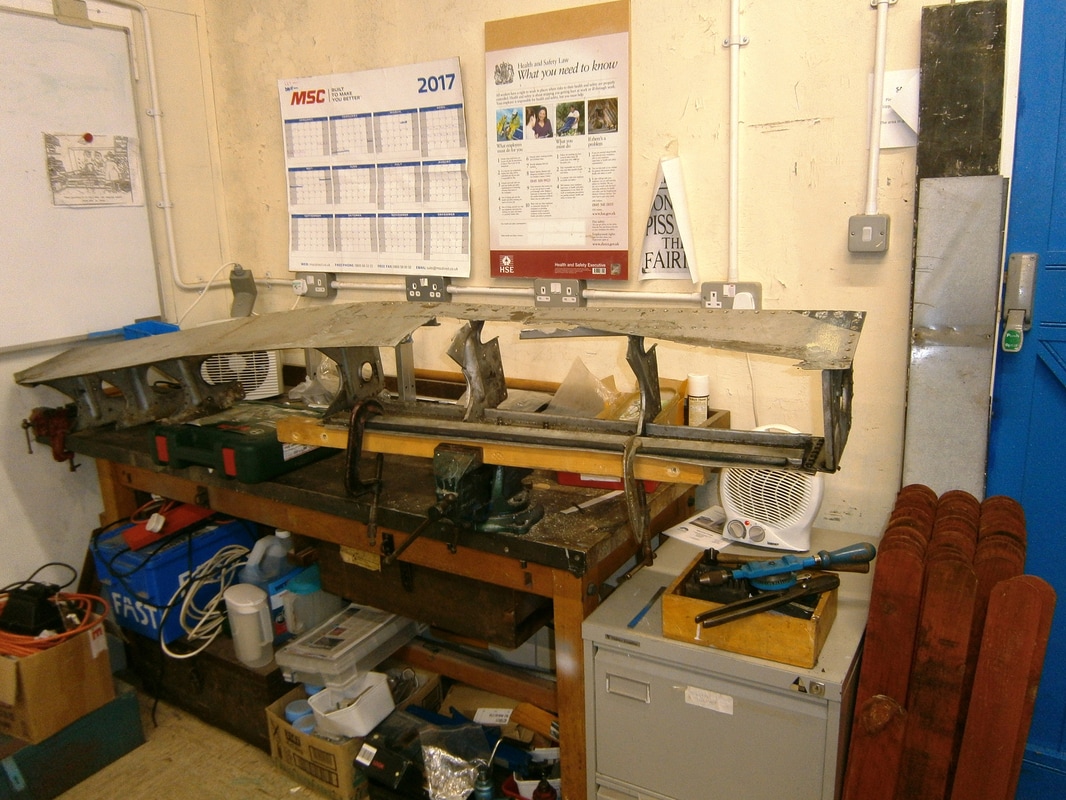
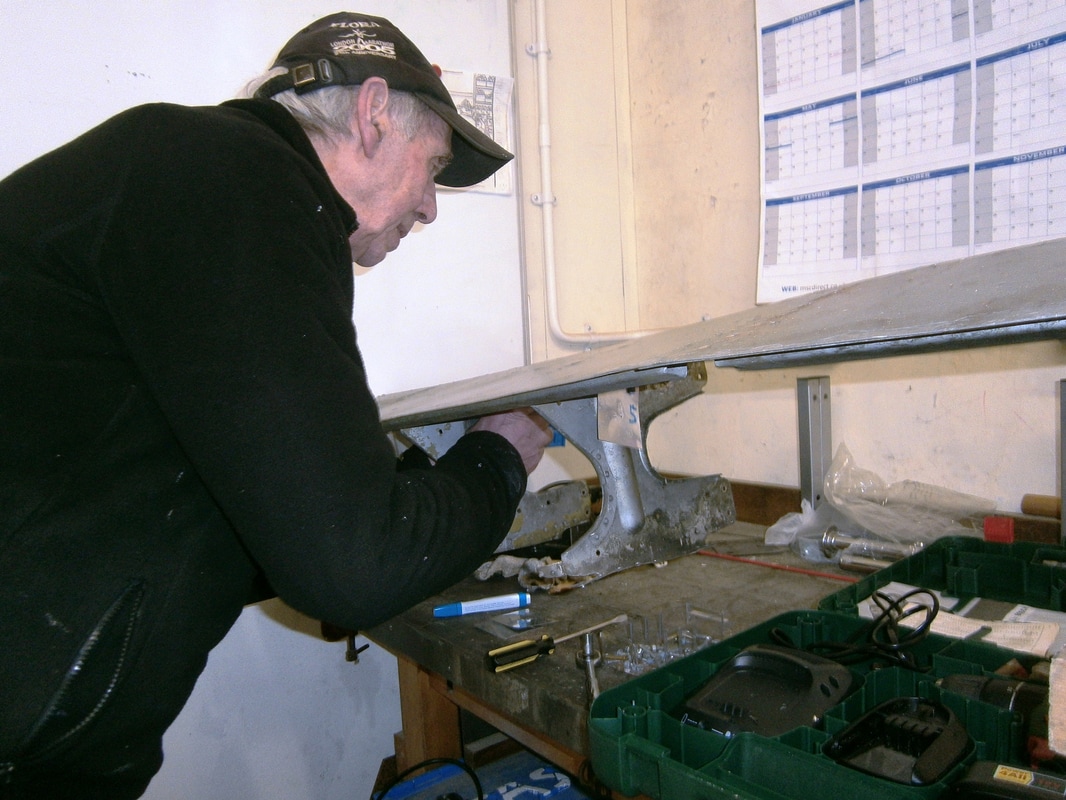
Photo 1 shows trailing edge assembly clamped to the bench.
Photo 2 shows Arthur making up and fitting so rib identification plates so that they go back in the correct position.
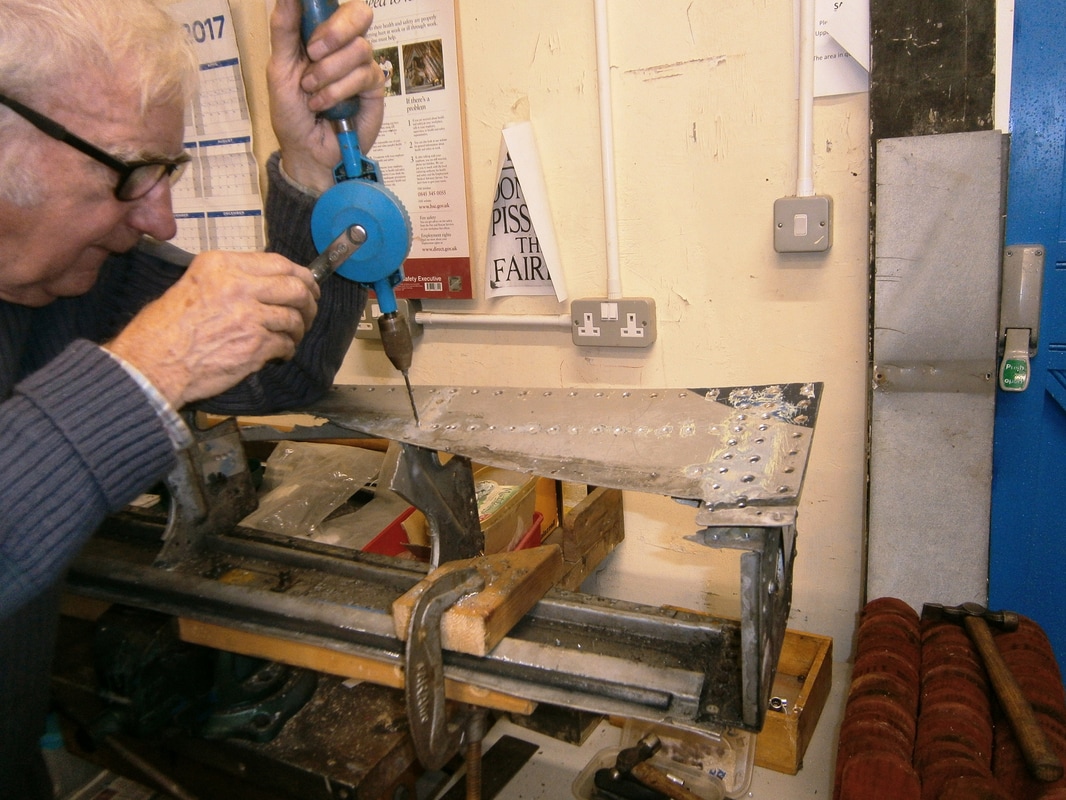
Photo 3 Derek starting drilling out countersunk solid rivets (only another two hundred to go!!!)
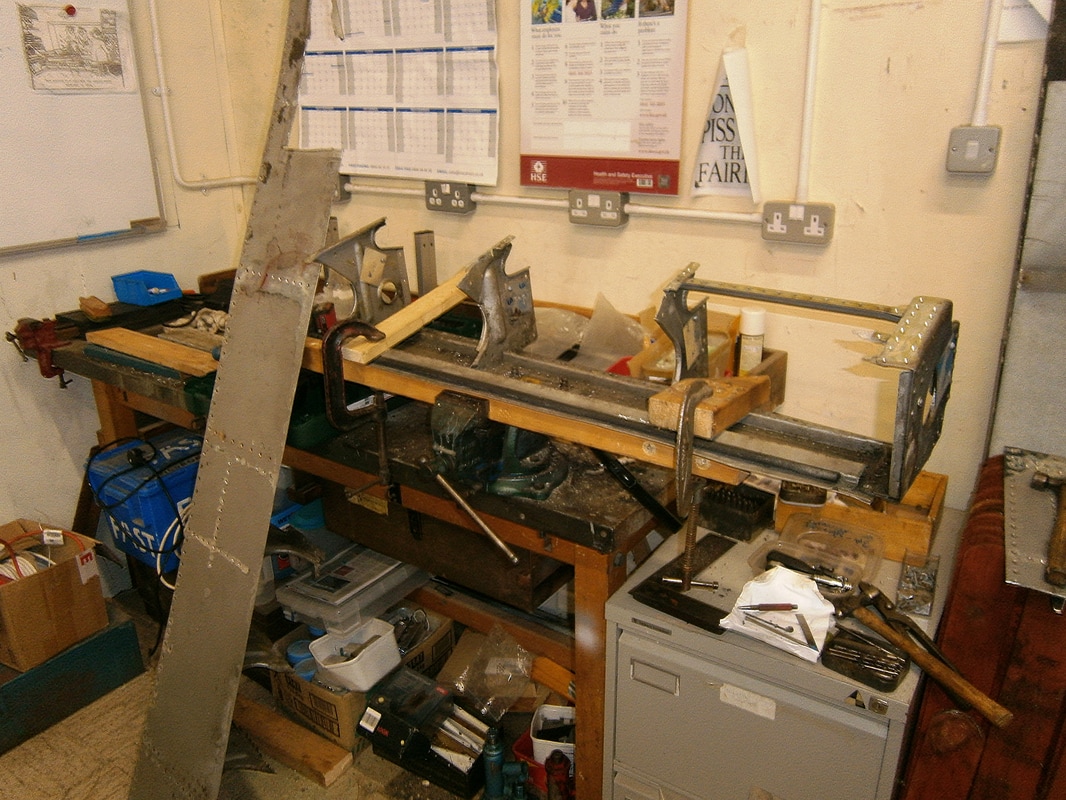
Photo 4 progress so far.
Photo 1 shows trailing edge assembly clamped to the bench.
Photo 2 shows Arthur making up and fitting so rib identification plates so that they go back in the correct position.
Photo 3 Derek starting drilling out countersunk solid rivets (only another two hundred to go!!!)
Photo 4 progress so far.
Words & Photos By Derek -
Following weeks of hard graft fighting seized screws, stiffnuts and the cold weather Arthur and myself have at last managed to remove the badly damaged trailing edge assembly.
Now starts the complex work of repairing the ribs and transferring them to the newly acquired panels, courtesy of David Tylee at the Gatwick Aviation Museum, using new rivets.
I can foresee many hours with the rivet gun and reaction blocks!!!
Now starts the complex work of repairing the ribs and transferring them to the newly acquired panels, courtesy of David Tylee at the Gatwick Aviation Museum, using new rivets.
I can foresee many hours with the rivet gun and reaction blocks!!!
Words & Photos By Derek -
Update on work carried out over the last month.
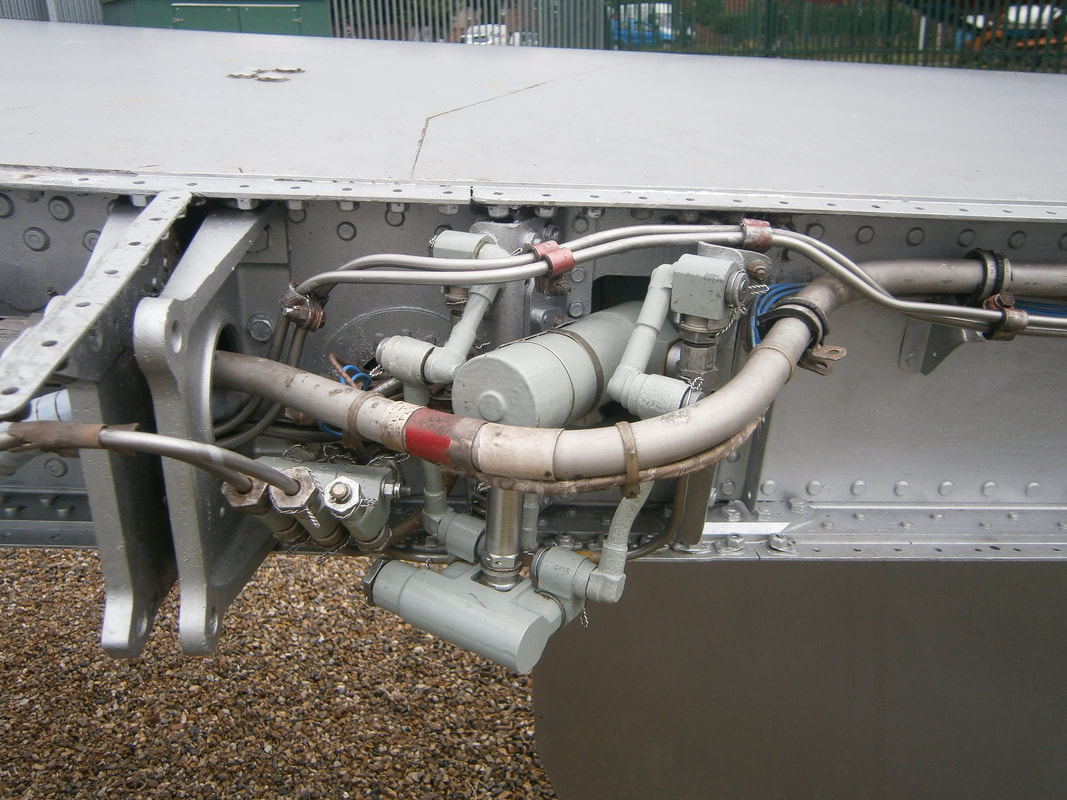
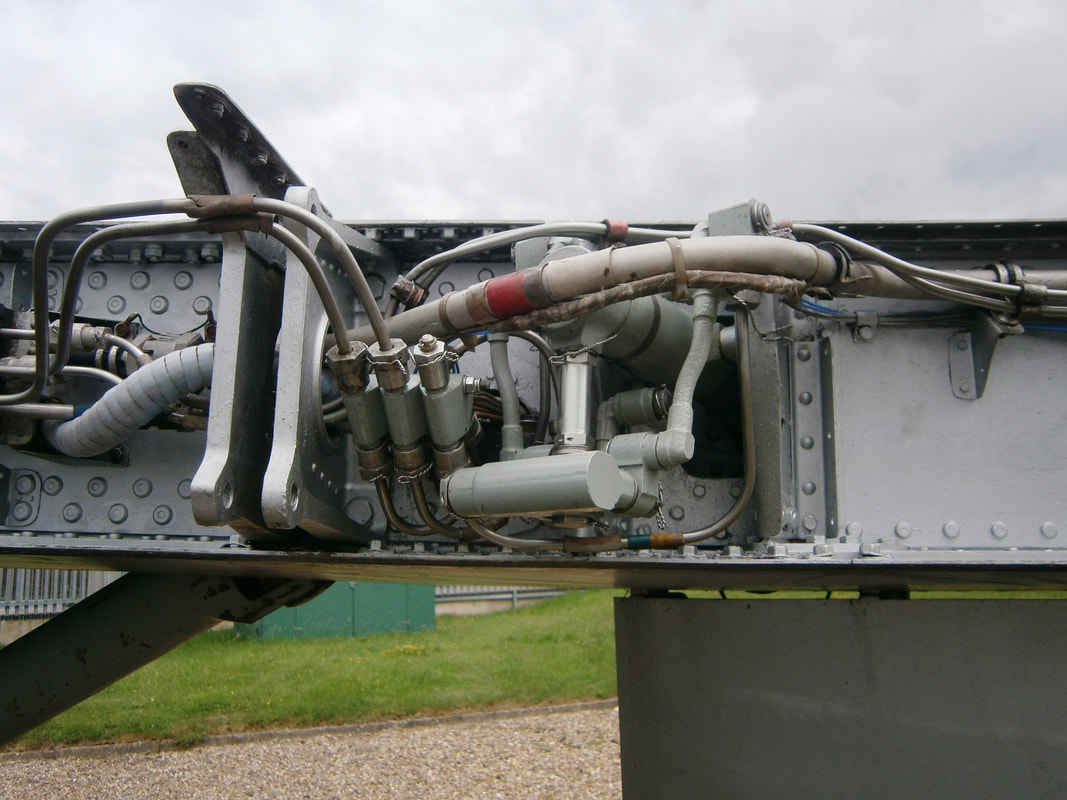
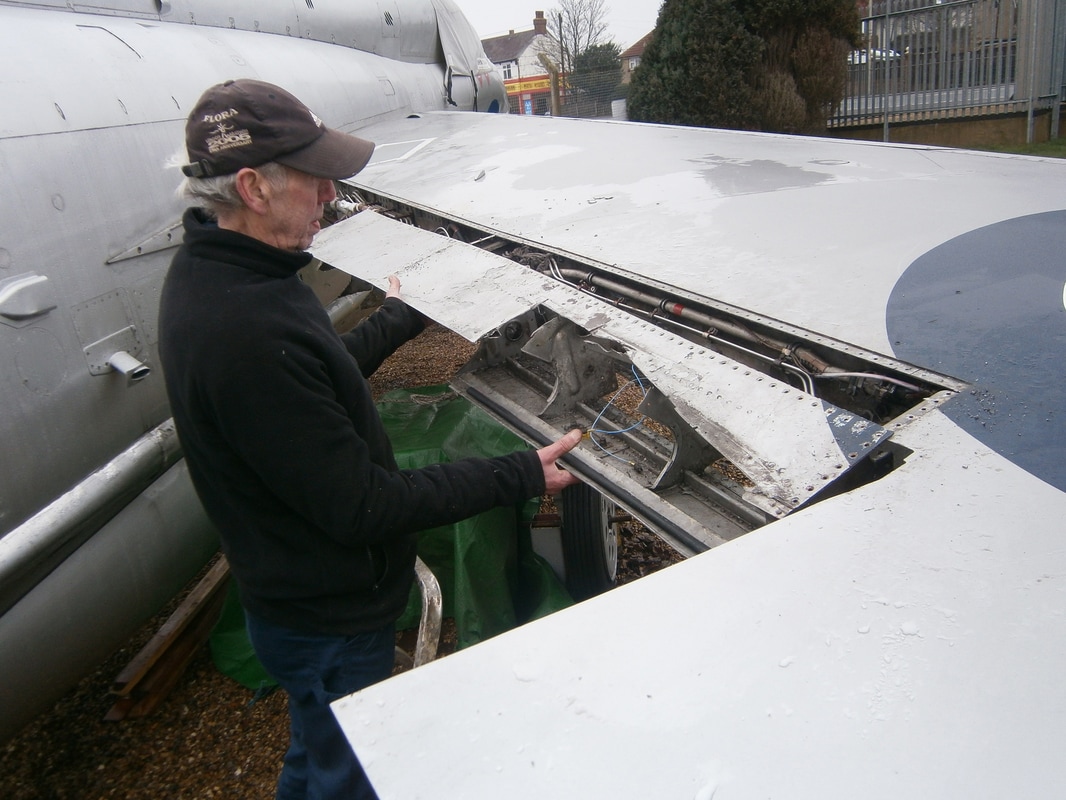
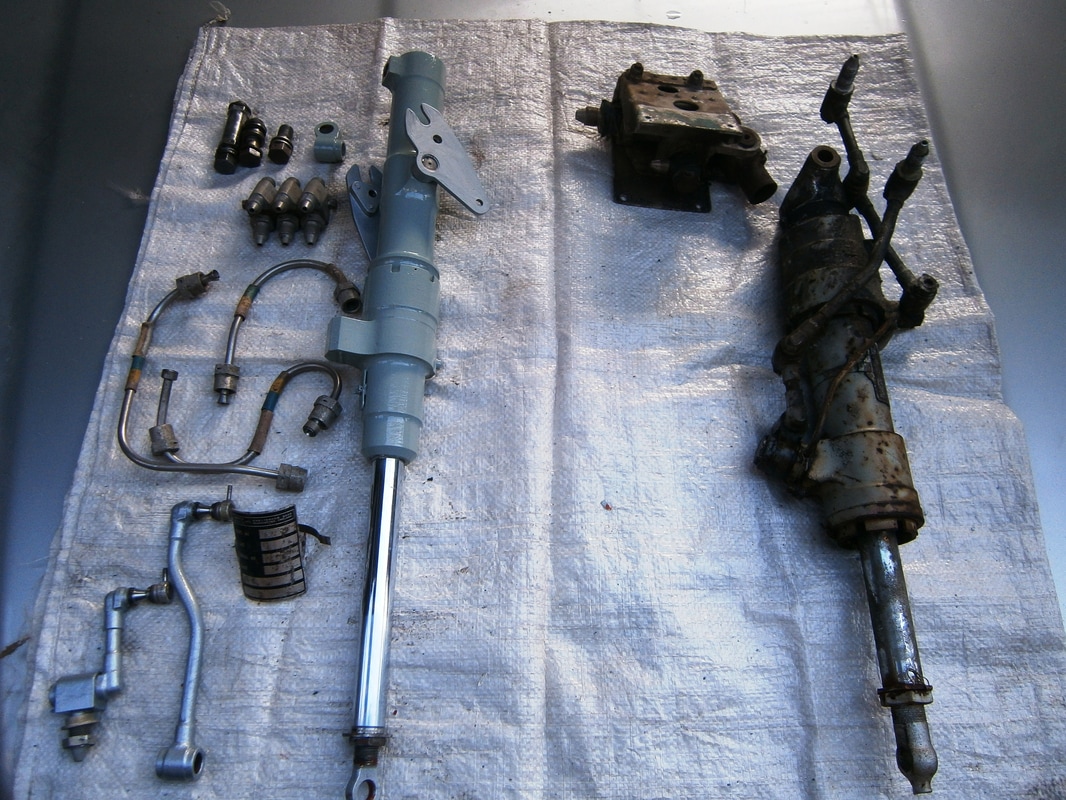
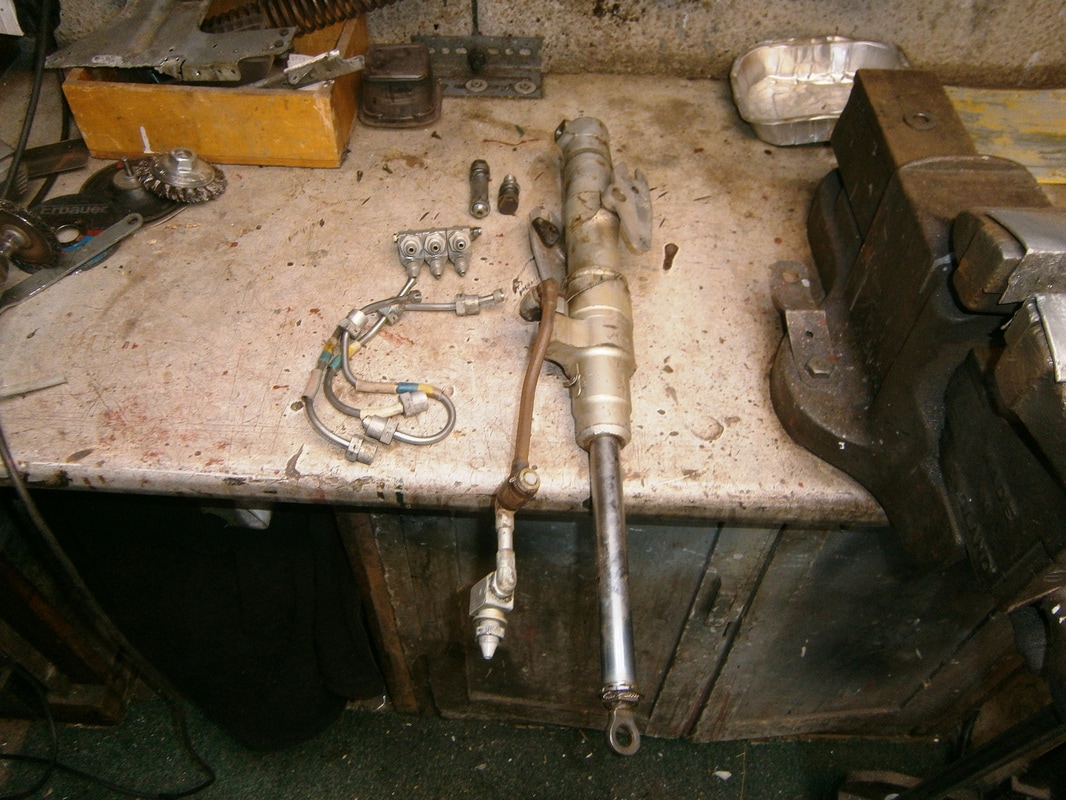
In order to gain access to some of the screws and nuts securing the right hand trailing edge assembly to the mainplane it has been necessary to remove the main undercarriage door jack and the outboard flap jack plus some associated hydraulic pipework.
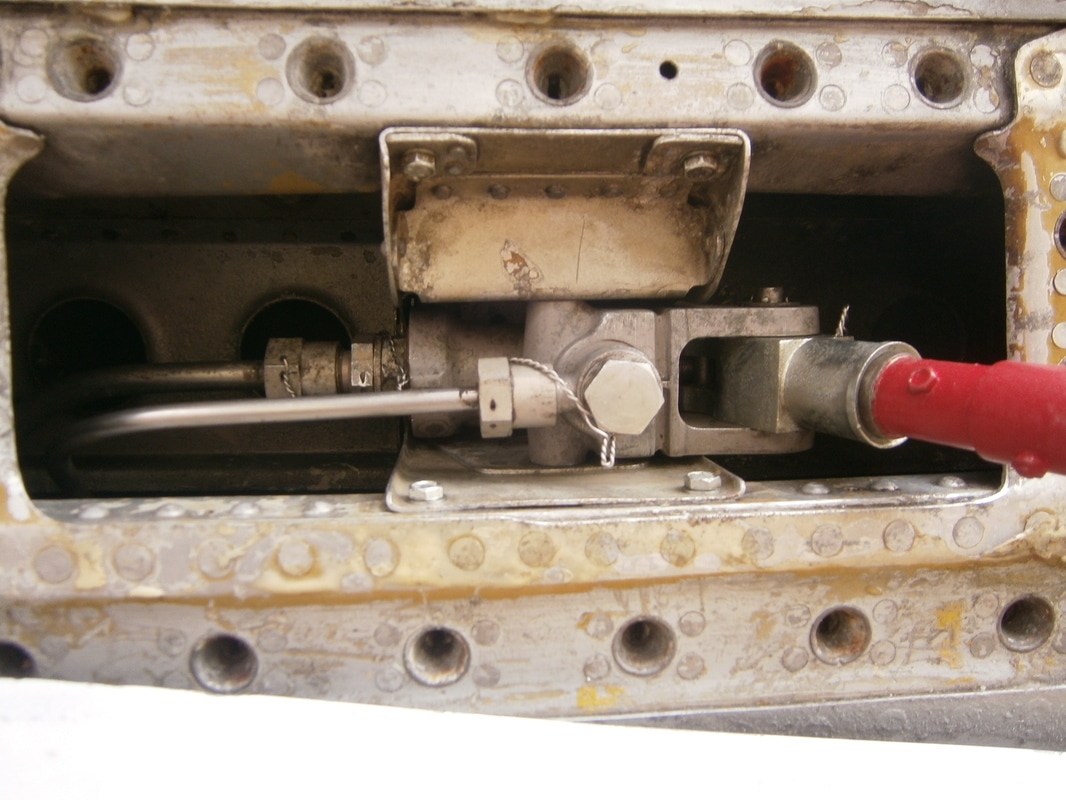
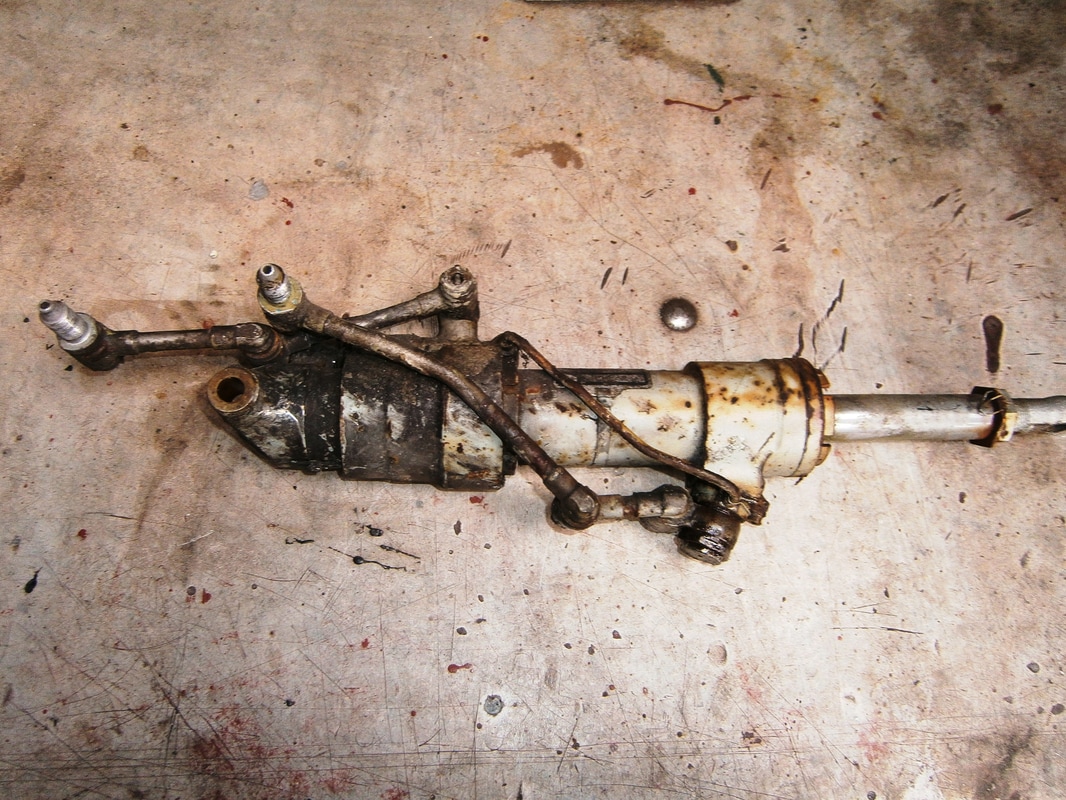
The u/c jack, walking joints and hydraulic fittings have been cleaned primed and painted and is shown as it was removed in the first picture and after painting in the second picture along with outboard flap jack (prior to cleaning and painting)!!
The u/c jack was removed from its position shown in picture three and was a bit of a 'mission' as some of the attachments were quite badly corroded.
Most of the upper securing screws and nuts have now been removed, there are six however which will require drilling out as the nuts have rounded off, and hopefully the lower ones, which are much more accessible, will be removed in the next couple of sessions using the 'XS420 special screw removers'.
December 2016
Words from Derek -
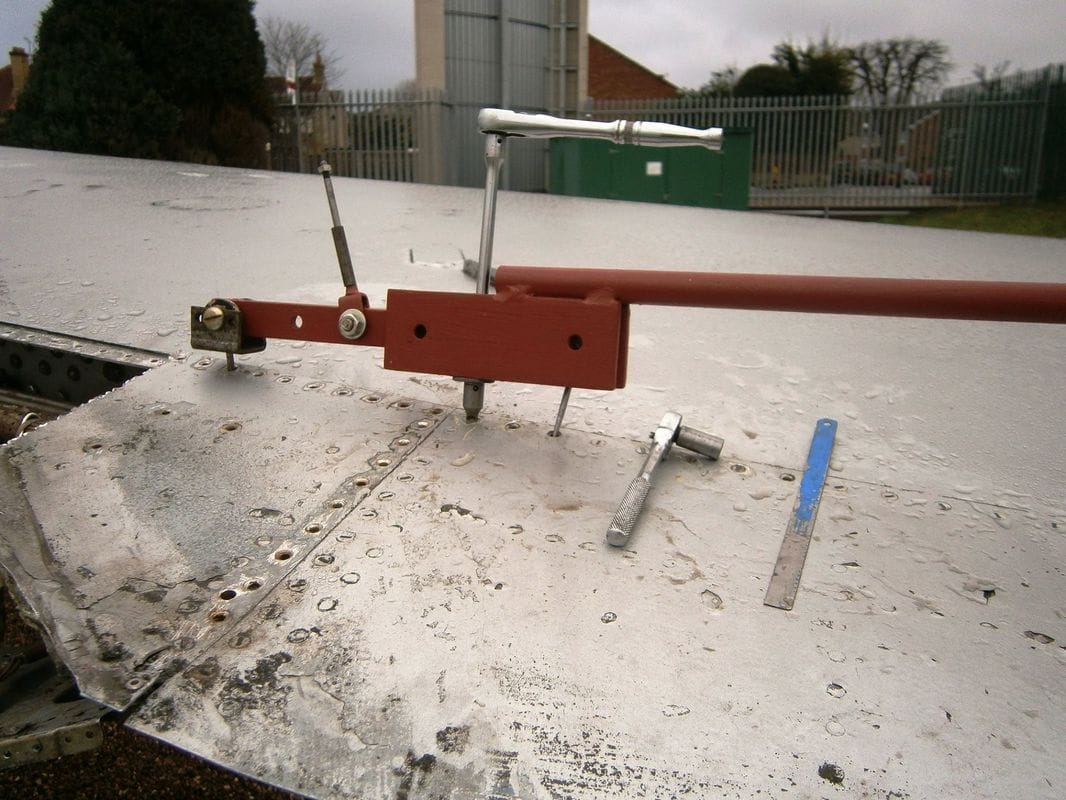
Just a bit of info on the latest version of the 'Aer Lingus' special tool.
Following the response to my question last week about 'special tools for panel screw removal, I have had a good look at the pictures sent in by all you good people out there in 'aircraft restoration land' and have come up with my own version made up from steel in my scrap box. It doesn't look particularly pretty but it really works. Maybe I will make a better looking device in the future.
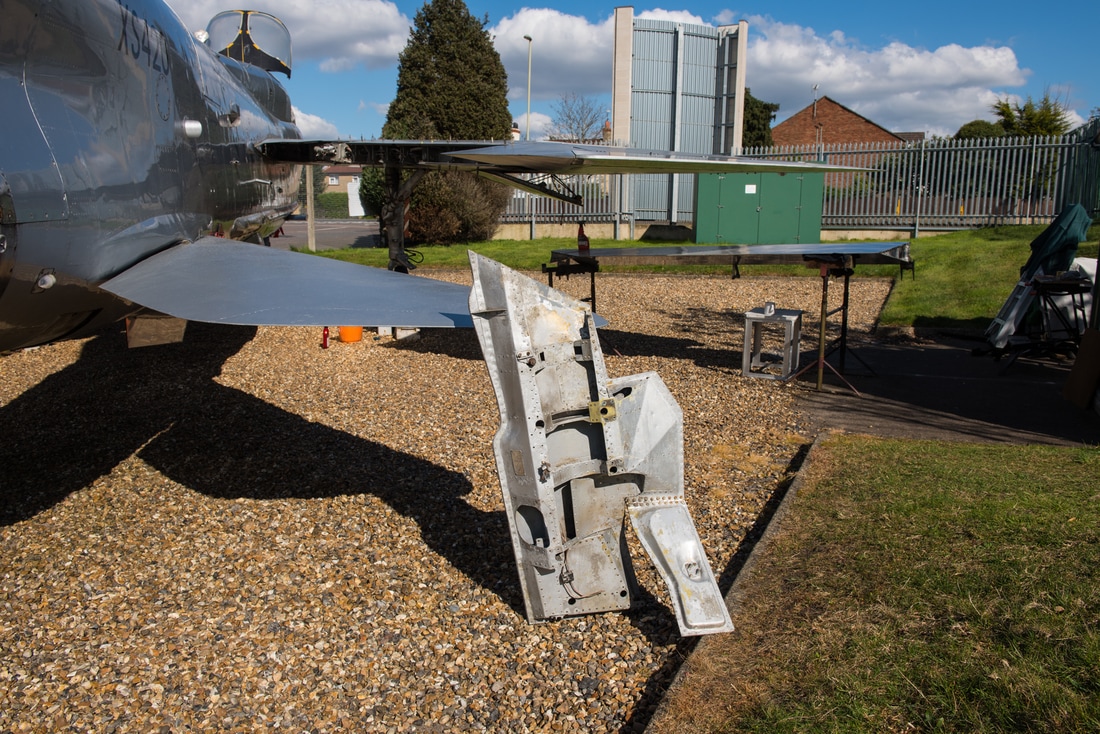
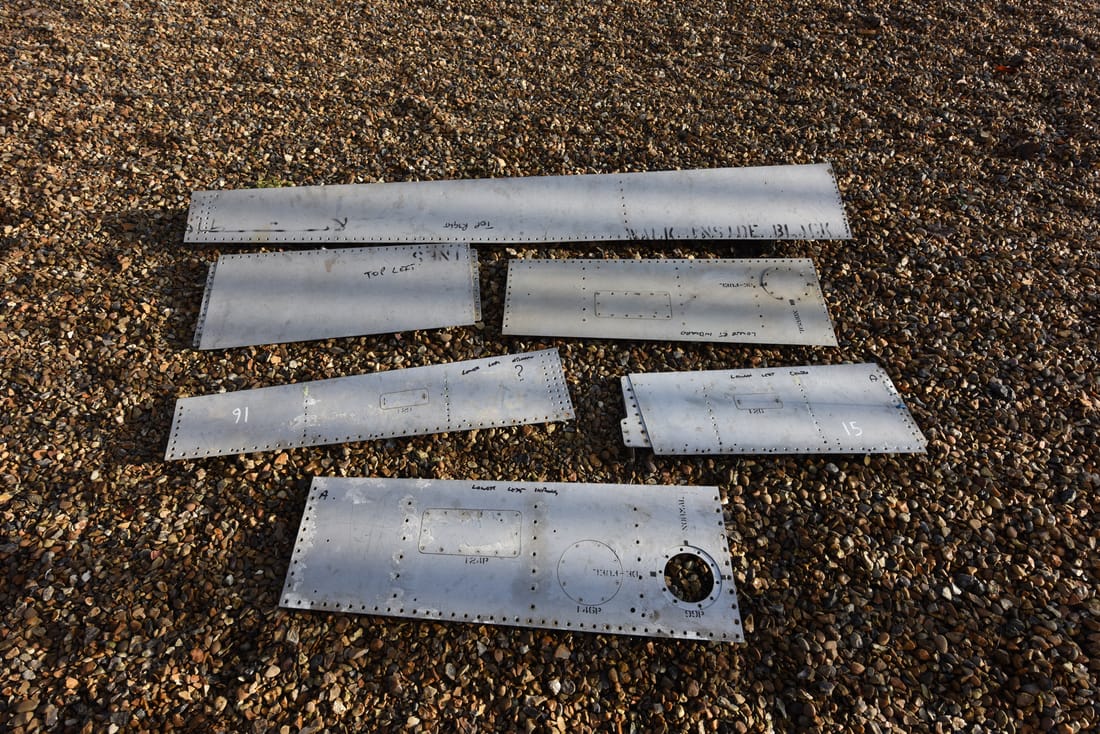
420's starboard trailing edge has a number of panels that really have seen better days. One is badly bent and others have been "butchered" when the wing was cut. At present a great deal of work is being undertaken by Derek & Arthur to remove the panels and carry out repairs to ribs and brackets etc. Its with many thanks to David Tylee that the job has been made a little bit easier. On 3 December we picked up a number of trailing edge panels which are in much better condition than the ones we have. So in time we will see the panels refitted which will be another step in 420's on-going restoration.
Words from Derek -
For all you aircraft restorers out there grappling with not only the weather but the frustration of trying to free off and remove seized panel screws into anchor nuts, screws into stiff nuts and sometimes into plain nuts with locking washers the following may be of help.
Many years ago, in my RAF days, I seem to remember us 'erks' chatting away in the crewroom discussing the magic 'special tool' used by MU's (Maintenance Units) riggers to remove seized fasteners. Us' lineys' on the Javelin Mk 9's had to make do with ground down GS's, 1/4 BS spanners to turn the GS and the inevitable big hammer to shock the screw into submission which normally ended up being drilled out anyway, usually off centre, which inevitably incurred the wrath of the Cpl i/c!!
Word has it that this 'magic tool' was simply a lever. One end of which was attached to a hole from which the screw had been removed, a fitting half way up the lever enabled a 'driver' to be attached which fitted the seized screw. The other end of the lever was pushed down by a colleague and the driver turned with a spanner, ratchet handle or T-bar and hey presto the offending fastener was undone.
Has anyone out there first hand knowledge of this tool as I haven't met anyone yet who has used one in anger!
Following recent attempts to remove dozens of 2BA screws and nuts, of which over half were rusted solid, from the trailing edge of the right hand wing I decided that some device that could be operated by one person was needed, some thing like the 'lever' that I had heard about all those years ago.
The screws in question are slotted but not all the way across the head. These blighters have a concave slot which stops about 1/16 from the edge of the head. I have already ground a driver bit which fits the slot with very little side play but am unable to put sufficient force to stop the driver being forced out as I attempted to remove the stiff nut.
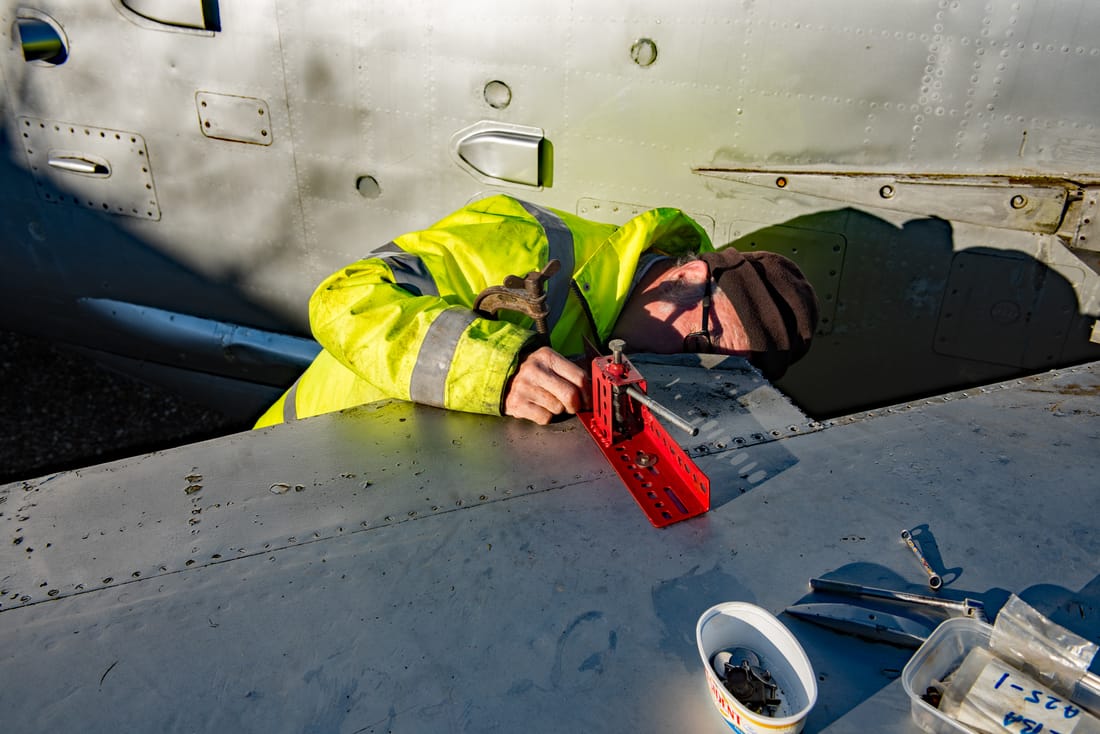
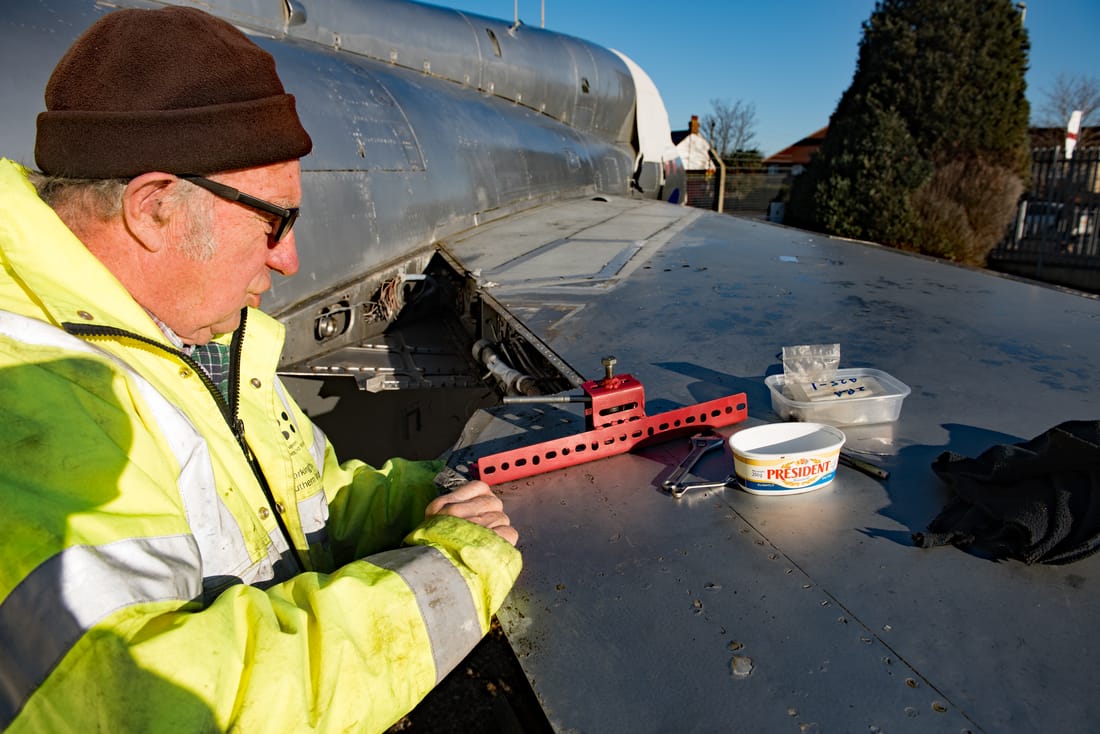
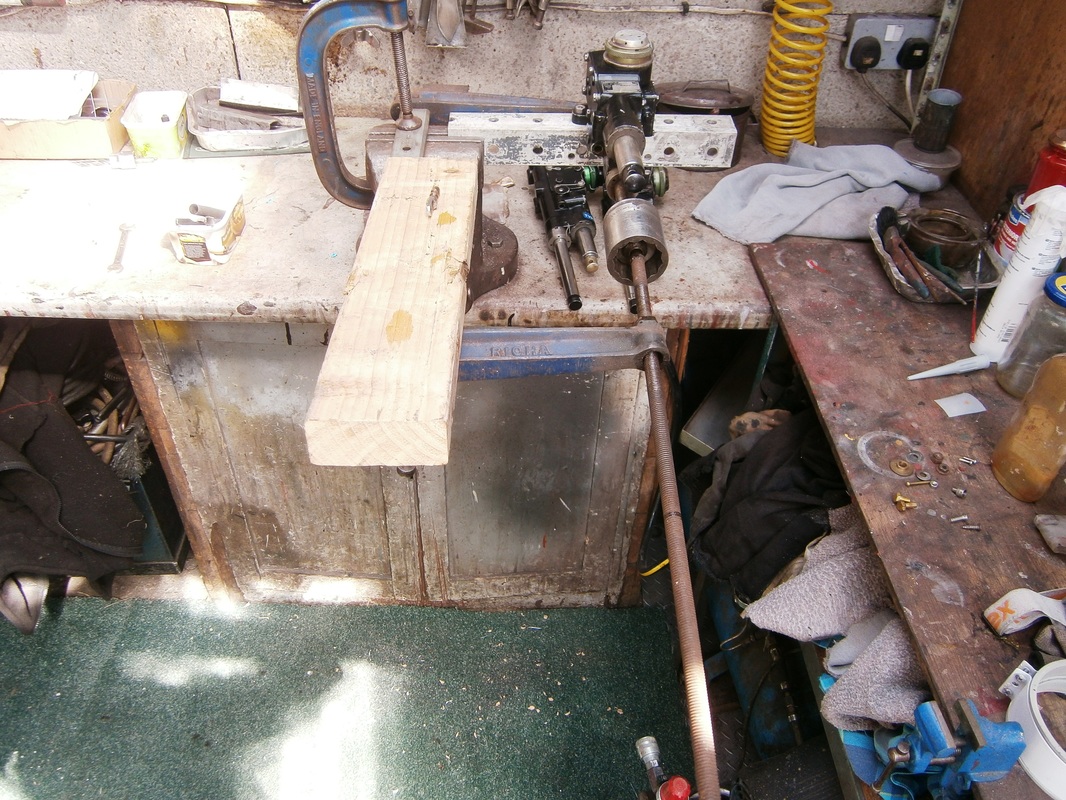
Using some scrap 'Dexion', a hacksaw and my Mig welder I made the rig shown in the pictures which probably tells the story much better than I can explain.
(If anyone would like to see the thing in action I am normally on the aeroplane Tuesdays and/or Thursdays but please by appointment only!!)
Derek and new 420 recruit Arthur Hurley hard at work during the week doing battle with removing trailing edge wing panel screws.
One of the two cockpit ladders recently obtained for 420.
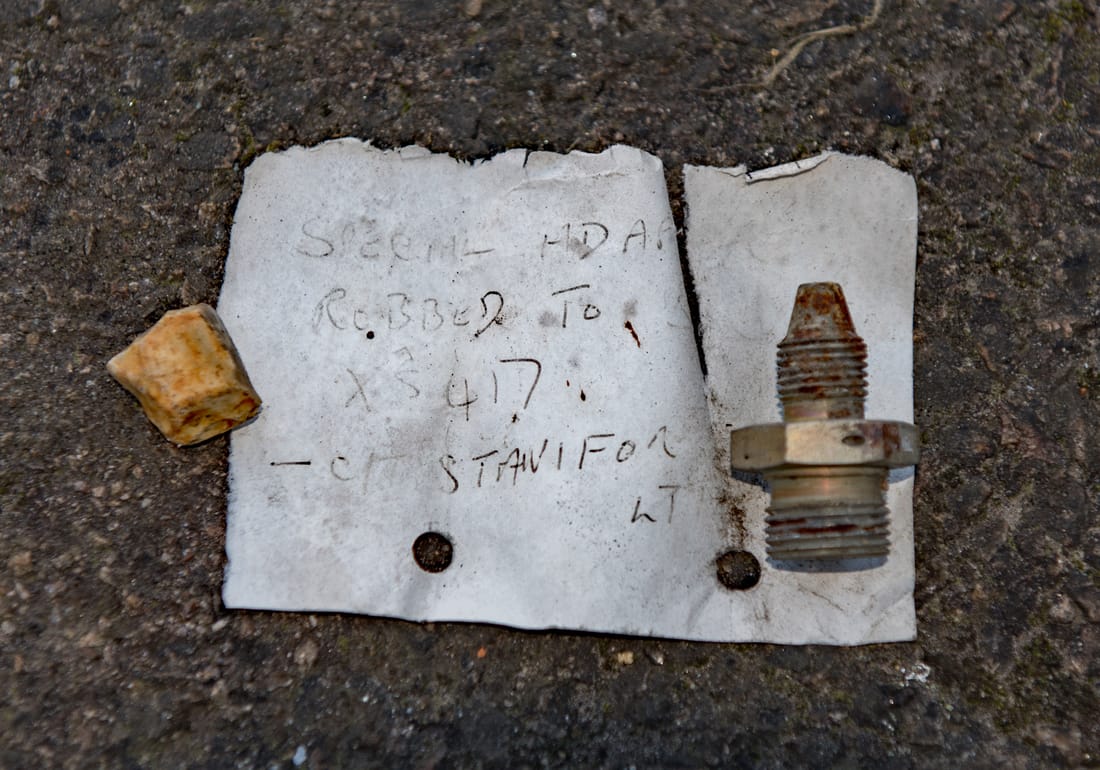
This little bit of history found tucked away behind 420's flap. So a small piece of 420 went to XS417 now located at Newark Air Museum.
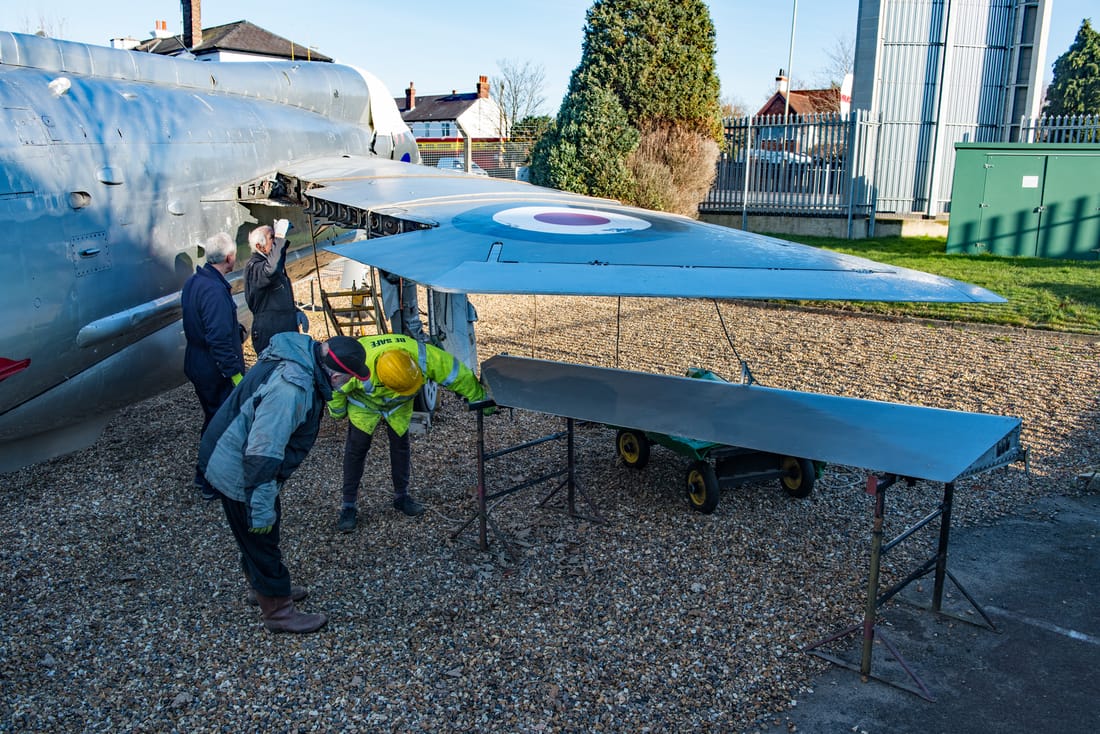
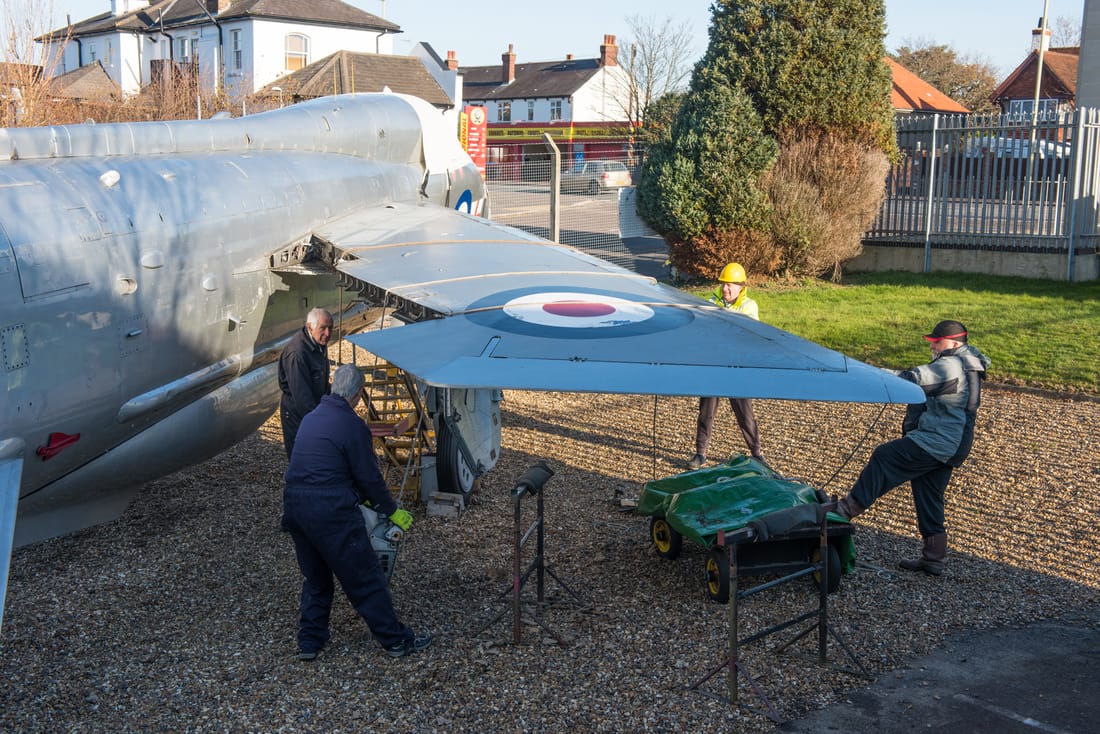
Work started in early December towards the restoration of 420's starboard wing. With a number of helping hands the starboard flap has been removed. This will help in allowing access to the fixings for the removal and replacement of damaged upper/lower wing panels.
It will also allow for the fabrication of a new bracket to hold the left hand end of the flap in place. This was damaged some years ago and has meant the flap can't be retracted. The aim is to have both flaps in the up position so we can now move to achieving this. Thanks to all those who helped today with the flap removal.
It will also allow for the fabrication of a new bracket to hold the left hand end of the flap in place. This was damaged some years ago and has meant the flap can't be retracted. The aim is to have both flaps in the up position so we can now move to achieving this. Thanks to all those who helped today with the flap removal.
November 2016
A number of panels on 420 have previously been fabricated and riveted to the fuselage. Always on the look out for originals I recently obtained the panel that gives access to the emergency battery and inverter control. So the existing panel was de-riveted and the original fitted. It's a different colour but I think I may leave it like this as it's part of an original LIghtning scheme. With thanks to Phil Wallis for tracking down the panel.
Words & photos from Derek.
Seeing as the weather wasn't too inclement this week I had an in depth look at the starboard wing trailing edge around the flap area.
It all looks a bit of a mess! Anyway I have made a start to try and set up a plan as how best to tidy the whole area up.
I have had a go at removing the upper long panel, that was cut previously with an angle grinder (needs a new panel making), and the lower long trailing edge panel that was bent and held up with a bit of brass studding. I can probably reshape the lower one it with a bit of gentle panel beating but in order to get to the rest of the nuts and also to remove the ribs for repair (all ready got one off) I will have to remove the flap.
October 2016
Taking advantage of the dry weather the wing repair was undercoated and two topcoats were applied.
A couple of years ago I cut new ali plates into 420's wings. The plates were undercoated but never got a top coat. Time went by and it was bugging me that the top coat needed to be sorted. So after this time the plates undercoat was not too good so I decided this weekend to take the paint off back to the base metal. After hours of sanding and a bit of filling I managed this afternoon (October 23rd) to get them etch primed ready for undercoating. Derek has sourced some suitable silver paint so hopefully soon the painting can be completed. First shot shows removal of the previous undercoat through to application of the etch primer.
In the shot below you can also see the trailing edge panel we recently acquired from long gone F.53 ZF582 (the cockpit survives at Bournemouth Aviation Museum). Derek spent many hours getting all the holes to line up and it now fits perfectly.
In the shot below you can also see the trailing edge panel we recently acquired from long gone F.53 ZF582 (the cockpit survives at Bournemouth Aviation Museum). Derek spent many hours getting all the holes to line up and it now fits perfectly.
September 2016
September has seen work start on the fitting of rear upper wing panels which have come from Lightning F.53 ZF582. The challenge for Derek is to get as many of the holes in the panels to line up with those in the wing's structure.
A pair of cockpit access ladders have been sourced from Lakes Lightnings in Cumbria and these are at present in transit from the Lakes to Farnborough. They are not the easiest items to transport being over 10' long but a man with a van is assisting.
The ladders are in need of some work both from an engineering and paint work perspective, but they are rare items and something that will greatly enhance the finished look of XS420.
July and August 2016
The months of July & August have seen the gathering of parts to hasten 420's restoration and future proofing moving on a pace. This started with a chance meeting with Paul Ridgwell and his comment that "he knows someone who may have some parts". Never a truer word said, indeed his contact did have some parts, which not only helped 420 but other Lightning projects in the UK.
A trip with Derek to view the parts resulted in a car load of bits coming back to Farnborough. The haul included -
A trip with Derek to view the parts resulted in a car load of bits coming back to Farnborough. The haul included -
- Air Publication manuals
- Port & Starboard radar visors
- A selection of spine panels (very useful if 420's should corrode away in the future)
- Fuselage panels
- G90 gun camera and set up kit
- Canopy jack locks
- Canopy jack
- Ejection seat parts
- Wheel brakes
- Brake parachute pack
- Fasteners
- Jacking point covers
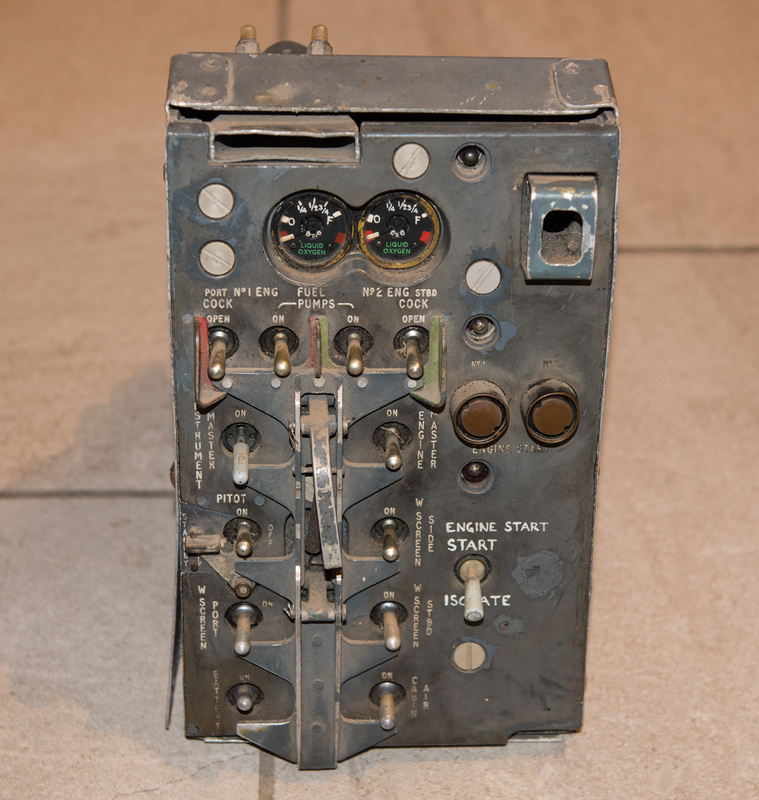
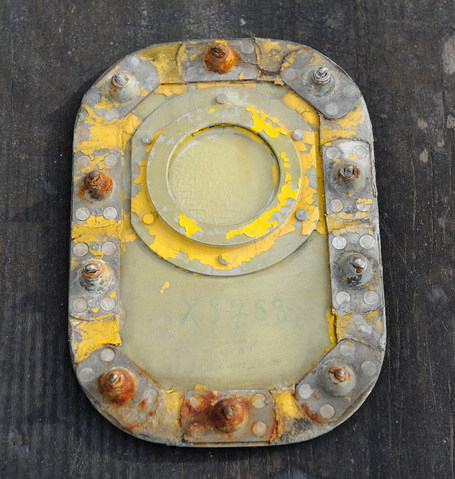
One item that was not available was Panel A.5 (engine start panel). However, whilst on a trip to a very wet RNAS Culdrose Airshow a phone call came through that Panel A.5 had been found and was available. Again this was all made possible by Paul's contact, so a trip was made to collect the panel which is shown below.
A further visit to collect parts has resulted in the following being procured -
My thanks go to all those that have made the above possible. If you had told me a few weeks back I would have had Panel A.5 I don't think I would have believed it.
- Wing panels
- Fuselage panels
- Cockpit stop watch
- Various gauges & instruments
- P-lights
- OM15 hydraulic oil
- Hydraulic hand pump
- Nose jacking bracket
My thanks go to all those that have made the above possible. If you had told me a few weeks back I would have had Panel A.5 I don't think I would have believed it.
June 2016
Work, words & Photos by Derek Parks
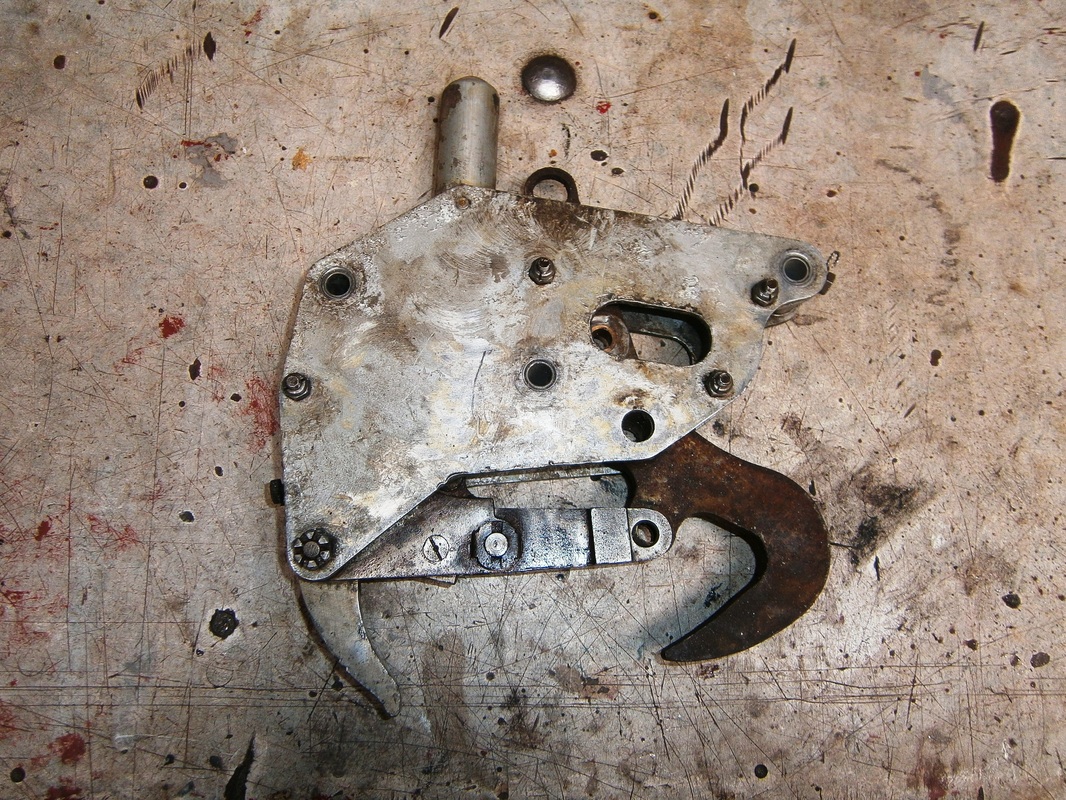
Managed to remove the master (hydraulically operated) up lock assembly, associated pipework and valves yesterday and spent time today sheltering from the rain in the workshop at home stripping the item down, cleaning the aluminium components in solvent and sand blasting the steel items ready for painting and reassembly.
I need to do the same with the slave up lock assembly and hopefully they should both look quite nice when refitted. With a decent surface finish they should also be well protected from further rusting!
Work, words & Photos by Derek Parks
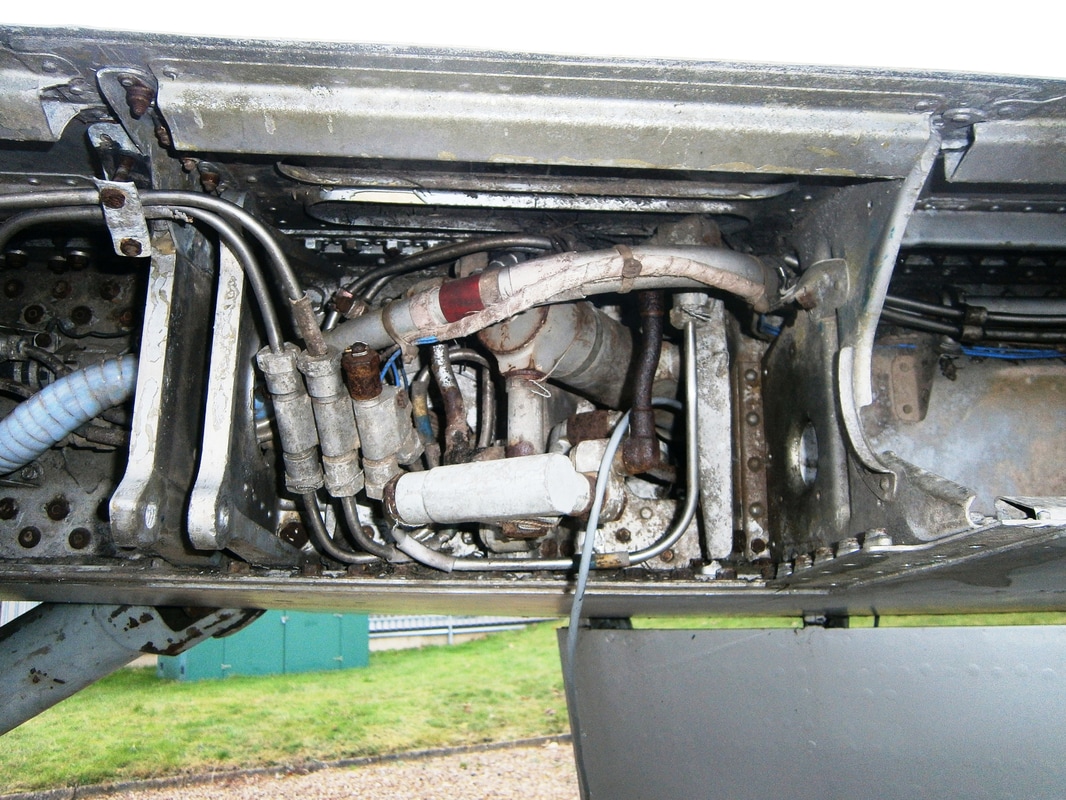
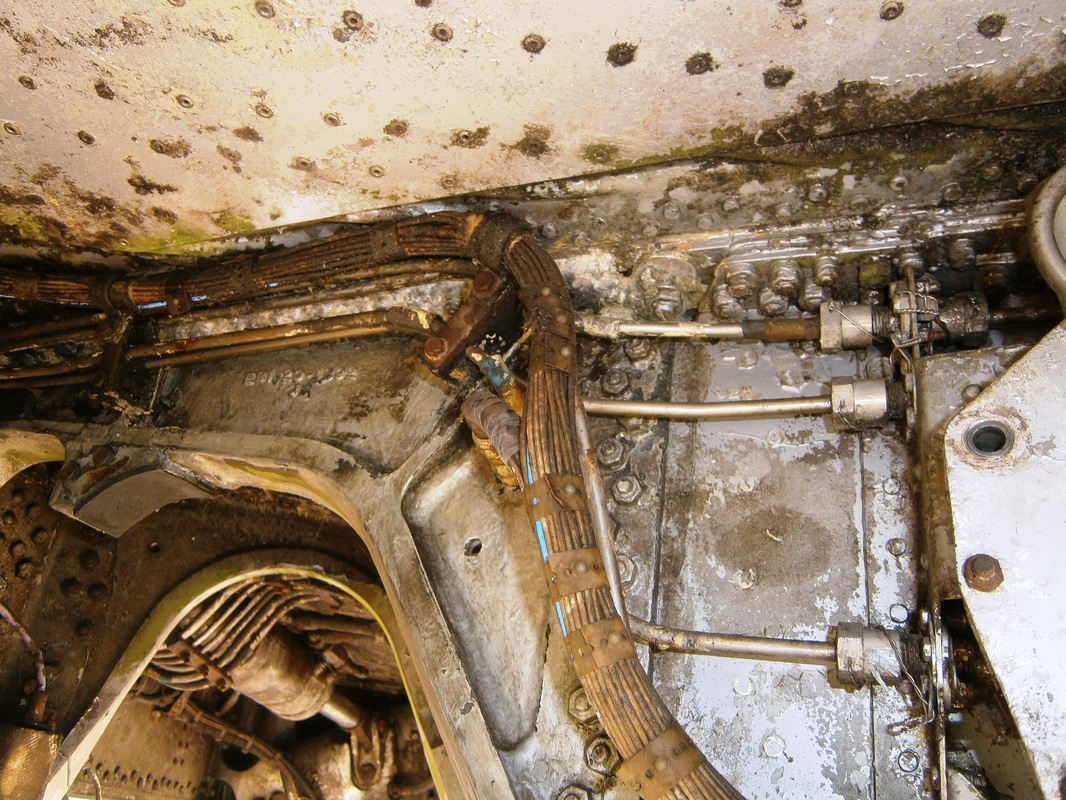
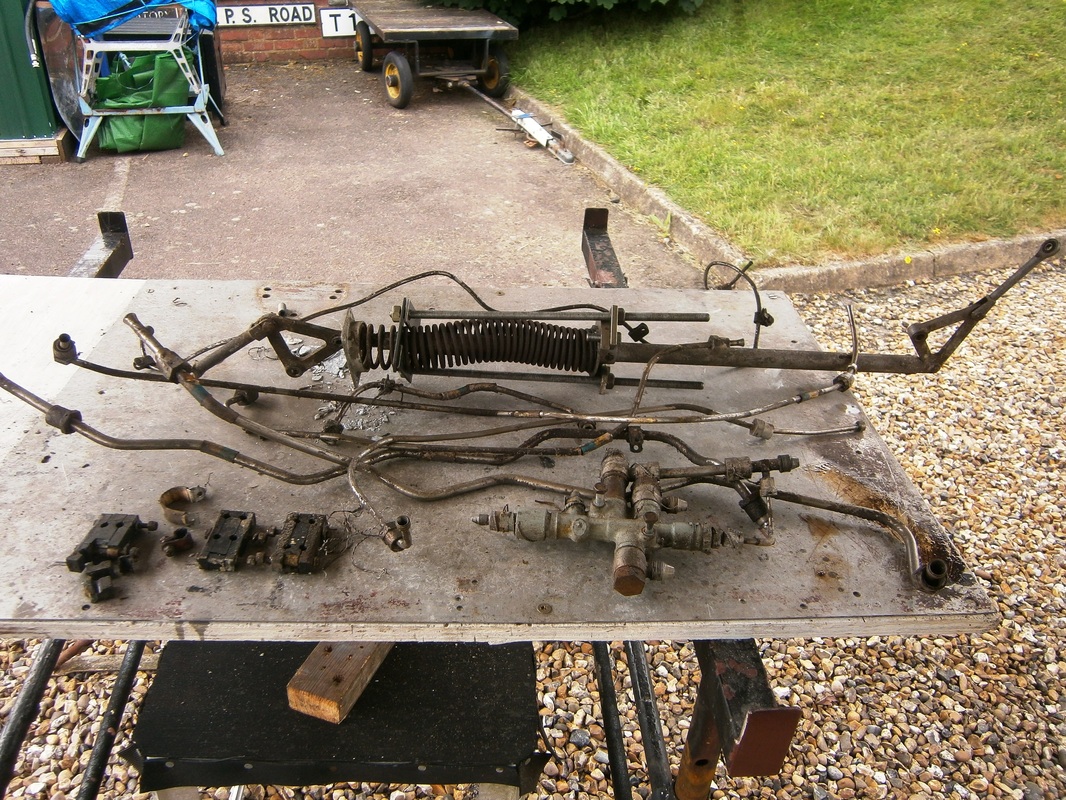
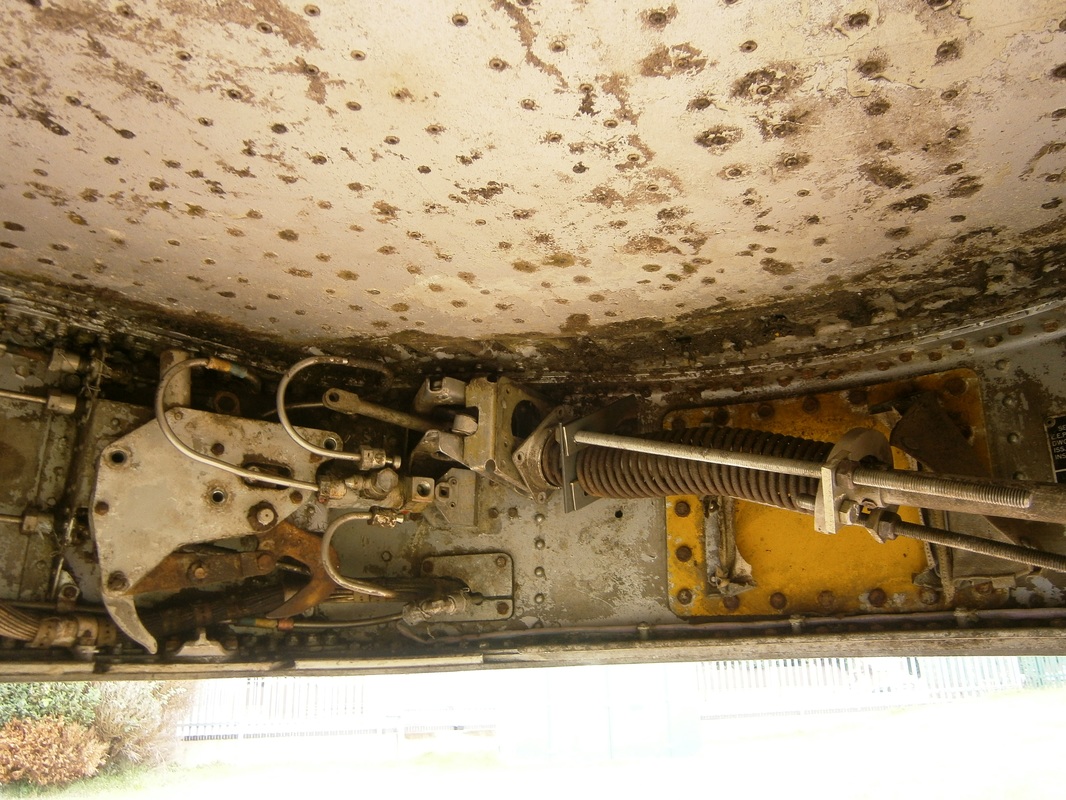
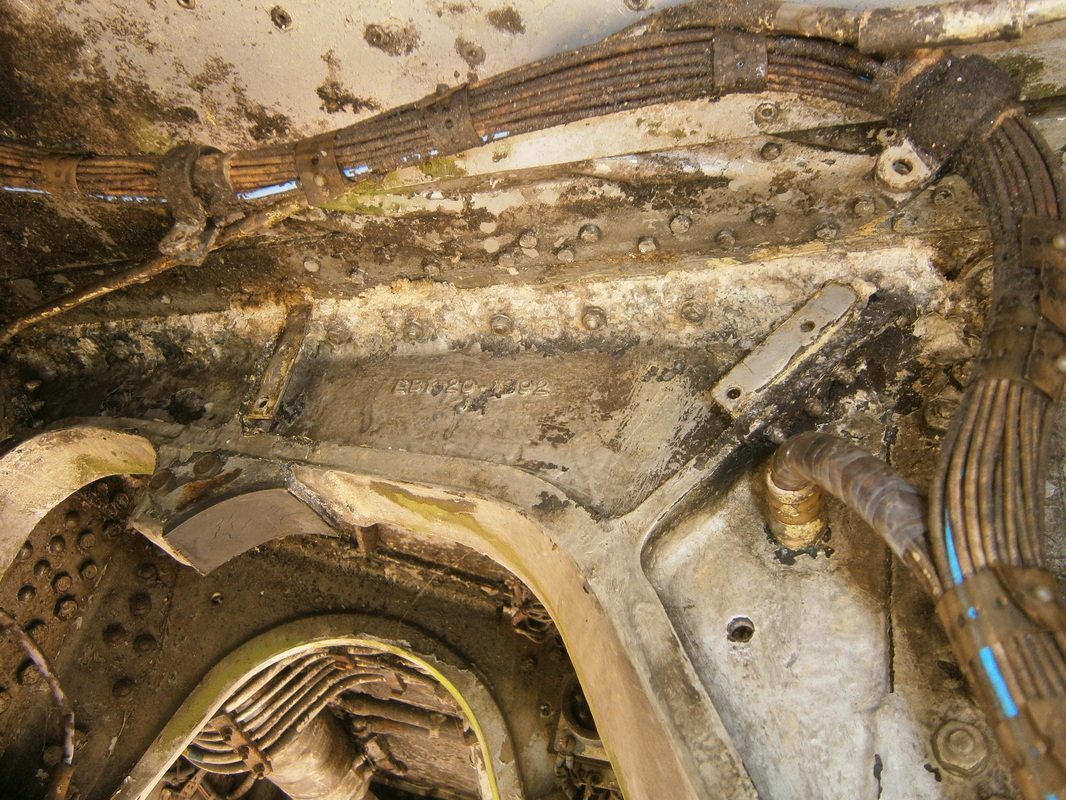
Following investigation into the corrosion in one of the main beams in the u/c bay it would seem wise to strip out the hydraulic systems and cables to the 'uuntered was removing the spring strut which operates on the 'slave' mechanical 'uplocks'. I had to spend some time in making a spring compressor out of a BMC Mini primary gear extractor, two lengths of studding and some steel strip which was duly cut to fit and then welded up! Once the spring was compressed the 2 BA nut and bolt was removed which enabled the strut to come free along with the spring still under compression with the compressor. After this it was a simple job to start to remove some of he stainless hydraulic pipes.
Picture '58 shows the corrosion with cables and pipes in the way
'60 shows spring compressor taking the strain
'63 shows pipework and components removed
'64 CORROSION!!!
Work, words & Photos by Derek Parks
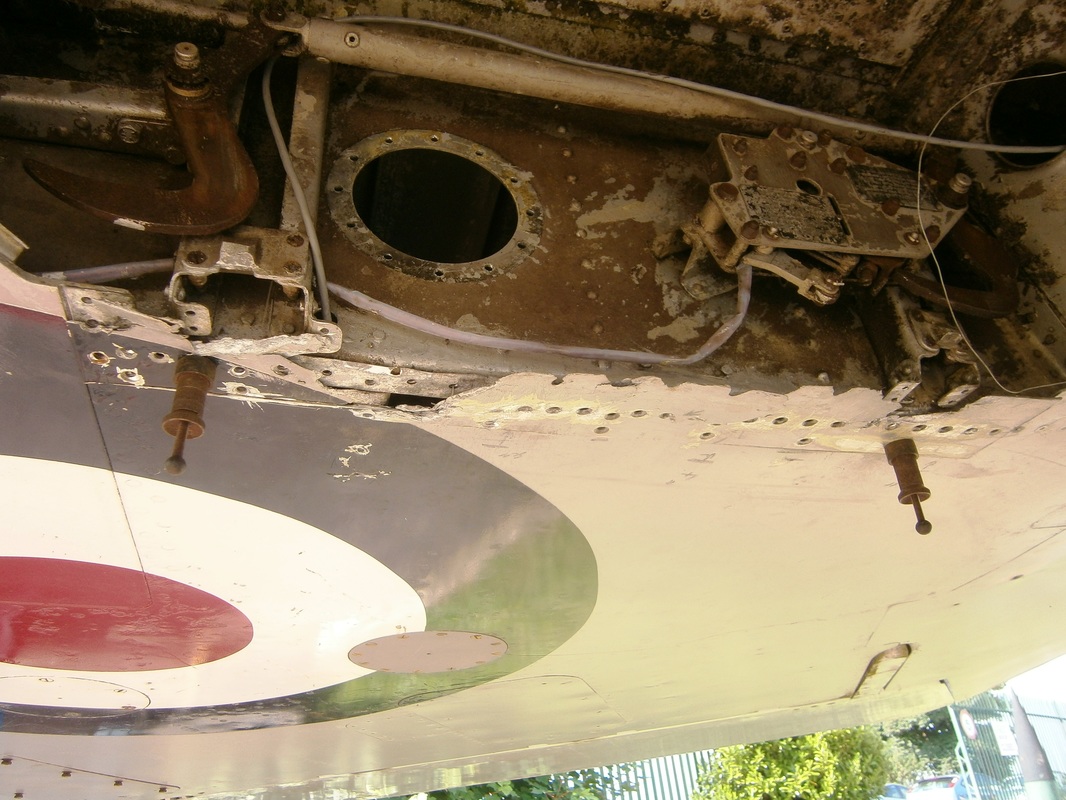
Although it was extremely hot in the sun today I actually kept relatively cool under the right hand mainplane in the undercarriage bay!
The first section of corroded skin was cut off and the remaining rivets stubs in the stringers drilled out. This area was cleaned up with rubbing down paper and a coat of primer applied.
The second piece of skin was assessed as to where to place the cut line. Unfortunately in order to replace this piece the rivets used to secure the metal will end up in an area which cannot be reached with reaction blocks to fasten the rivets.
So it was back to my 'Squadron' days working in the hangars and out with the sockets and spanners in order to remove the u/c 'up' lock to give access to the flap jack access panel which was subsequently removed. This took quite some time as most of the fasteners were pretty well rusted in
The next job is to establish the cut line and drill out the remaining rivets and remove the damaged skin!!
Picture -- 1 shows cut line on first piece
------------ 2 second piece of damaged skin
------------ 3 up lock removed and panel unfastened (the one with two large holes)
May 2016
Work, words and photos by Derek Parks
Bit of a hard day today cooped up in the cockpit!
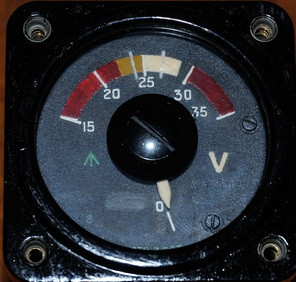
The first job was to remove the damaged Voltmeter in the 1st Pilots left hand panel with one in much nicer condition. Unfortunately this involved removing a variety of 4 and 2 BA screws around the periphery of the panel and removal of the air valve control to enable the panel to be lifted up about 6 inches to get the old instrument out. Replacement of the new one went fairly smoothly considering the state of some of the screws. We really need to get some new ones from LAS!
The newly manufactured triangular shaped panel was fitted over on the right hand side panel.
The hardest job today was trying to get the 1st Pilots switch panel fitted to the console forwards of the stick. The panel is complete with two thick cable looms with large cannon plugs which would not go through the access hole in the console. So the console had to be eased rearwards to give sufficient clearance. This entailed laying down on the newly installed large piece of carpet (to save my knees) with legs hanging out of the side of the cockpit and removing the many screws that secure the console to the airframe. The rudder adjustment universal joint also had to be disconnected.
Eventually it all went back after a fashion. Just need a few more new 2 BA screws to be fitted to replace some rusty ones!!!
Eventually it all went back after a fashion. Just need a few more new 2 BA screws to be fitted to replace some rusty ones!!!
April 2016
22 April 2016 - Words and photos Derek Parks.
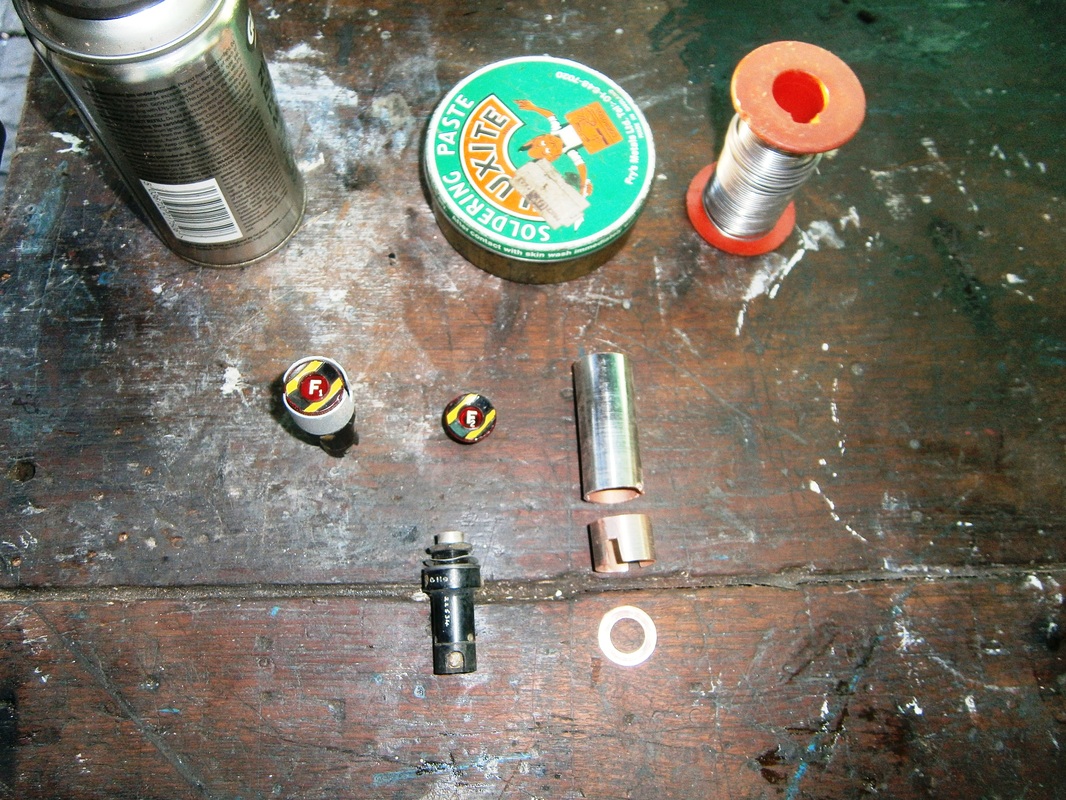
First job was to make up some 'guards' for which I managed to find a bit of copper tubing and a couple of old 'sump plug 'copper washers which where soldered to the pipe. This was then cut to replicate the cutouts as per original. A coat of etch primer and some cockpit grey paint finished them off! Picture 1.
The console was then removed and taken apart yet again and the button bodies and fire lights themselves fitted.
console was then refitted.
Small panel made for base of 1st Pilots console. Awaiting painting.
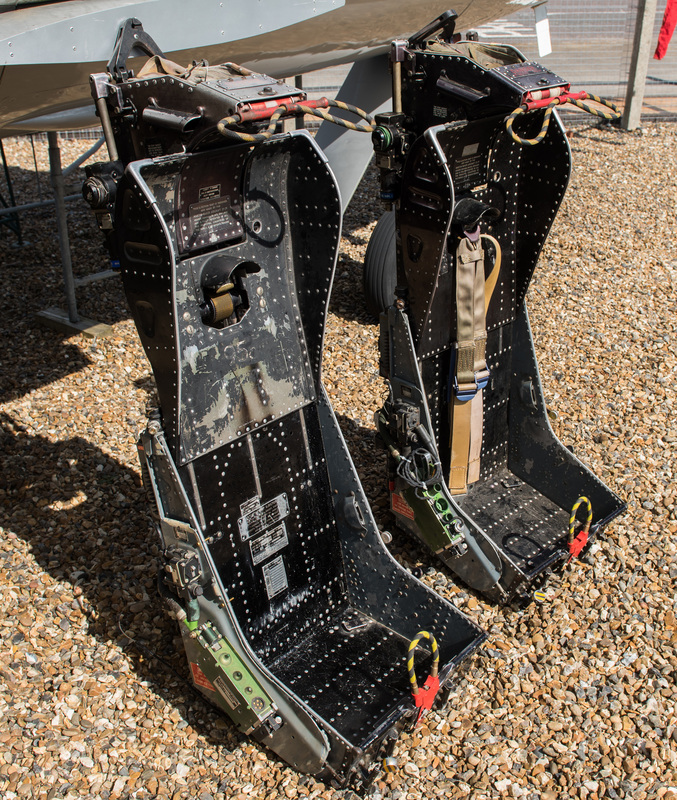
17 April 2016 - Work completed on the seats - they will now go into storage pending fitting.
14 April 2016 Words and photos by Derek Parks.
Had a couple of good days this week. Seats almost finished just need some 2 BA Mushroom headed bolts to finish securing the Emergency Oxygen panel to the 'C' seat.
Had to remove some small components from the back of the panel so that it would fit inside the frame of the seat. Also had to remove some items from the seat to enable the panel to fit flush with the side of the seat pan.
A bit of a mission however to fit the barostat units so that the harness on the 'B' seat can be locked but made up a 'special rig' to reset them!! In the second picture the small machined silver plunger sitting on the block of wood is the device that locks the two rams in place!! Took me a bit to work out how the unit functions!
5 April 2016 - Work on the two ejection seats continues with the conversion of the C seat into an B with the fitting of the T.5 oxygen/PEC panel.
March 2016
26 March 2016 - Port B Scope Visor obtained.
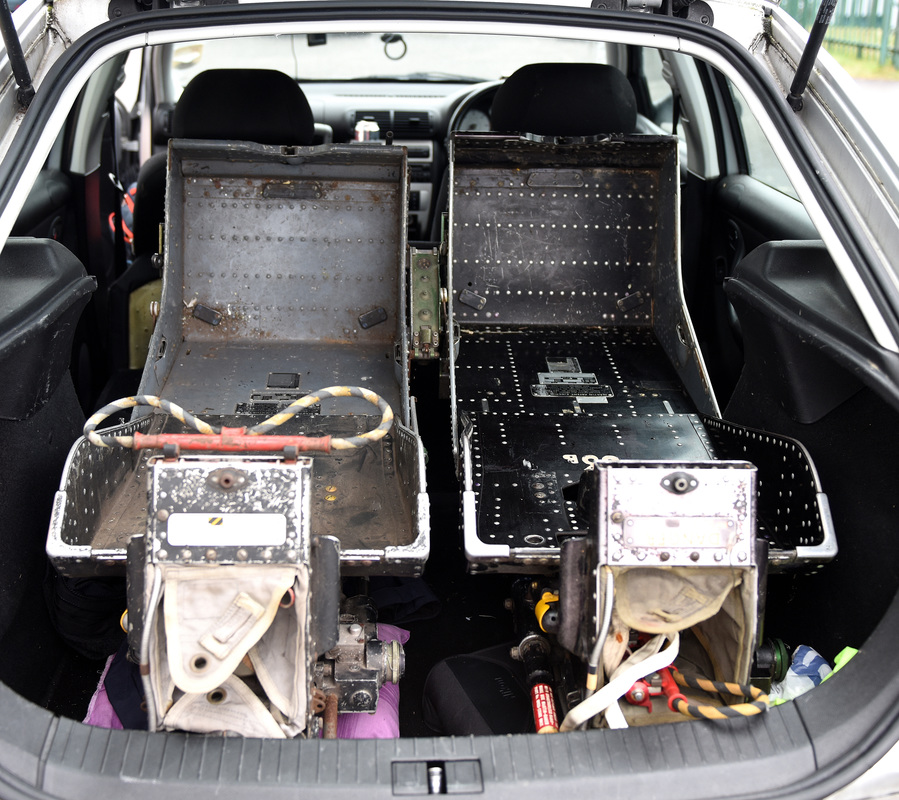
26 March 2016 - Ejection seats arrive in style in the back of the SEAT.
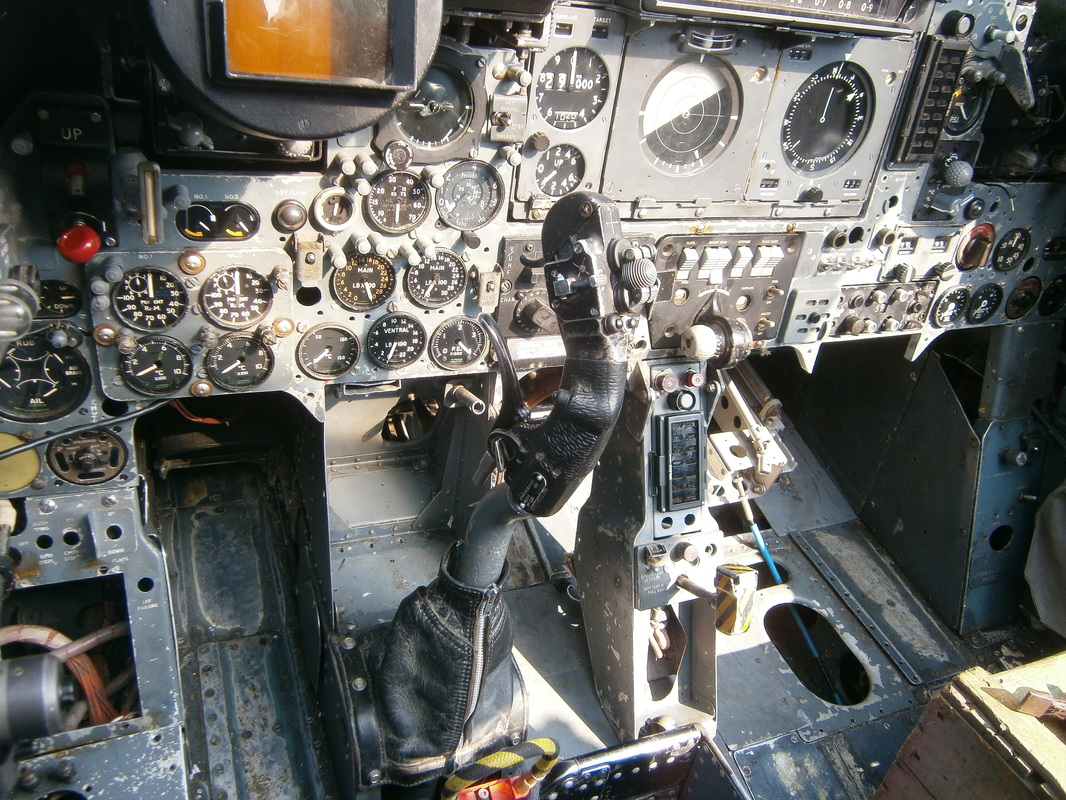
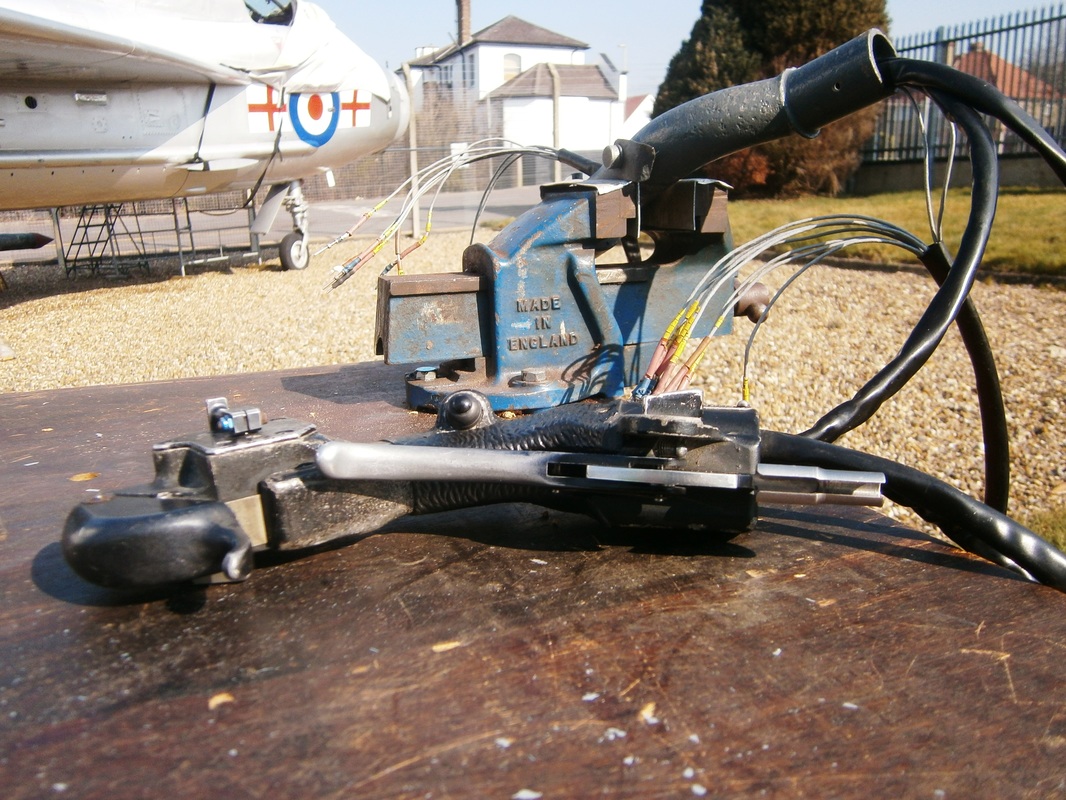
17 March 2016 - Swan neck and stick top fitting - photos courtesy Derek Parks.
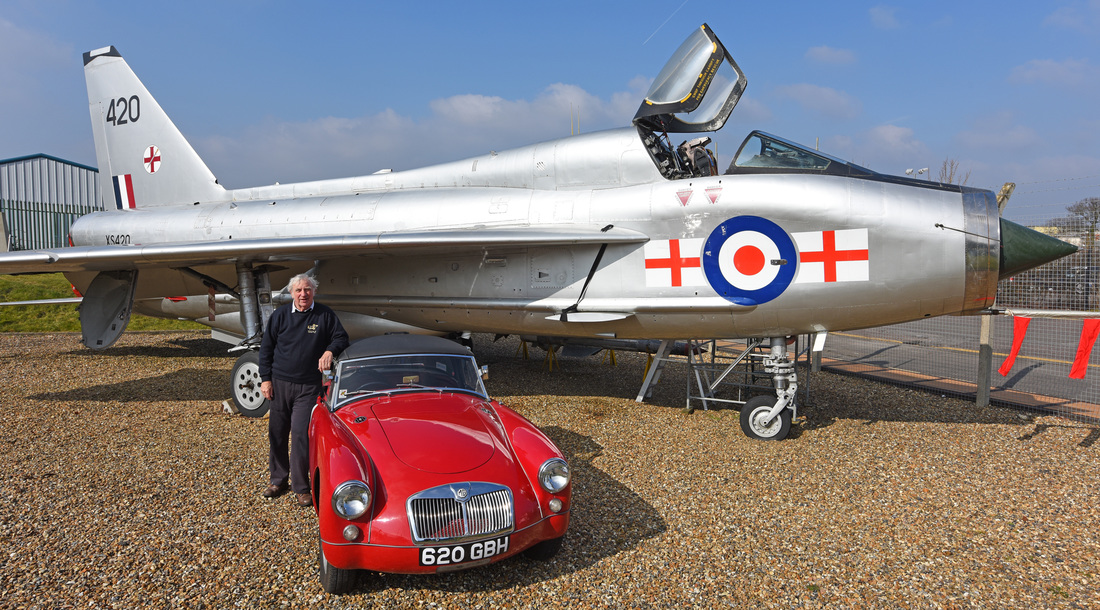
13 March 2016 - Derek Park's MG A pays a visit.
10 March 2016 - The XS Shed (a home from home).
February 2016
23 February 2016 - Panel coming along.
16 February 2016 - photos courtesy Derek Parks.
11 February 2016 - photos courtesy Derek Parks.
7 February 2016
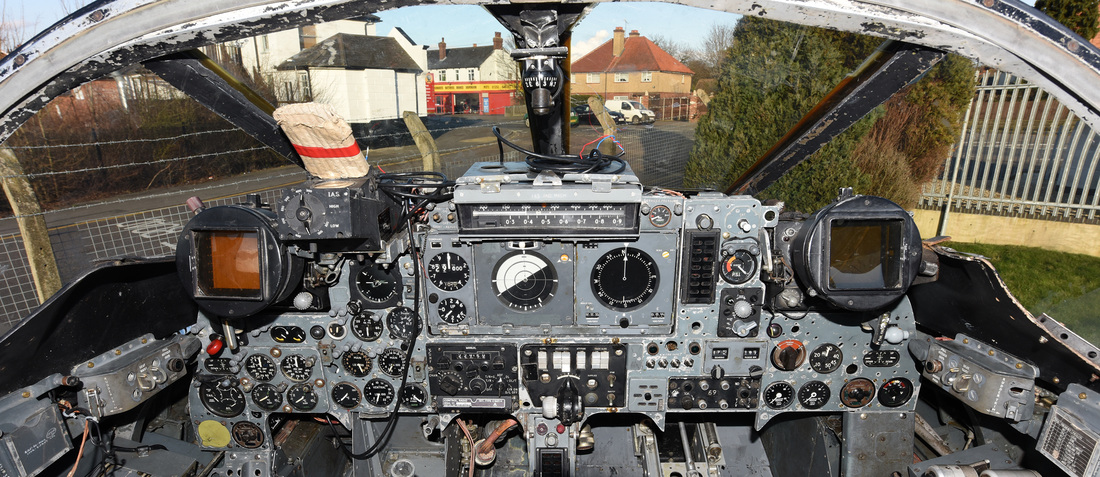
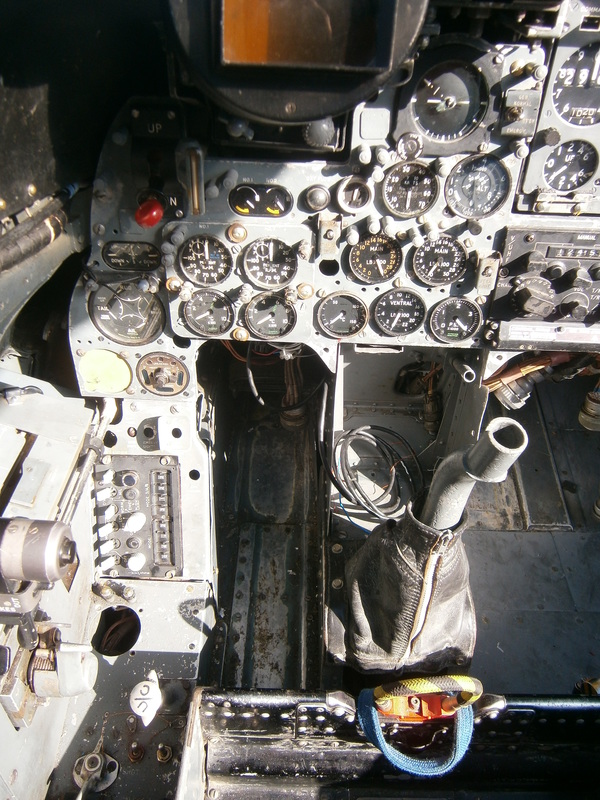
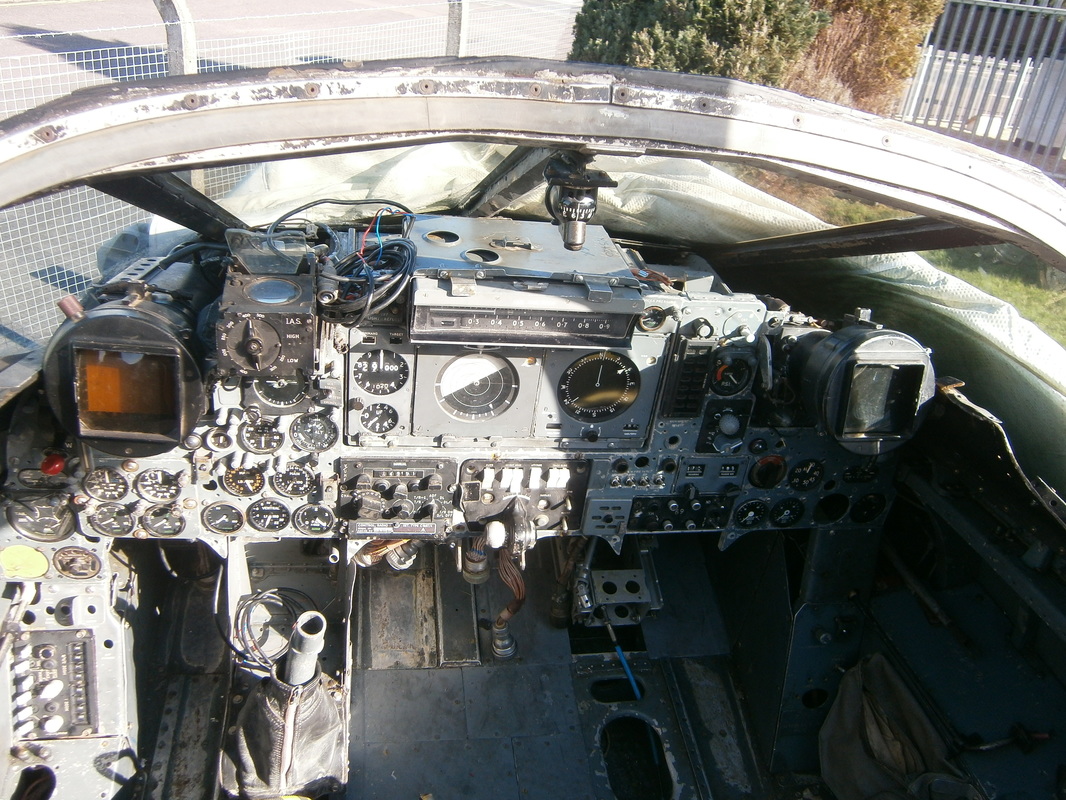
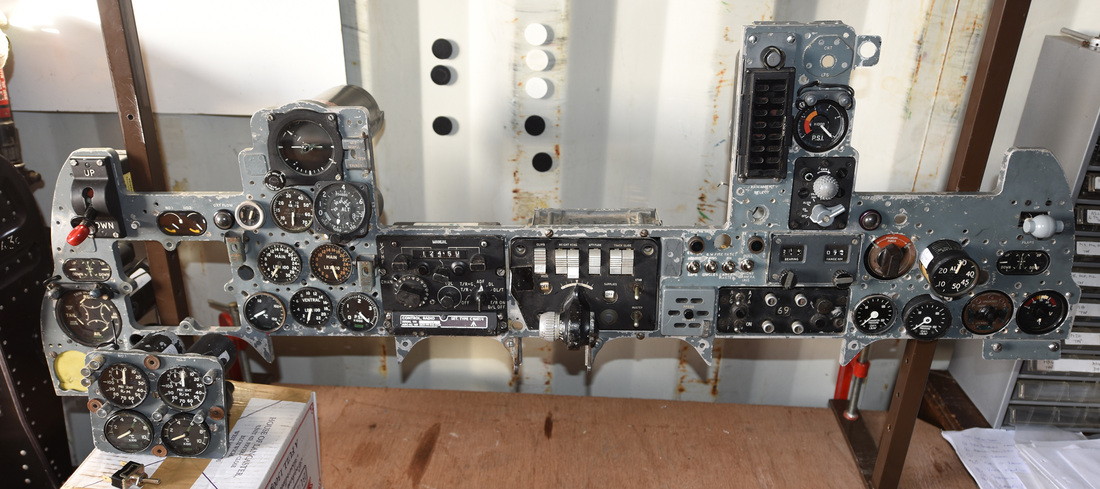
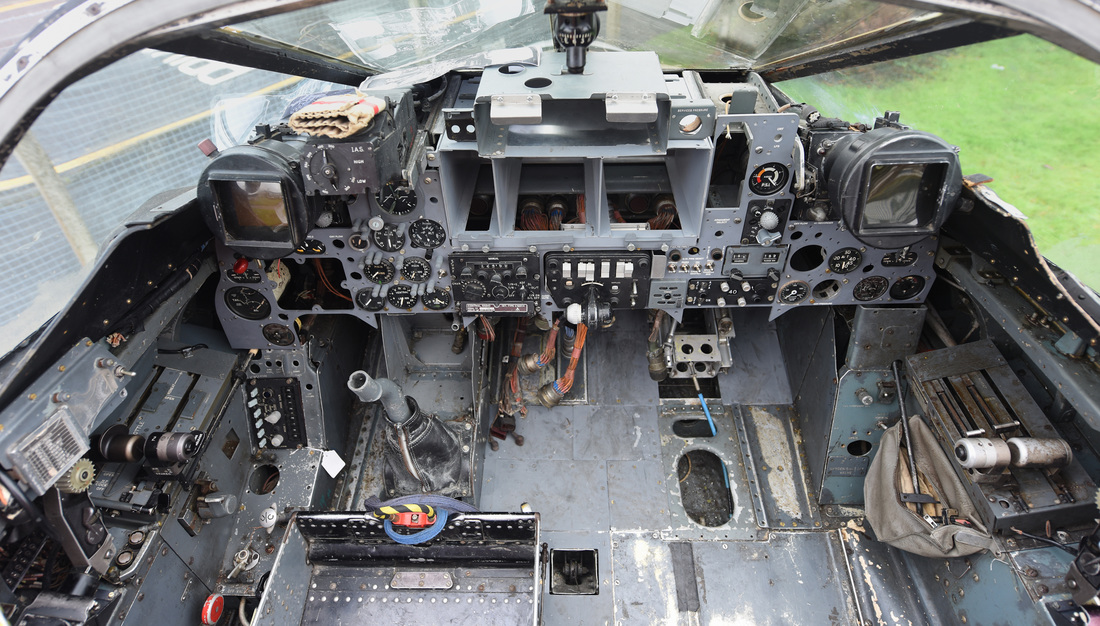
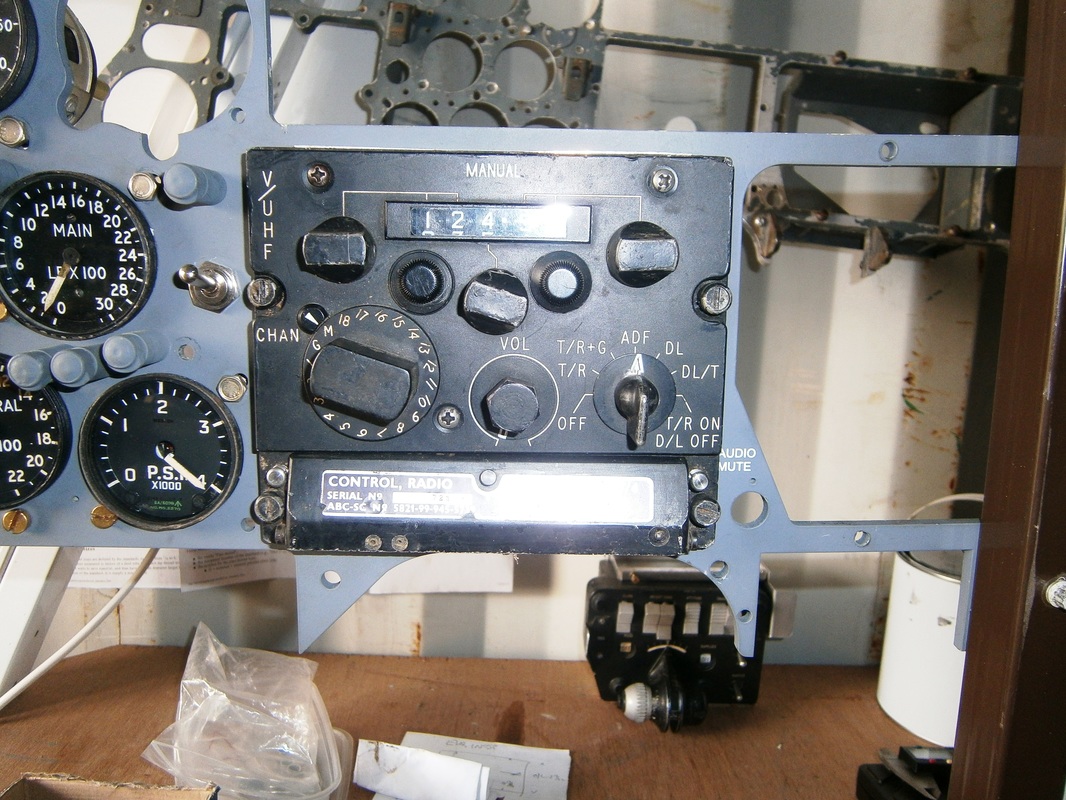
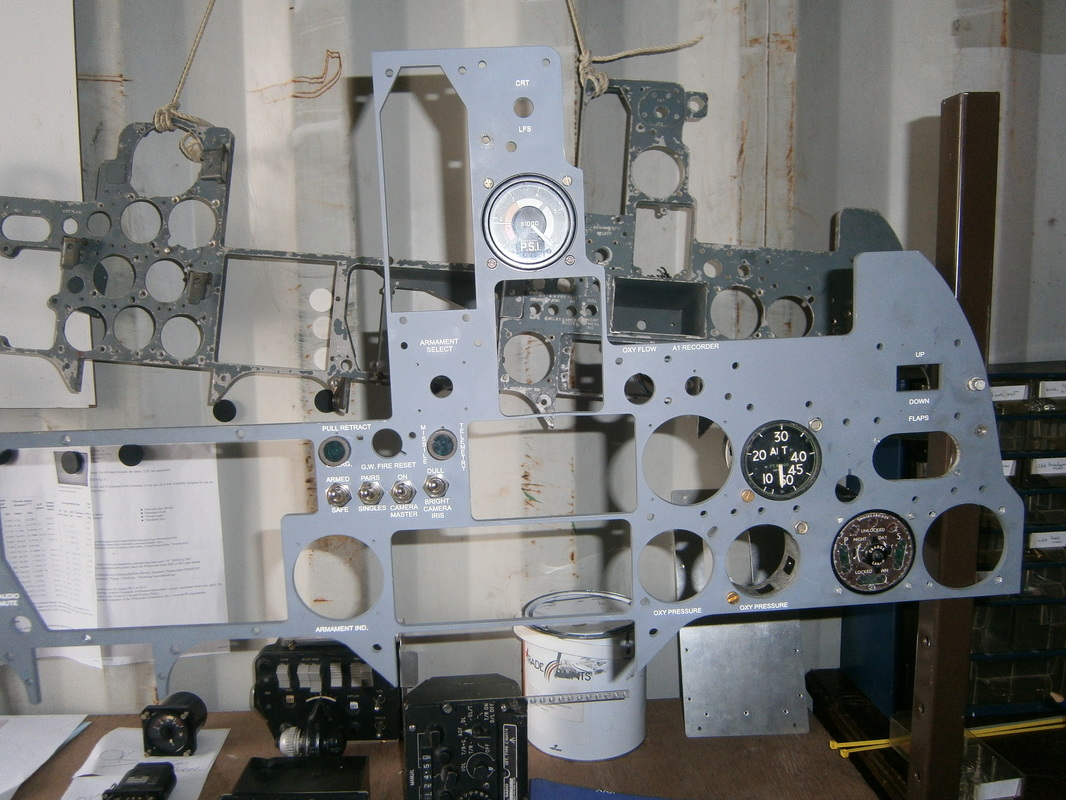
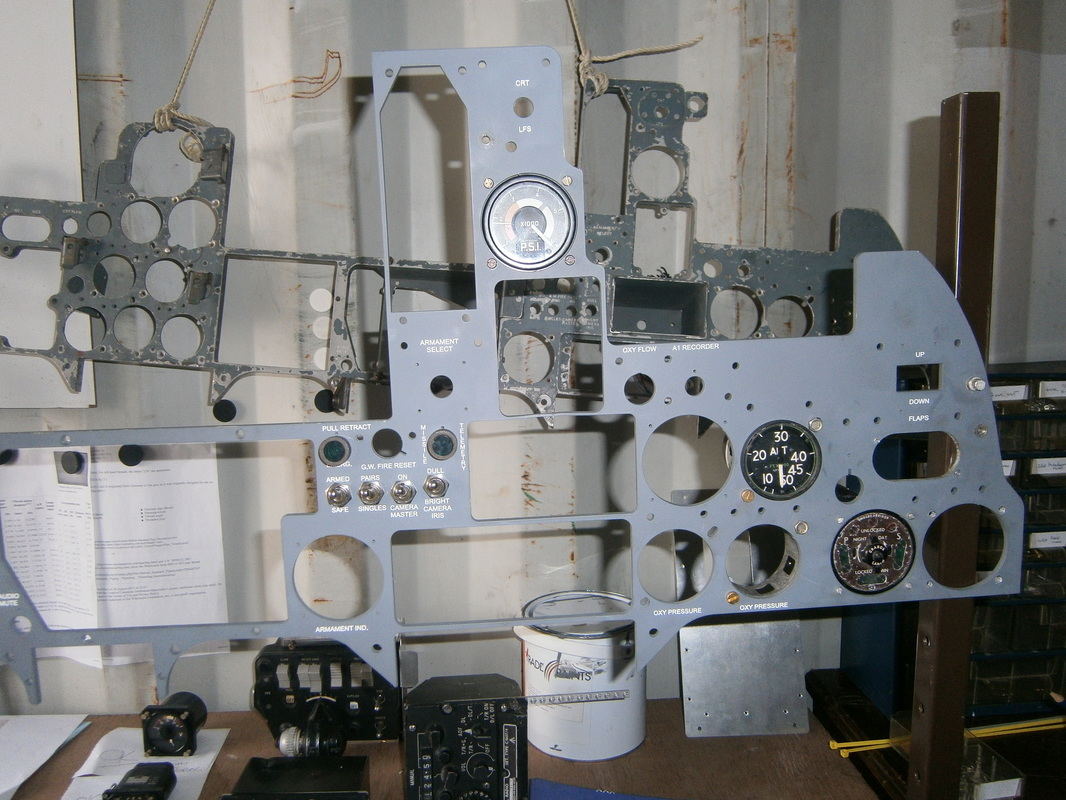
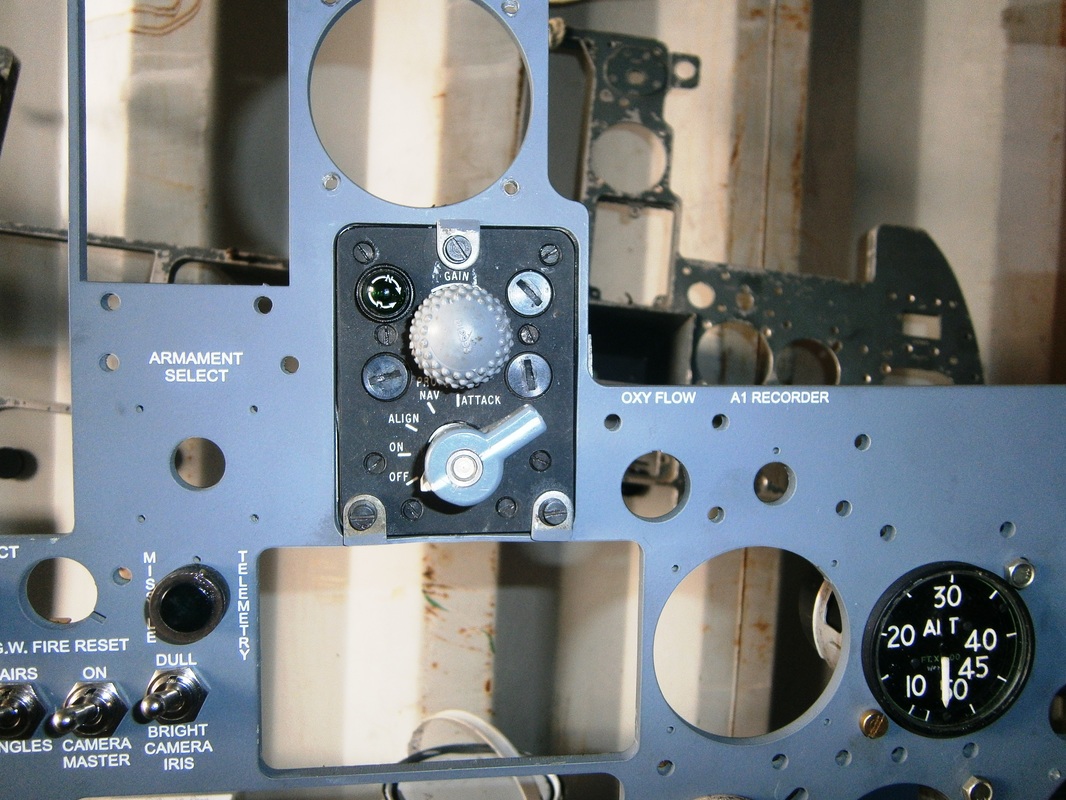
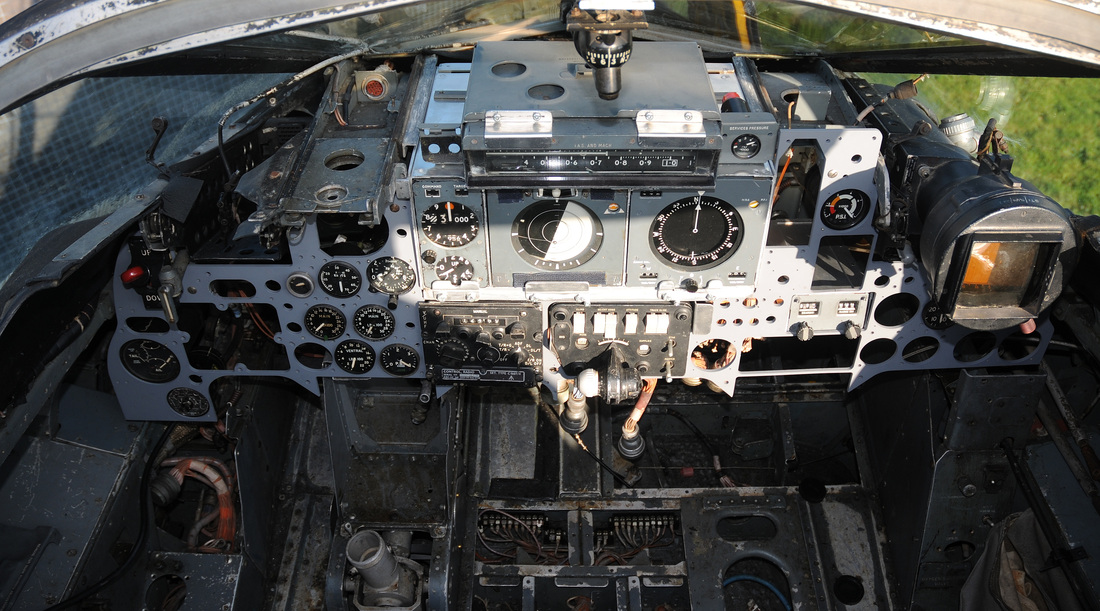
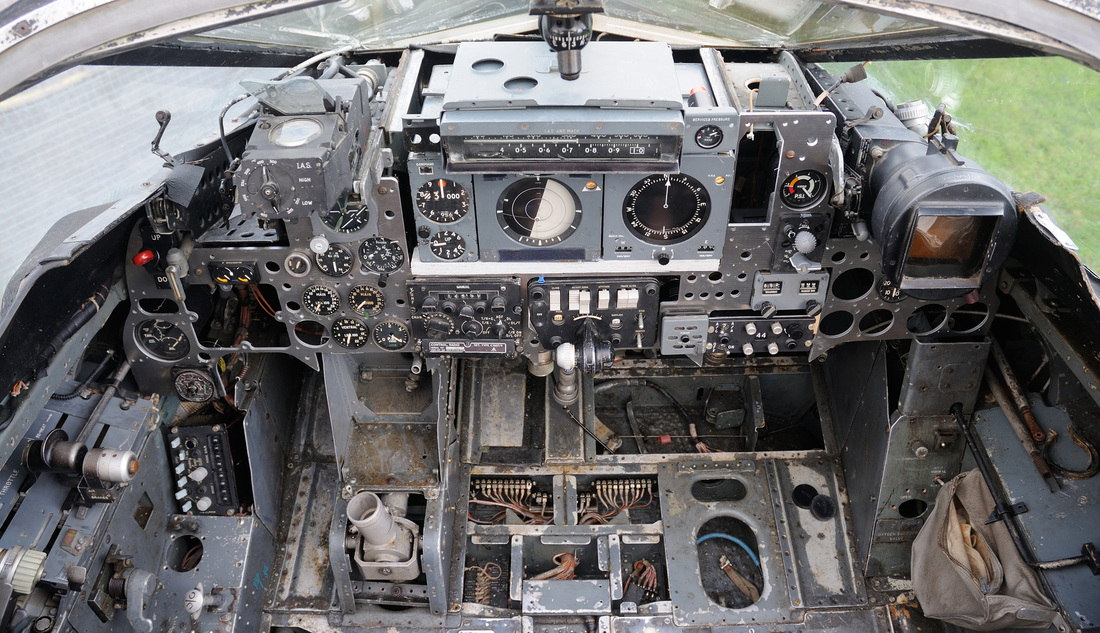
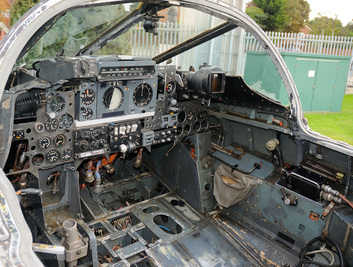
The original instrument panel is refitted.
The original instrument panel is refitted.
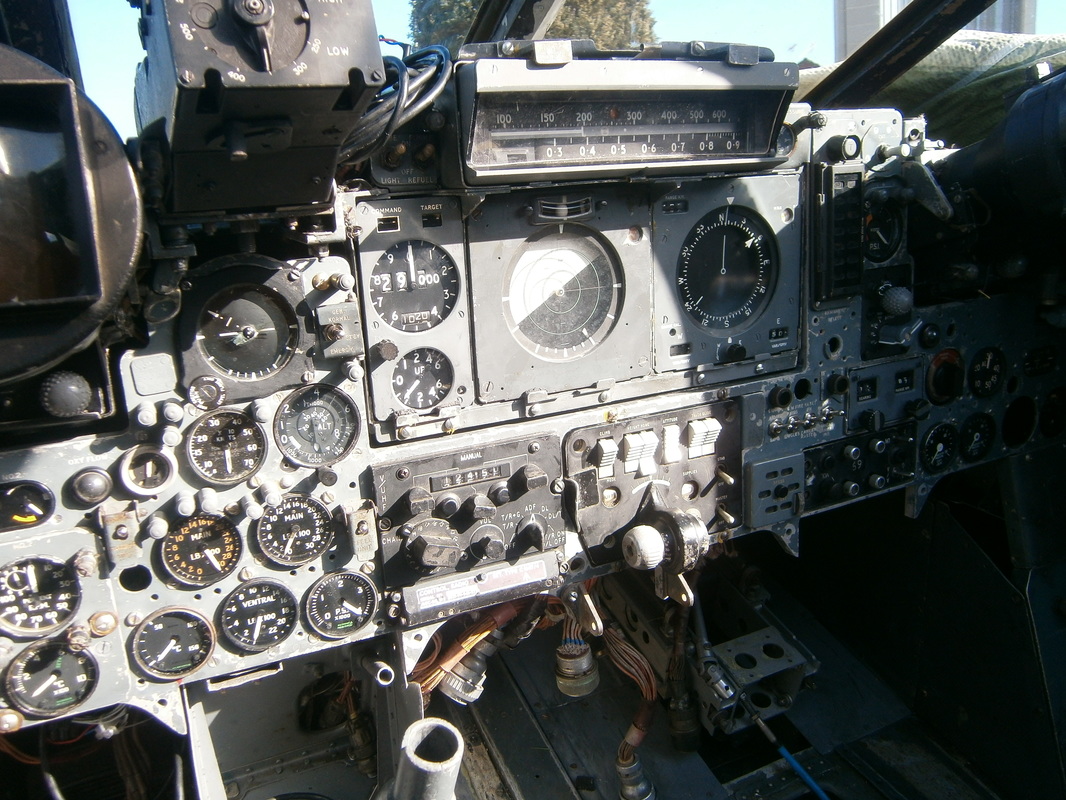
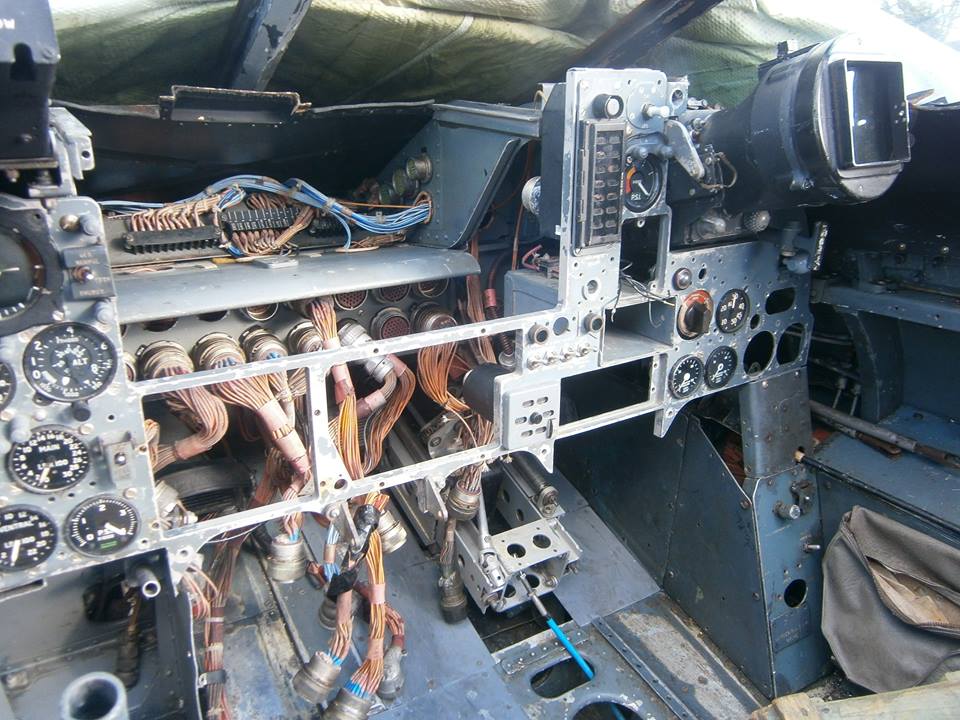
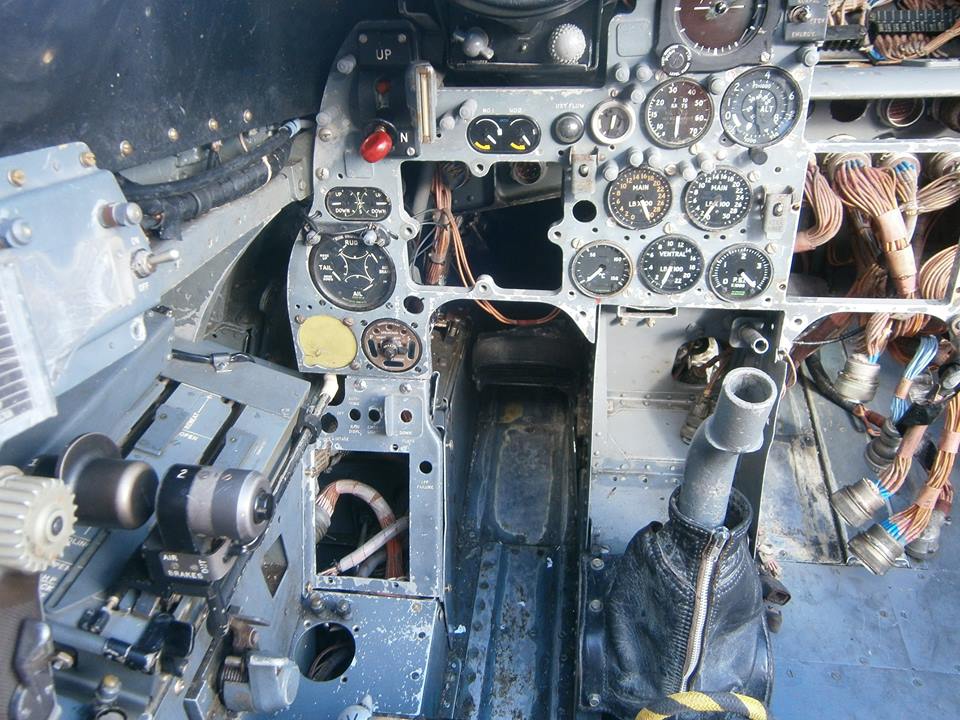
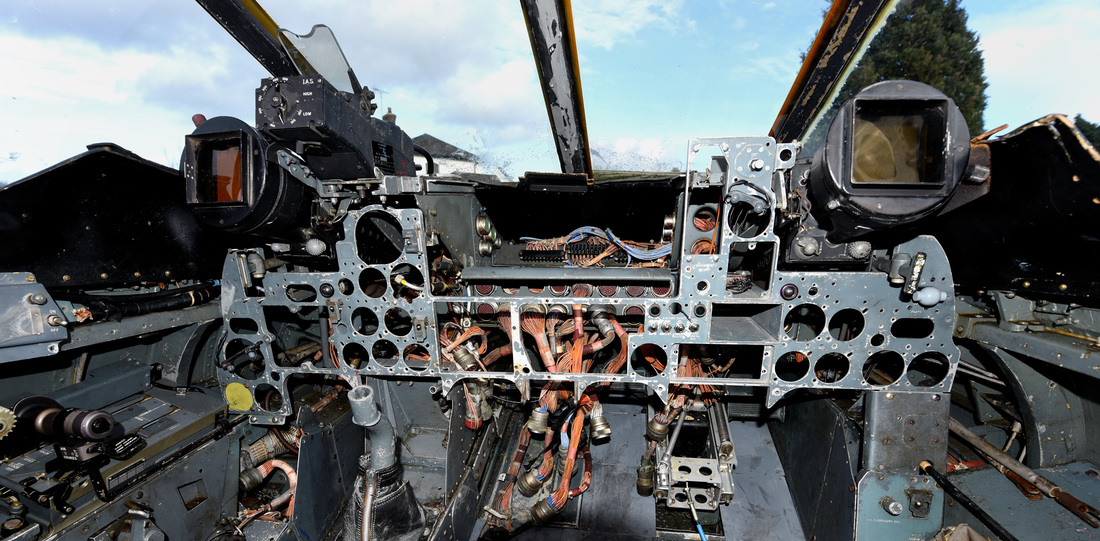
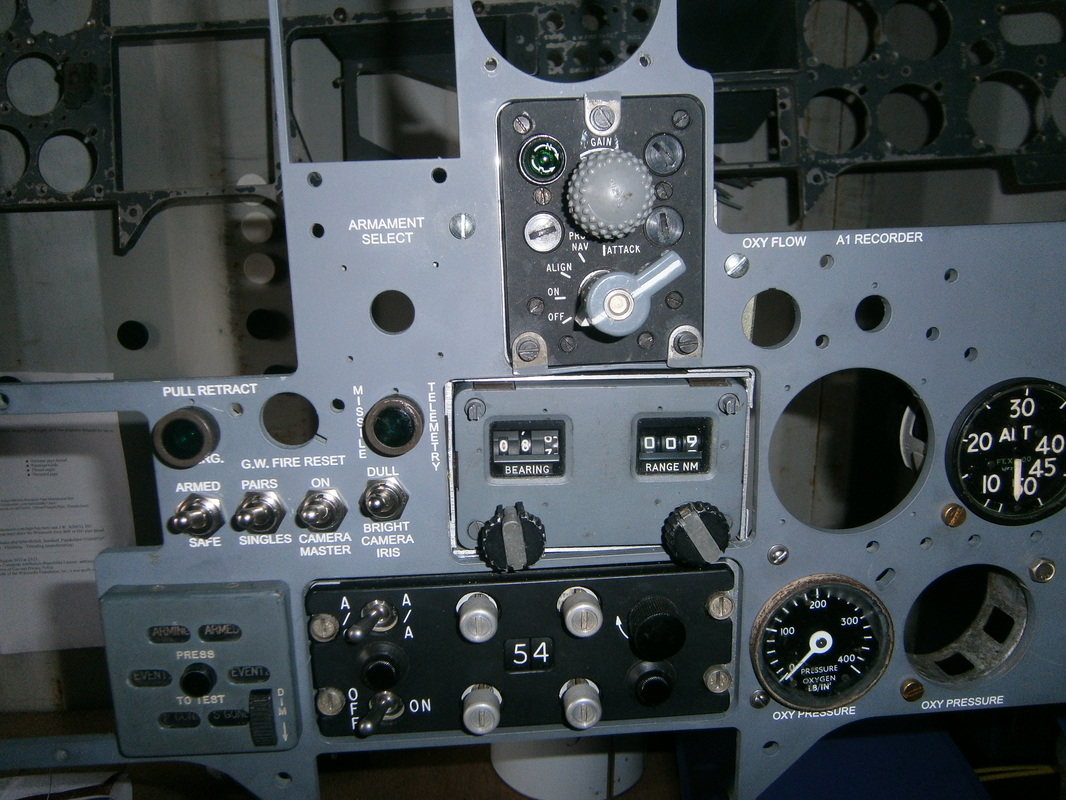
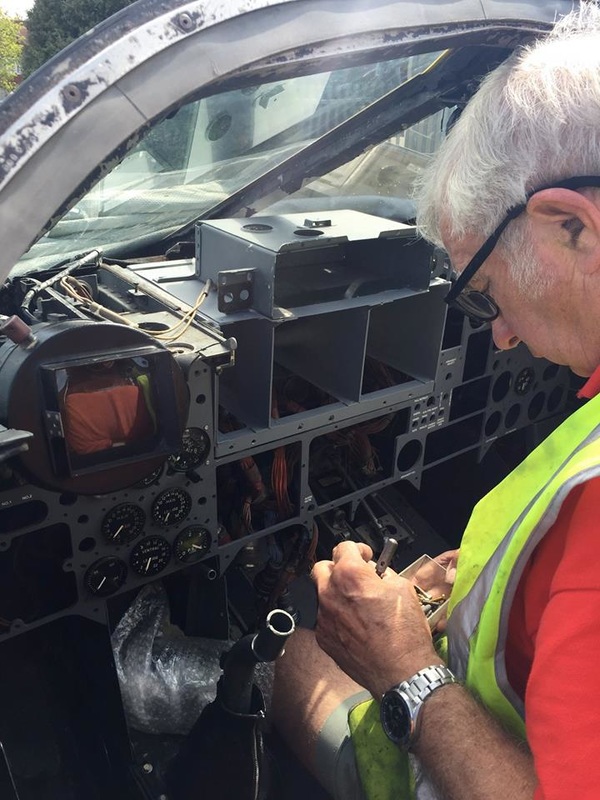
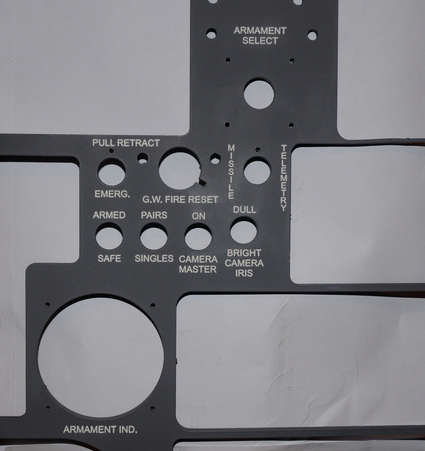
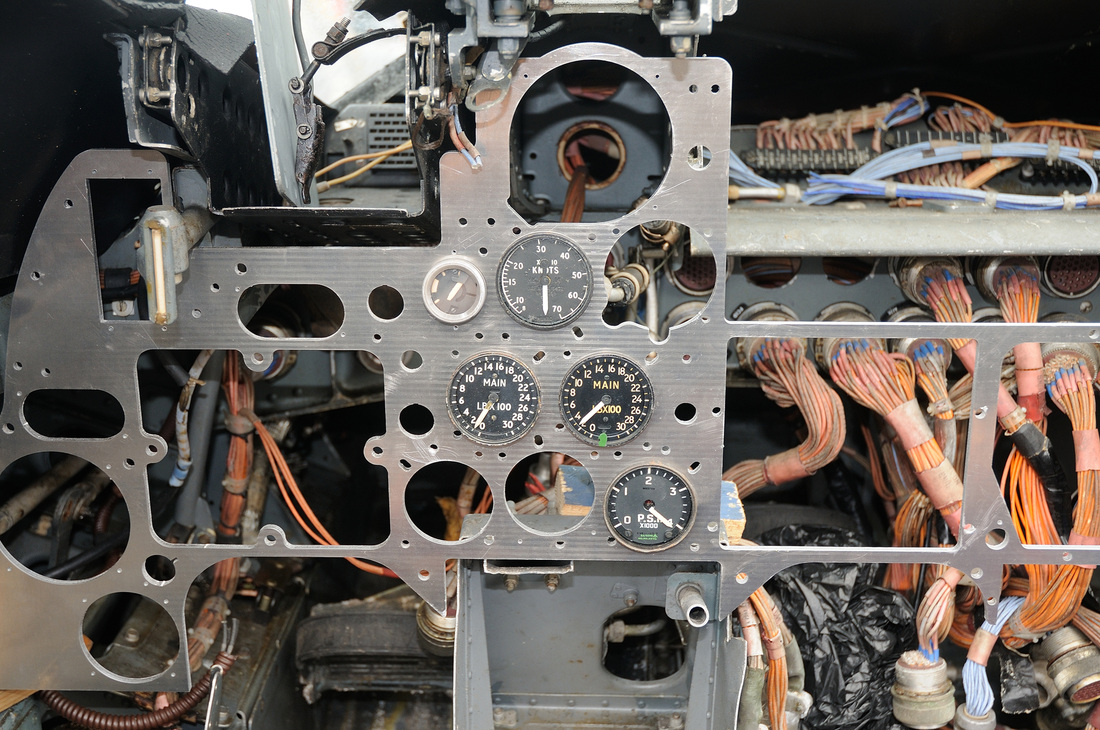
Work has commenced rebuilding the original panel. Most of the instrumentation has now been obtained with the armament selector being the only missing component. It is hoped some of the P Lights will be put back in operation, two on-off dolls eyes and several switches are missing, but these will be obtained over time. Derek Parks has kindly supplied two oxy flow dolls eyes which means more holes have been filled. Below shows a dry run in order to gauge the bolts and fastenings that will be required to enable final refitting of the panel into the cockpit.
January 2016
Derek Parks commenced the New Year refitting the panel within the cockpit. Alot of work was required to get some of the instruments into position and secured but it was a job well done. As completion became near a bit of luck came 420's way. Mike Potten offered to sell me his collection of original T.5 panels and instruments. So Derek reversed his work and the replica panel and instruments were removed. The original 420 panel will now be refitted and Derek will be repeating all his previous hard - thanks Derek and thanks Mike. Below is a last look at the replica panel, crates and instruments before they were removed.
December 2015
The weather has been very unkind recently but under the wing its dry. So the chance was taken to start on some of the missing panels.
October 2015
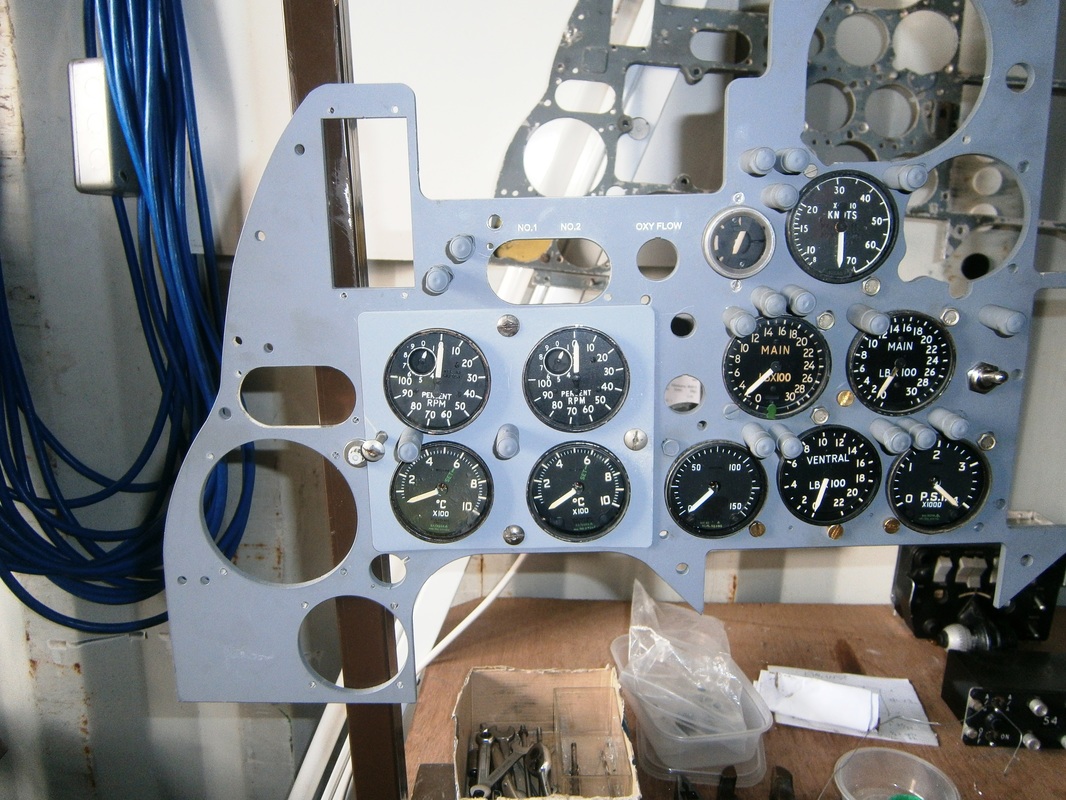
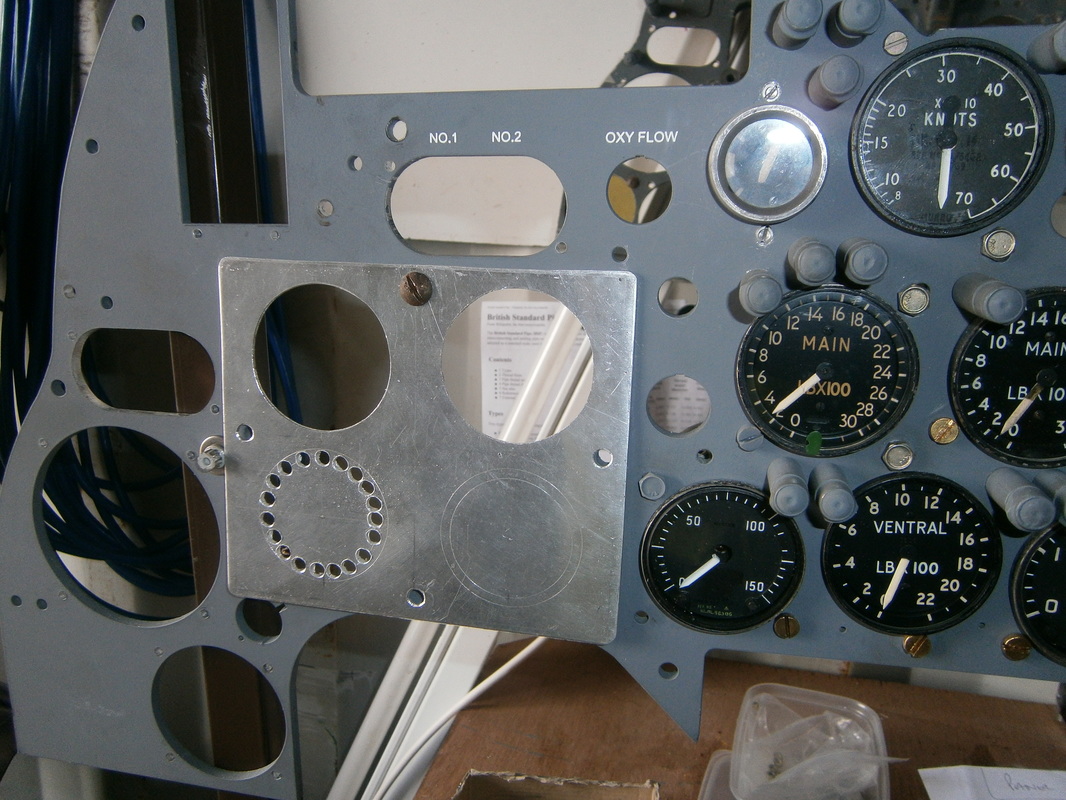
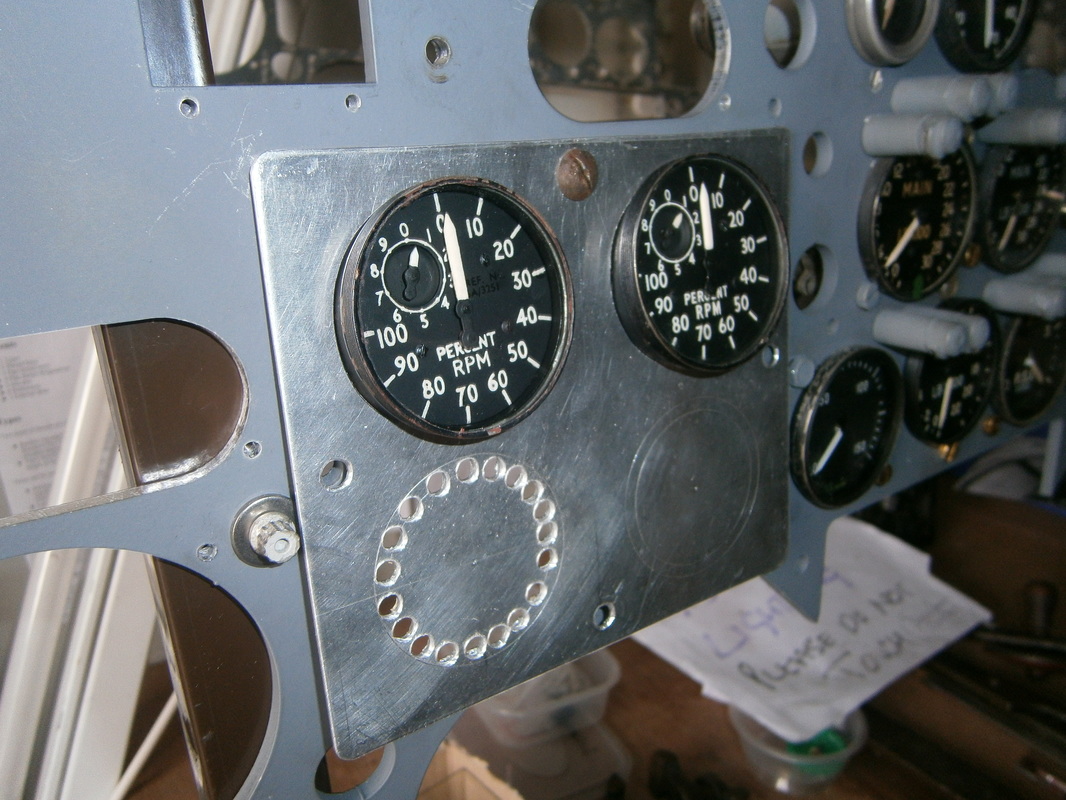
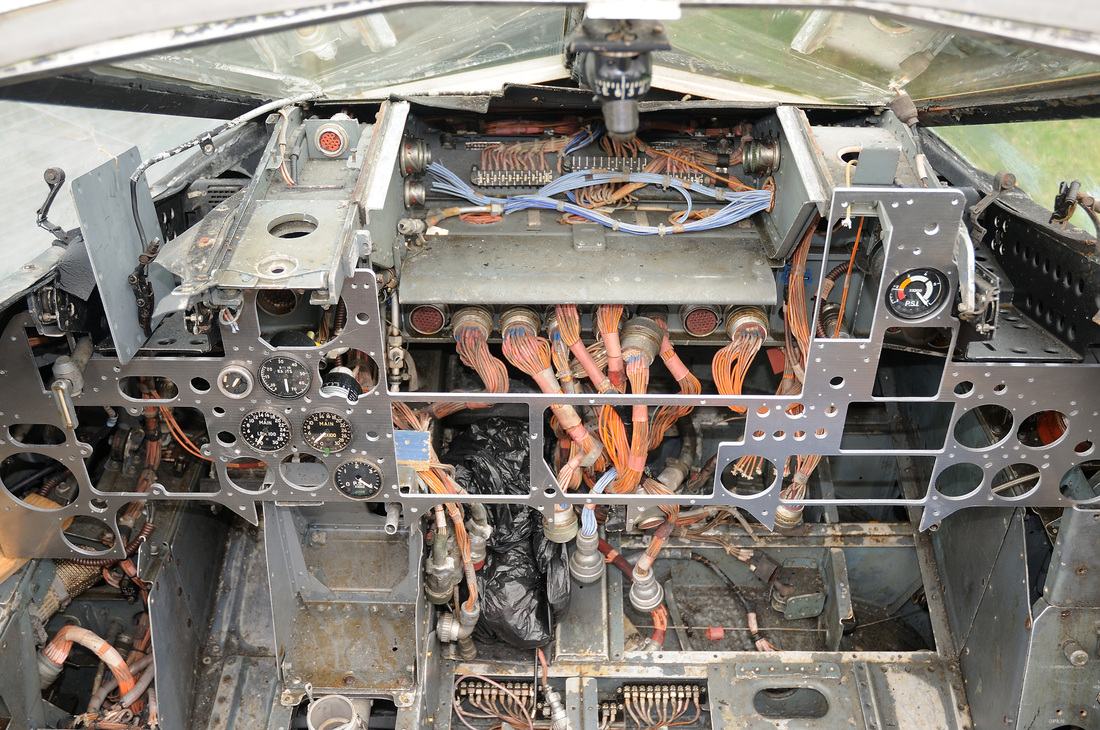
Further work has been undertaken by Derek Parks in rebuilding the instrument panel. During the course of this work Derek has had to manufacture from scratch the small panel shown below which houses the engine RPM gauges and exhaust gas temperature gauges. (photos courtesy of Derek Parks) Derek has asked me to point out that the Tacan Offset Computer (below) will be straightened up once the panel is fitted within the aircraft.
Alan Hazelton has started work on the Starboard ejection seat in preparation for refitting.
Alan Hazelton and Derek Parks have been busy making and painting Pillar Lamps for 420's instrument panel.
Work has started on obtaining a match for the silver paint previously applied to XS420. The first batch obtained was found to be too dark when a small test application was made. My friend Paul Clayton has now obtained a second batch and it is hoped that this will do the trick. It is planned soon to repaint the port wing. Once this has been completed work will start on finishing the panels on the starboard wing so this can also be repainted.
September 2015
11 September 2015 - Starboard stick top obtained which now makes a pair that can now be fitted.
July 2015
4 July 2015 - Existing wing panel removed and replaced with new aluminium plate.
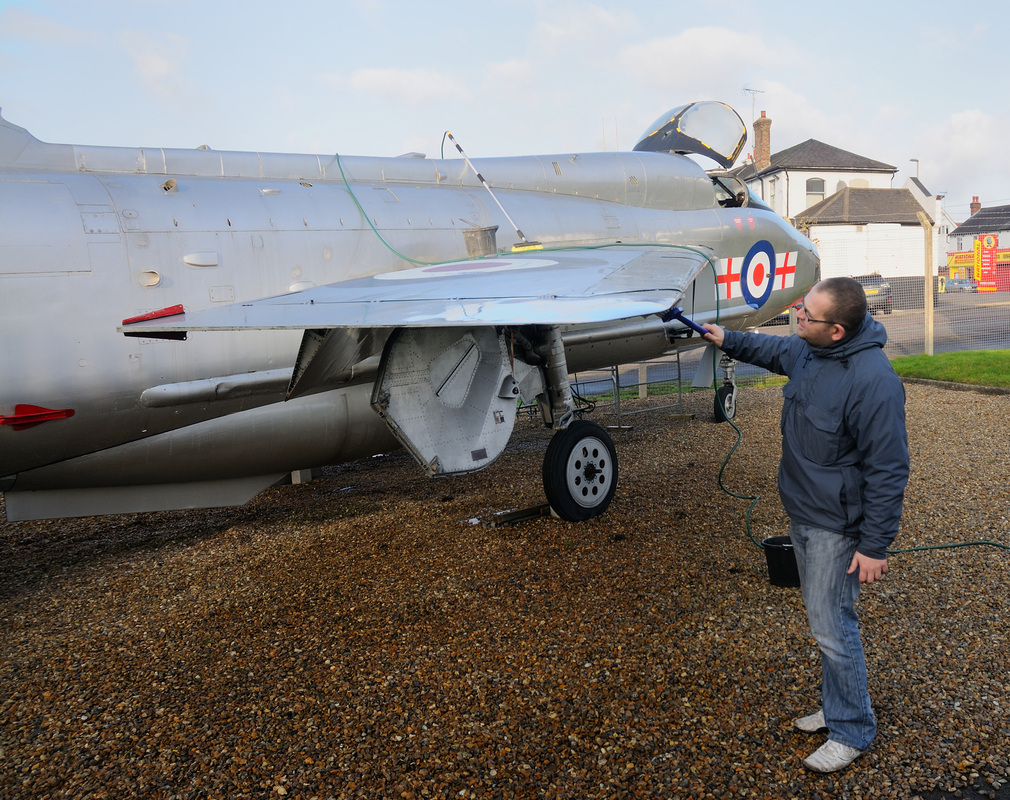
4 July 2015 - Welcome to Andy Wootten and thanks for the cleaning.
June 2015
25 June 2015 - Aviation Enthusiasts Book Club Event - www.xs420.com
June has been a very busy month with alot of work being put by the Derek, John, Mike & Alan. The following shows the progress -
23 June 2015 - John Brown again within the fuselage installing wiring and the finished result.
18 June 2015 - Derek Parks working on the instrument panel and crates.
16 June 2015 - John Brown within XS420's fuselage installing cable runs for the navigation lights. (Photos Mike Drew)
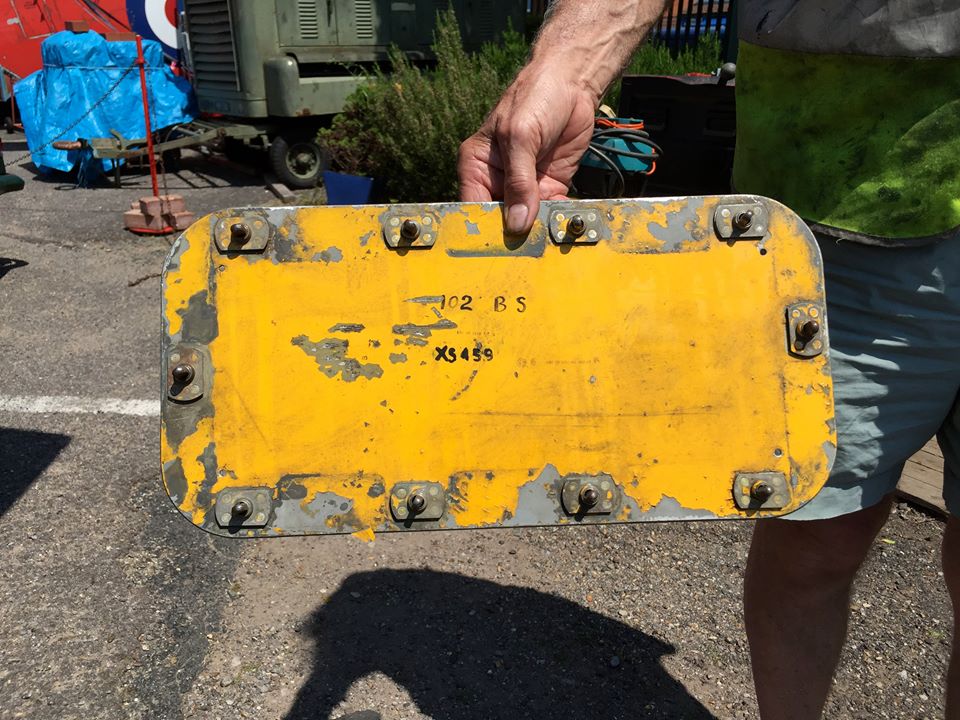
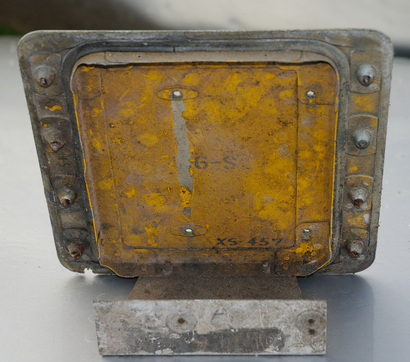
11 June 2015 - Yet another Lightning appears within XS420 - panel from T.5 XS459 which for several years was a hangar queen at RAF Binbrook following a landing incident.. The aircraft was returned to service but always suffered with a fuel leak from the wing centre section. XS459 survives at Fenland & West Norfolk Aviation Museum.
11 June 2015 - Creating a path for the wiring for the navigation lights
6 June 2015 - Wing Panel Removal (The FAST Way)
4 June 2015 - Port Ejection Seat Fitted
May 2015 - I've been away from XS420 for the past few weekends but I am truly indebted to the work that has been carried out by Derek Parks & Paul Tuininga. Derek has taken on the unenviable job of making cockpit floor panels (akin to working in a car boot), whilst Paul has been hard at work working on the undercarriage legs and within the wheel wells. Derek has also installed the ejection seat rails ready for the fitting of the seats in the near future. Many thanks to you both I really do appreciate your efforts. (photos courtesy of Derek Parks & John Brown)
12 April 2015 - A visit from Bob Grimstead and his friend John Watkins. Thanks to Jo Ayres for arranging.
5 April 2015 - Port throttle assembly obtained and fitted.
15 March 2015 - A visit from Jason Himpson a true lover of Lightnings.
8 March 2015 - Control column base and swan neck obtained and tried for size.
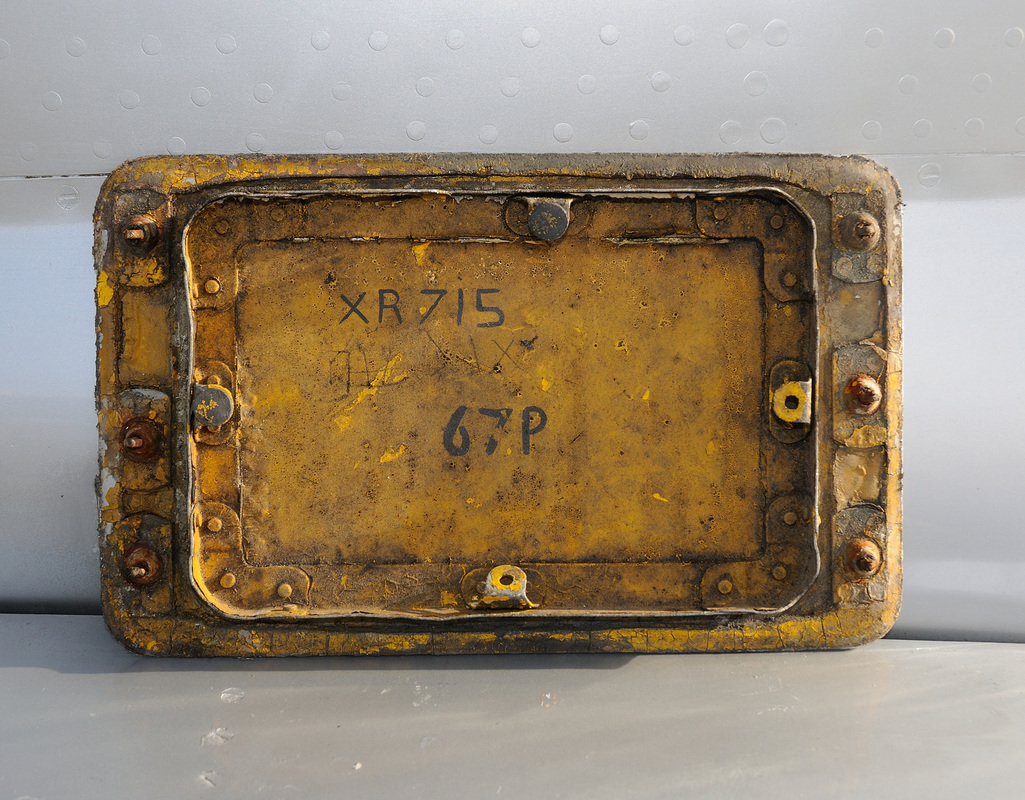
1 March 2015 - More panels removed for cleaning and greasing of fasteners. One was found to be from Lightning F.3 XR715 which crashed in 1974 following an engine fire. (click on images to enlarge)
It was noted there was water coming from around an aerial blade mounted under the starboard side of the front wheel bay. Removing a panel in the bay, water was found to be pooling in a low spot. The water was removed and this area will now be monitored to regularly remove any further accumulations.
February 2015 - During the month Paul Tuininga has been undertaking cleaning and restoration within the wing wheel wells. You're doing a great job Paul and many thanks for your help.
25 January 2015 - XS420 has for many years been missing the starboard set of rudder pedals. As can be imagined finding T.5 pedals is never going to be easy. With help from Richard Scarborough a set of pedals were located in Halifax in the ownership of Ben Wilde. Ben wanted a set of Lightning single seat pedals and it was just by chance that Darren Swinn had a set. So a swap was arranged with a trip to Binbrook to pick up the single seat pedals and then on up to Halifax where the swap took place. The pedals are now back in 420 and are a major contribution towards the ongoing cockpit restoration. Many thanks Richard, Darren & Ben.
13 January 2015 - Voltmeter obtained
8 January 2015 - Tail fin cleaning took place - not easy due to the height ! and the first wide angle photo I have taken of XS420.
17 December 2014 - Original panel fitted back in place to obtain correct position for the new panel when fitted
and Santa paid a visit :)
11 December 2014 - Panel received back from the engravers in Farnborough.
7 December 2014 - More panels removed and more equipment discovered. Click on photos to enlarge.
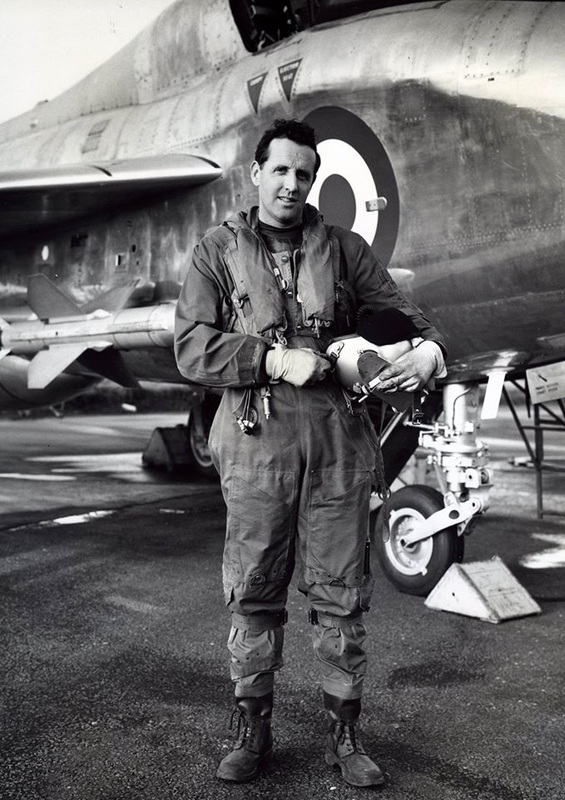
3 December 2014 - Photo obtained of Don Knight who took XS420 on her test flight 23 January 1965. With thanks to Kate Yates and BAE Systems Heritage Centre Warton
30 November 2014 - General cleaning took place along with the removal of some more panels for greasing and freeing off fasteners.
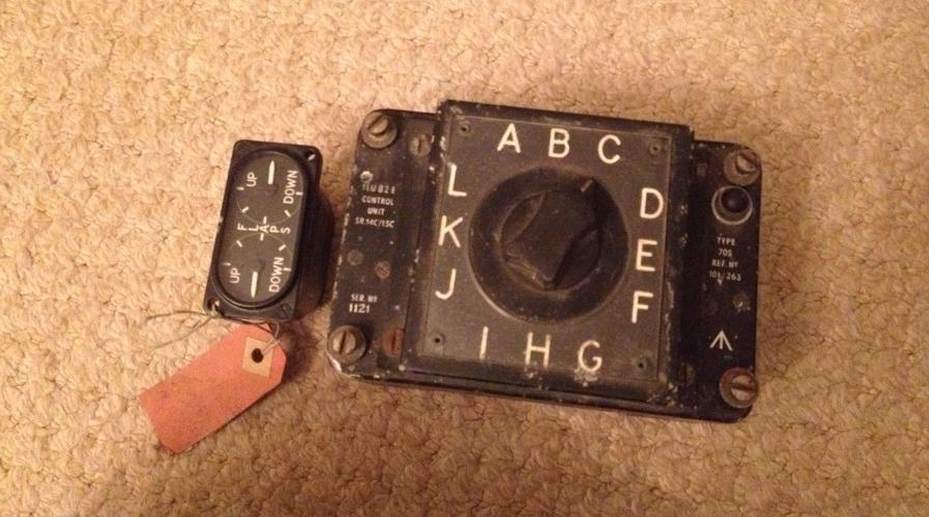
22 November 2014 - ILS Control Unit & Flaps gauge obtained with thanks to Richard Scarborough
9 November 2014 - Bob Goodrick visits FAST and brings with him the completed main instrument crates. The crates fitted first time of trying and are a major step in the restoration of the cockpit. Many thanks Bob.
9 November 2014 - Forward equipment bay hatch opened for the first time in many years. The bay was dry with much of the equipment still in place. With thanks to Derek Parks for getting the final fastener released.
9 November 2014 - Refuelling warning light panel fitted following tapping out of holes by Derek Parks with help from John Brown.
5 November 2014 - Avpin pump acquired.
2 November 2014 - Instrument panel collected from RAF Binbrook following painting.
1 November 2014 - Cabin temperature controller acquired.
26 October 2014 - Spine access panels opened.
19 October 2014 - The starboard undercarriage retraction ram had for sometime been disconnected from the undercarriage leg. Derek Parks took the opportunity to reconnect the ram which required shortening of the connection joint to clear a bolt located in the leg.
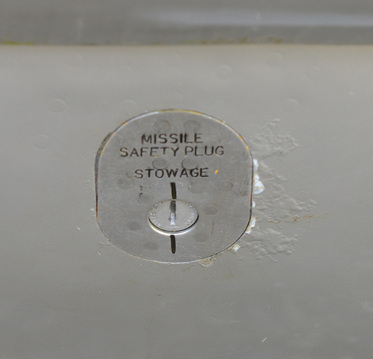
19 October 2014 - A bit of fettling by Derek (thanks) and the Missile Stowage Panel plug panel now fits correctly.
There is a little bit of corrosion under the paint to the right of the panel that will be dealt with in due course.
There is a little bit of corrosion under the paint to the right of the panel that will be dealt with in due course.
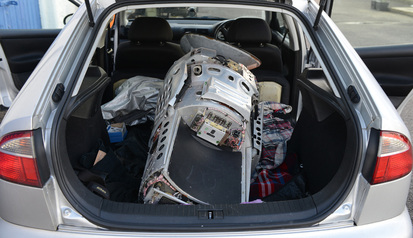
19 October 2014 - AI23B arrives at FAST after an interesting journey from Upwood where it did move around in the back of the car a bit ! Luckily some helpful FAST volunteers were on hand to unload the beast. (Thanks Paul T & Matt P for coming in especially to unload)
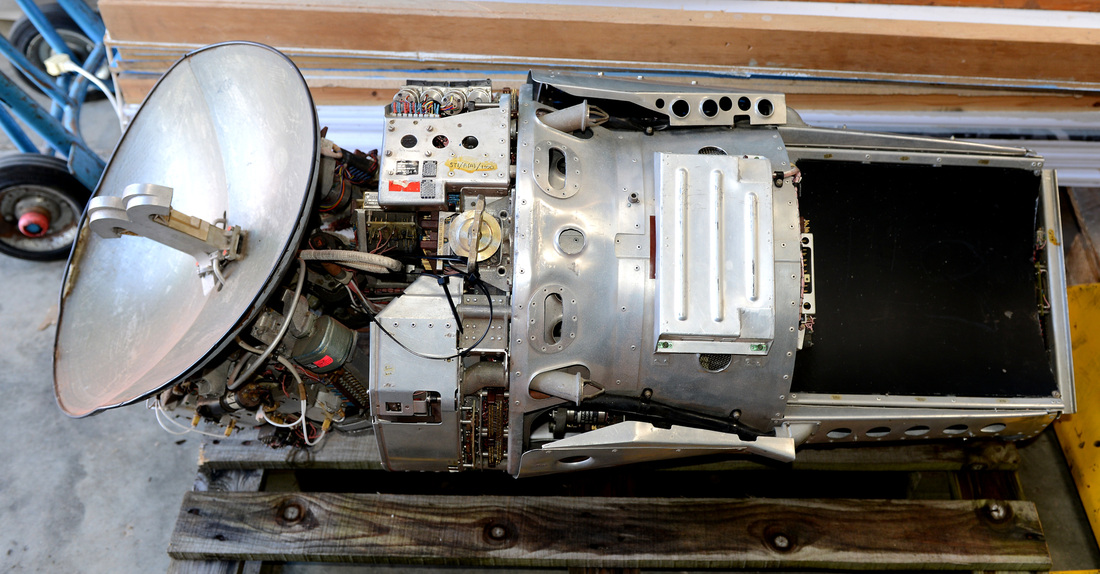
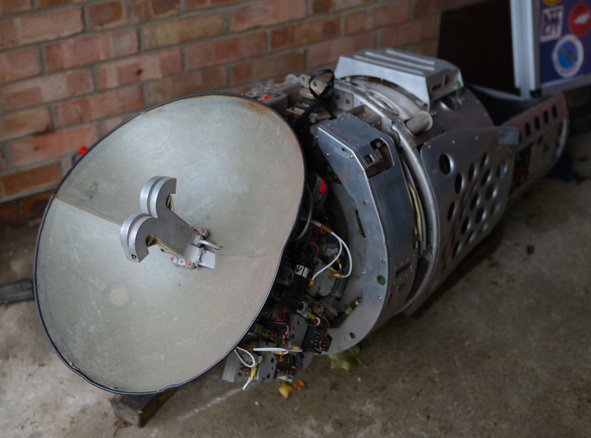
18 October 2014 - AI23B Air Interception radar collected from Upwood. The unit was acquired from Matt Buddle and was originally fitted to Lightning F.6 XR754.
17 October 2014 - Undercarriage Indicator acquired.
12 October 2014 - Missile Safety Plug Stowage Panel acquired (with thanks to Richard Scarborough).
12 October 2014 - Missile Safety Plug Stowage Panel acquired (with thanks to Richard Scarborough).
11 October 2014 - Oxygen flow gauge obtained (with thanks to Richard Scarborough). Instrument panel delivered to Binbrook for onward transit for painting.
28 September 2014 - Bob Goodrick from Tangmere Military Aviation Museum came to the museum to measure up XS420 for main instrument crates within the cockpit. Also on the day there was a visit by Hugh Trevor who owns Lightning F.2A XN726 cockpit at Boscombe Down Aviation Collection Old Sarum. A big thanks to Jo Ayres for the supply of coffee and cake.
A panel removed from XS420's port side revealed that it came from Lightning T.5 XS458 which now resides at Cranfield in working order. lightningt5.com
A panel removed from XS420's port side revealed that it came from Lightning T.5 XS458 which now resides at Cranfield in working order. lightningt5.com
23 September 2014 - Ram air temperature gauge obtained.
22 September 2014 - A Marconi AI23 radar has been obtained as a display item. It is hoped to mount the radar as a mobile exhibit to display next to XS420 on good weather days.
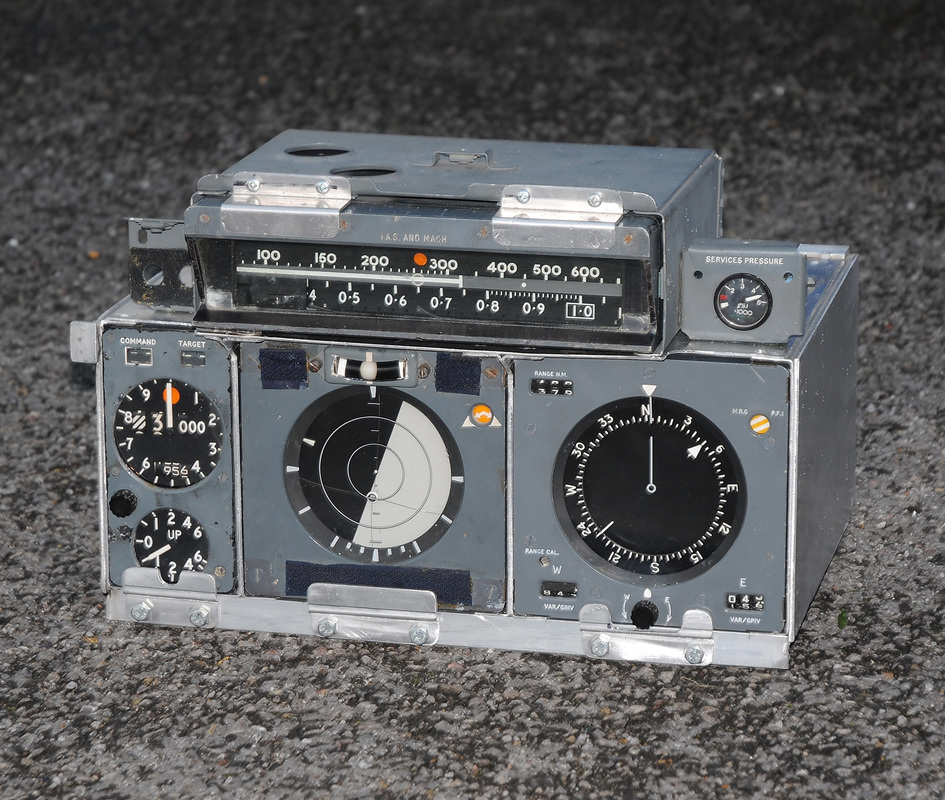
21 September 2014 - The new instrument panel was again fitted. The chance was taken to place the instruments/controls that have been obtained for the cockpit restoration in place to see what was missing.
17 September 2014 - PTR 175 Radio controller obtained.
30 August 2014 - The instrument panel was collected from the engineering company and tried for size within XS420. It was found to be a perfect fit. Quite a relief as the panel was complex and so easily could have gone wrong. Happily it didn't.
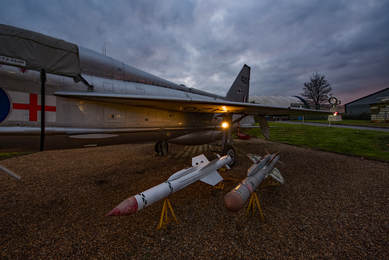
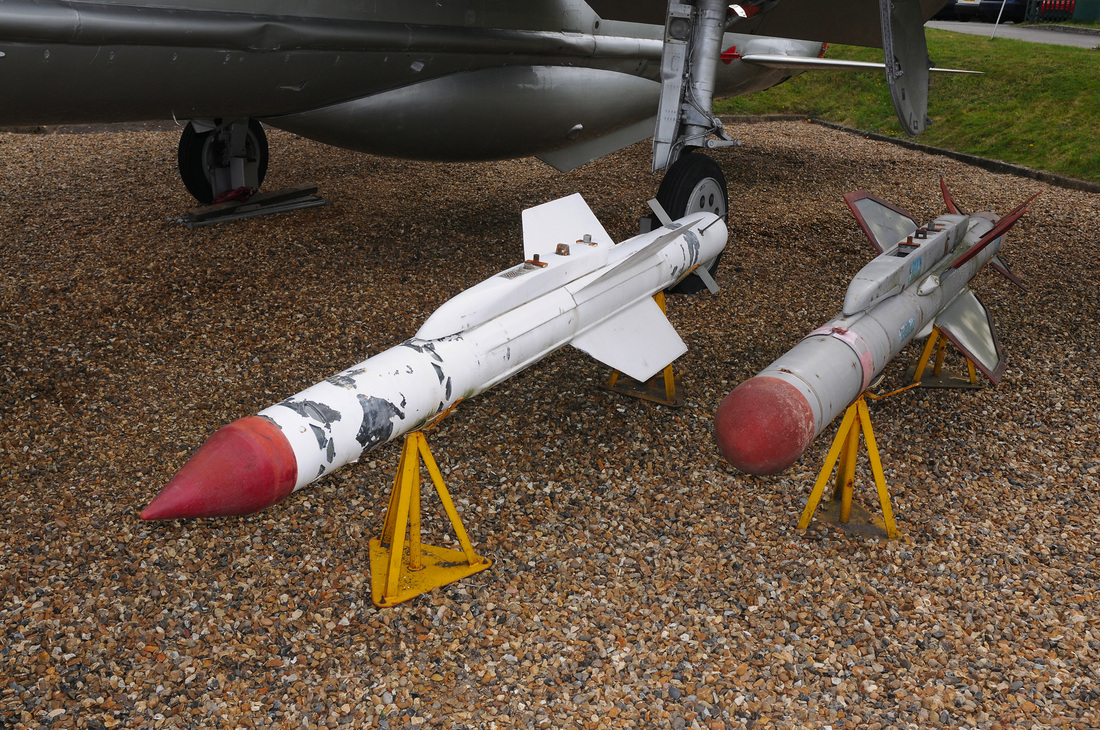
On the same day it was decided to bring the museums Firestreak & Red Top missiles for display next to XS420. We were somewhat surprised by the weight of the missiles but we managed to get them on their stands. At some point the missiles will require some restoration and a bit of TLC.
17 August 2014 - With the good weather undercoat was applied to the wing joint repairs. The area is now ready for final painting when the silver paint can be matched and obtained.
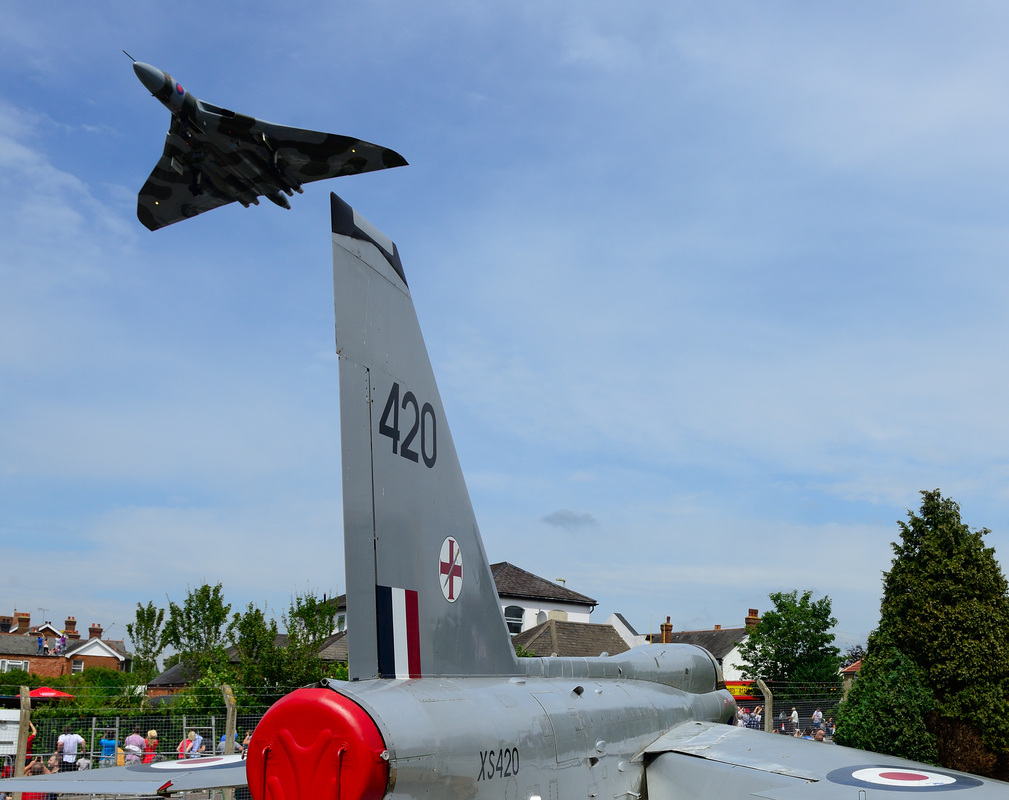
21 July 2014 - the last day of Farnborough International Airshow and two Cold War Warriors meet.
10 July 2014 - Kev Rumens Vulcan Display Pilot visits XS420. Kev advised that one of the reasons he took up flying as a career was due to seeing Lightnings as a boy.
22 June 2014 - The original panel from XS420 was loaned by Mike Potten so that a pattern could be obtained to create a replacement. The panel was tried for fit before being sent to an engineering company in Surrey for manufacture. Also on the day a replacement E2B compass was refitted within the cockpit.
8 June 2014 - Work begins on wing repair preparation for painting.
2 June 2014 - Avpin Tank obtained
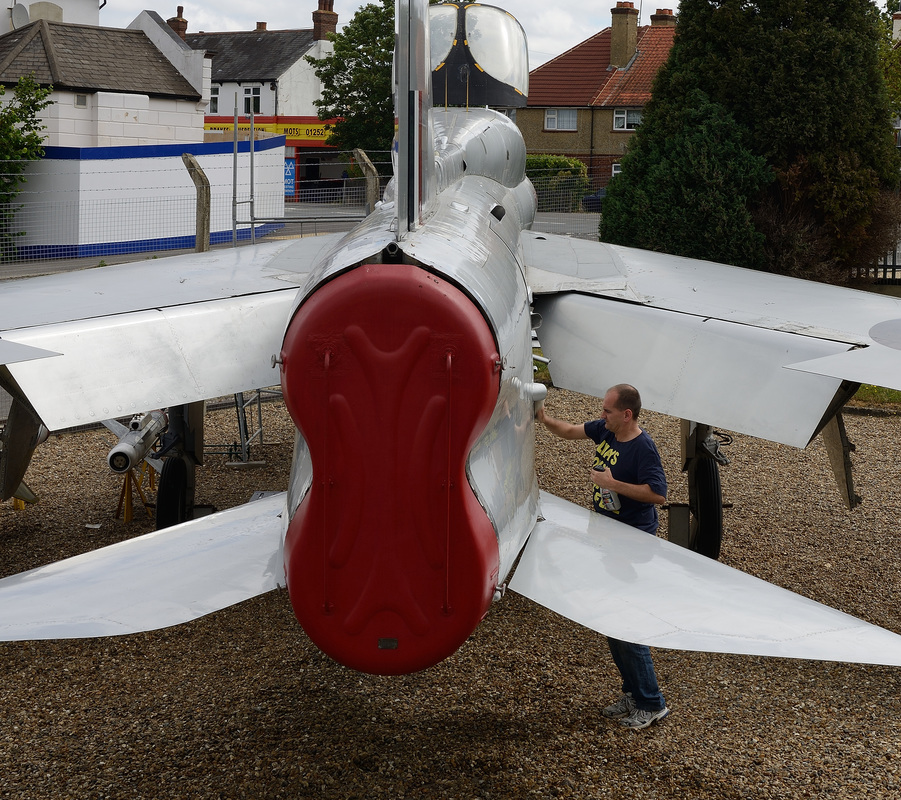
3 May 2014 - Jet Nozzle Blank restored
12 April 2014 - Pure Air Gauge obtained
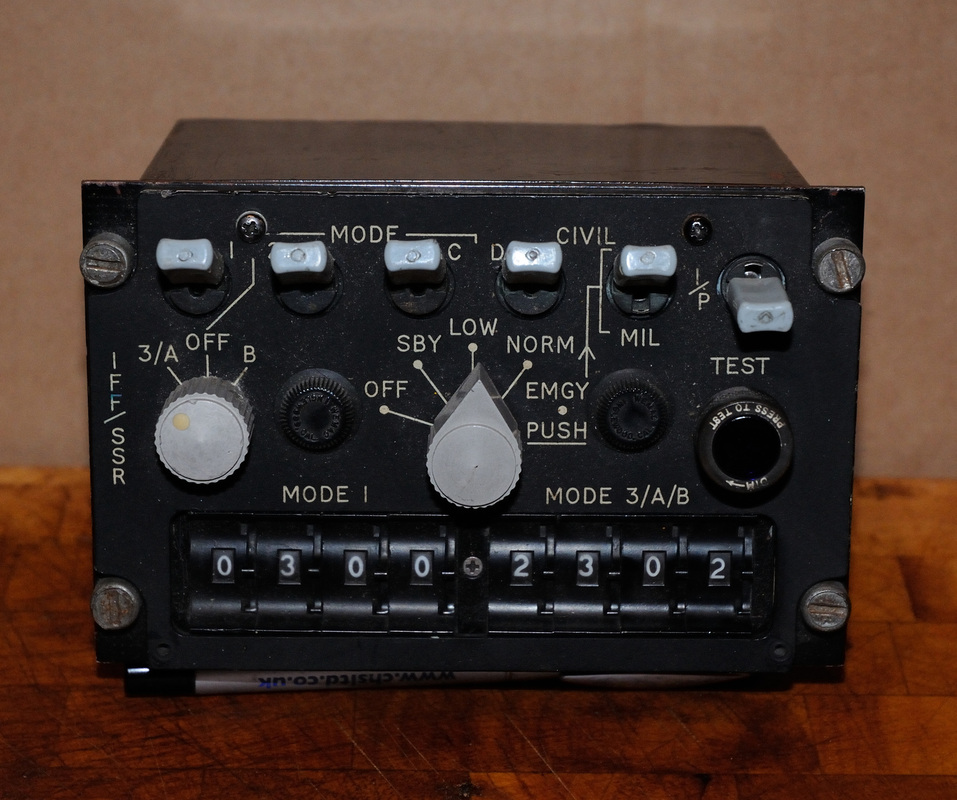
5 April 2014 - IFF/SSR Transponder obtained.
16 March 2014 - Light Fighter Sight fitted.
19 January 2014 - Canopy cover arrives along with a pitot tube cover.
8 December 2013 - Derek Parks opening the canopy under hydraulic pressure.
12 October 2013 - Quite a day. The first time XS420's canopy had been opened in 10 years. Big thanks to Derek Parks, Paul Tuiniga, Mike Drew & Andrew Lee.
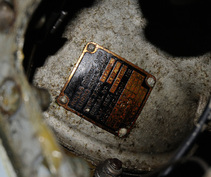
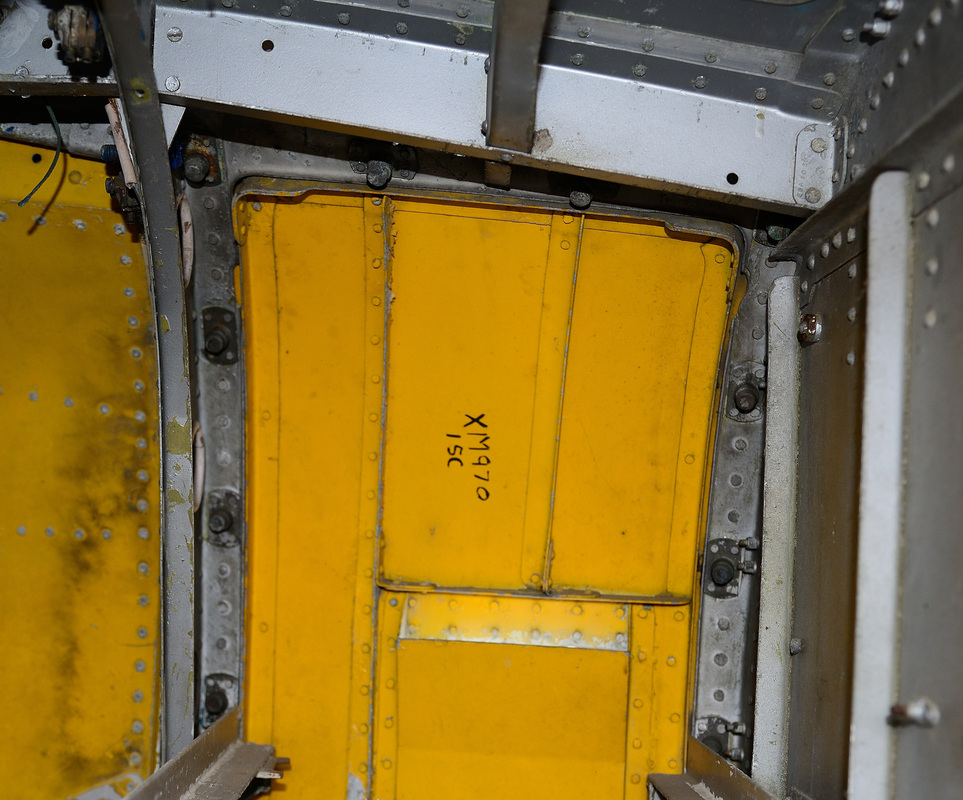
10 October 2013 - Inside the avionics bay it was found that one of the panels was from Lightning T.4 XM970.
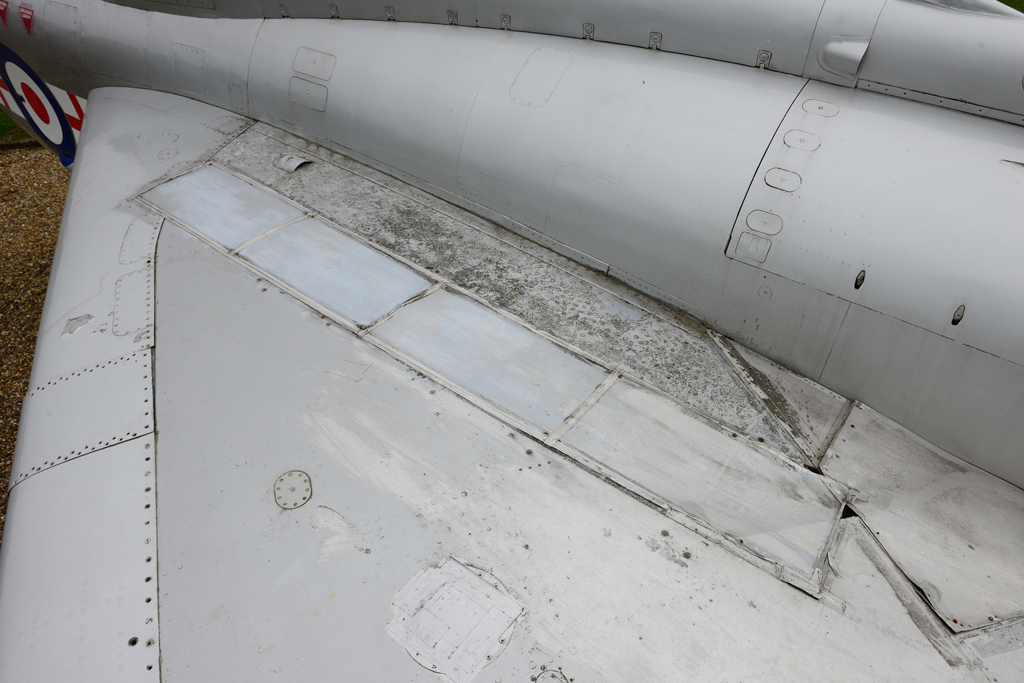
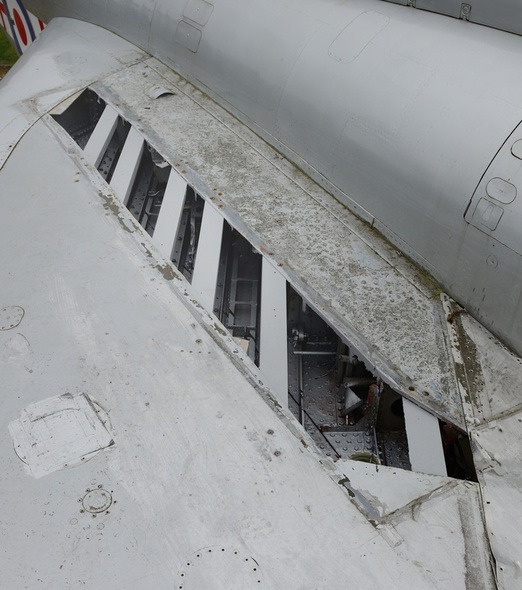
September 2013 - Views of wing repair before and after new panels fitted.
With original panels removed - internals cleaned out and accessible area primed and painted.
24 September 2013 - John Ward & Ken Bailey visit XS420. Both former Lightning pilots, John went on in the evening to give a lecture on his time flying the aircraft.


